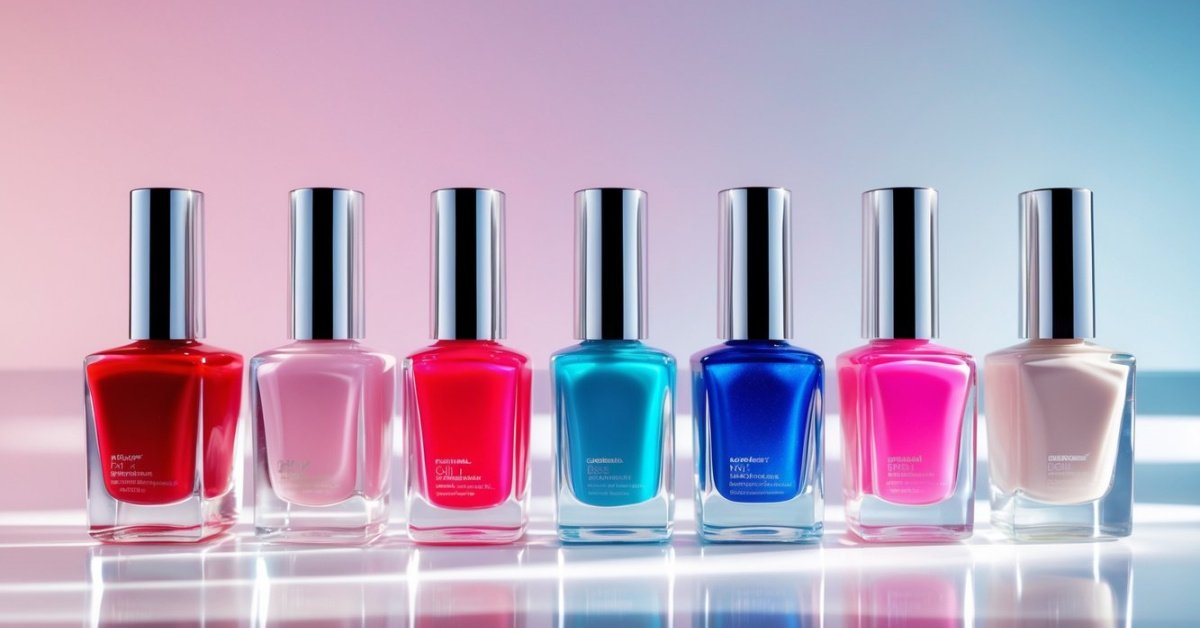
Christmas is the perfect time to let your nails shine with festive flair. I love how a little creativity can turn simple nails into a holiday statement that spreads cheer wherever you go. Whether you’re into classic reds and greens or something sparkly and bold, there’s a nail art style that fits your vibe.
The Best Nail Art for Christmas: Festive Designs to Try
I recommend classic red and green shades that capture the holiday spirit instantly. Use deep crimson tones for a bold look or emerald greens for a vibrant finish. Adding white snowflake patterns on these colors creates a crisp, seasonal contrast.
Glitter accents work wonders for holiday nails. Apply gold or silver glitter on tips or as an accent nail to evoke festive sparkle. Metallic shades pair well with matte finishes, giving your manicure a modern twist.
For unique themes, try candy cane stripes using red and white polish. Thin, precise lines enhance the design’s realism. I’ve found tiny rhinestones shaped like ornaments add a playful touch without overwhelming the look.
Neutral bases with red or green geometric shapes suit those who prefer subtle designs. Use sharp lines or dots to mimic holiday motifs like holly berries or Christmas lights.
I suggest hydrating your cuticles before any design for a polished, professional appearance. Choose non-toxic, breathable polishes that protect nail health while delivering vibrant color.
| Design Element | Common Colors | Application Tips |
|---|---|---|
| Classic Red & Green | Crimson, Emerald | Use matte and glossy finishes |
| Glitter Accents | Gold, Silver | Focus on tips or accent nails |
| Candy Cane Stripes | Red, White | Thin lines for detail |
| Neutral Geometrics | Nude, Red, Green | Sharp shapes, minimal patterns |
| Rhinestone Accents | Clear, Multicolor | Apply sparingly for balance |
Classic Christmas Nail Art Ideas
Classic designs never go out of style during the Christmas season. I’ve seen countless customers light up when their nails showcase traditional festive patterns that bring holiday cheer. These timeless looks combine the essential colors and motifs that capture Christmas spirit perfectly.
Red and Green Patterns
Red and green form the cornerstone of Christmas nail art. I recommend starting with a rich, deep crimson on most nails to create a bold foundation. Adding emerald green accents or alternating red and green nails enhances the festive vibe without overwhelming the design. Stripes, polka dots, or simple chevron patterns in these two tones add playful texture. For a professional finish, I advise using a high-quality base coat and top coat to prevent chipping and preserve shine, especially since these colors tend to show wear more quickly.
Snowflake and Winter Motifs
White snowflake designs provide a crisp, wintry contrast to red and green bases. I use fine detail brushes to paint delicate snowflakes with thin, sharp lines for a handcrafted look. Applying them over matte or glossy backgrounds creates different effects, depending on the vibe you want—matte feels cozy and muted, while glossy adds sparkle. For health-conscious clients, I suggest water-based nail polishes that deliver vibrant white tones without harsh chemicals, ensuring nails stay strong throughout winter.
Trendy and Modern Christmas Nail Designs
Fresh seasonal looks keep your nails exciting through the holidays. I’ve found that contemporary Christmas designs mix traditional themes with modern twists to fit personal style and current trends effortlessly.
Metallic and Glitter Accents
Metallic finishes in gold, silver, and rose gold add instant glam to holiday nails. I recommend layering thin coats for an even shine without peeling. Glitter accents pair perfectly with metallic bases, especially when concentrated at nail tips or cuticle lines. Sparkly gels or polishes create long-lasting shine that resists chipping. Using fine glitter particles avoids a rough texture while adding festive sparkle. For safety, opt for non-toxic formulas to keep nails healthy during frequent polish changes.
Minimalist Holiday Nail Art
Minimalist designs combine elegance with holiday cheer using simple shapes and neutral palettes. I love using matte nude or soft grey bases topped with small red dots or single geometric lines in emerald or gold. This approach suits anyone preferring subtlety over bold colors but still capturing the Christmas spirit. Clean lines and negative space emphasize craftsmanship, and a quality topcoat preserves the look. Minimalist nail art pairs well with any outfit, making it versatile for day-to-night wear during holiday events.
DIY Tips for Creating the Best Christmas Nails at Home
Creating festive nails at home feels rewarding and fun. I’ll share expert tips and methods that make your Christmas nail art look salon-perfect while keeping nails healthy.
Essential Tools and Supplies
Start with the right tools to ensure precision and durability. I rely on these essentials:
- Base Coat and Top Coat: Base coats protect nails and prevent staining. Top coats seal designs and add shine.
- Nail Polish Colors: Choose festive reds, greens, whites, metallics, and glitter polishes suited to your style.
- Fine Detail Brushes: Use thin brushes for painting snowflakes, stripes, or tiny shapes.
- Dotting Tools: Great for making polka dots, candy cane stripes, and other patterns.
- Nail File and Buffer: Shape nails and smooth surfaces for even polish application.
- Cuticle Pusher and Oil: Push back cuticles gently and hydrate to keep the nail bed healthy.
- Nail Polish Remover and Cotton Pads: Clean edges and fix mistakes without damaging the skin.
- Small Dish or Foil: Use for mixing custom polish shades or thinning thick polish.
Choosing high-quality, non-toxic polishes minimizes damage during repeated applications. Hydrated cuticles and a clean canvas extend wear time and improve appearance.
Step-by-Step Easy Designs
I recommend starting with simple yet striking Christmas patterns that anyone can master.
- Classic Red with Snowflake Accent
Paint all nails in rich crimson. Use a white polish and fine brush to add snowflakes on an accent nail. Seal with a glossy top coat.
- Candy Cane Stripes
Base nails with white polish. After drying, use a red striping brush or tape to create diagonal stripes. Finish with a clear top coat for shine.
- Glitter Gradient Tips
Apply green polish to nails. Dip a sponge in fine gold or silver glitter and dab it onto the tips, fading downward. Seal carefully.
- Minimalist Green Dots on Nude Base
Paint nails nude or soft beige. Use a dotting tool to apply small green dots near cuticles or in a pattern. Top off with a matte or glossy finish.
- Metallic Gold Chevron
Paint nails white or subtle beige. Use metallic gold polish and a fine brush to draw chevrons on nails. Let dry fully before sealing.
Patience matters most: let each layer fully dry to avoid smudging. Work in a well-lit space and have cotton pads close for quick corrections. Consistent practice builds confidence and control, letting your creativity shine with every festive design.
Nail Care Tips for Maintaining Holiday Nail Art
Keeping holiday nail art flawless requires mindful care before and after application. I’ve learned that well-prepped nails make all the difference in wear time and appearance.
Clean nails thoroughly, removing oils and residue with a gentle, acetone-free cleanser. If polish starts chipping, avoid peeling it off, since that strips natural layers and weakens nails. Instead, apply a thin topcoat every 2 to 3 days to protect the design and add shine.
Hydration matters. I recommend nourishing cuticles daily with a cuticle oil rich in vitamin E or jojoba oil. This prevents dryness and enhances overall nail health, making the polish last longer and look vibrant.
Wear gloves when doing household chores involving water or harsh chemicals; water exposure softens polish leading to quicker damage. Using gloves also protects nails from splitting or breaking.
Keep nail length moderate for the holidays, as longer nails can be more prone to breaking especially with elaborate designs. If you experience nail lifting or smudging, I suggest touching up with the original polish color rather than replacing the entire design.
Treat nails gently by avoiding tapping them on hard surfaces, which can chip polish. Always file nails in one direction using a fine-grit file to prevent splitting.
By following these care steps, the festive nail art stays fresh and beautiful throughout your celebrations.
Conclusion
Christmas nail art is such a fun way to add a little extra sparkle to the season. Whether you love bold colors, delicate snowflakes, or something minimalist, there’s a style that fits your vibe perfectly.
I’ve found that taking the time to care for my nails and using the right tools really makes a difference in how long my designs last. Plus, experimenting with different looks keeps the holiday spirit alive in a creative way.
So go ahead and have fun with your festive nails this year—after all, it’s all about celebrating in style and feeling joyful from tip to tip!