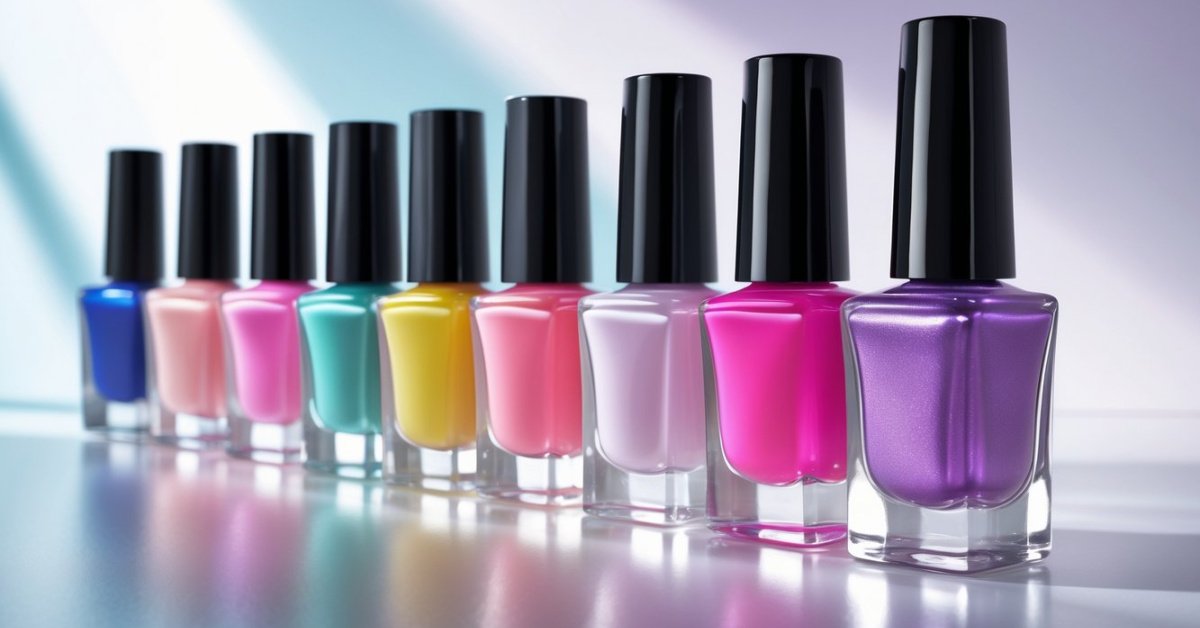
I’ve always loved how tropical nail art instantly brings a splash of sunshine and fun to any look. Bright colors, palm leaves, and exotic flowers make your nails feel like a mini vacation. If you’re someone who enjoys creative self-expression or just wants to add a playful touch to your style, tropical nail art is a perfect choice.
Understanding Tropical Nail Art
Creating tropical nail art means blending vibrant hues with lively patterns inspired by island life. I focus on combining colors and motifs that capture the essence of tropical beauty.
Key Elements of Tropical Designs
Bright, bold florals form the foundation of tropical nail art. Hibiscus, plumeria, and bird of paradise flowers appear frequently, bringing exotic flair. Palm leaves and ferns add a lush, natural feel. I often add small accents like coconuts or pineapples to complete the scene. Texture plays a role too, with glossy finishes enhancing the look’s vibrancy. Layered elements create depth, making the nails pop.
Popular Colors and Patterns
Colors dominate tropical nail art’s impact. I choose shades such as coral orange, turquoise blue, sunny yellow, and lush green to evoke sunshine and ocean vibes. Patterns usually include overlapping leaves, scattered petals, and dotted details that mimic tropical fruits. Gradients blending sunset oranges into pinks capture the horizon at dusk. I also pair bright backgrounds with white stencil-like shapes for contrast. Choosing the right combination of colors and patterns keeps the design fresh and eye-catching.
Essential Tools and Materials
Creating tropical nail art requires specific tools and materials to bring the vibrant island vibes to life. I use high-quality products to ensure healthy nails and stunning results every time.
Nail Polishes and Brushes
Choosing the right nail polishes sets the foundation for tropical designs. I recommend bright, pigmented colors like coral orange, turquoise blue, sunny yellow, and lush green. These colors pop and mimic the tropical palette perfectly. I always keep a variety of finishes—glossy for vibrancy and matte for contrast. Using thin, fine-tipped brushes helps me paint delicate palm leaves, hibiscus petals, and intricate details. Flat brushes spread base colors evenly, while striping brushes create sharp lines and small patterns. Quality brushes maintain their shape after many uses, so I replace them only when necessary to ensure precision.
Additional Accessories and Decorations
Extra accessories elevate tropical nail art from simple to spectacular. I often add small rhinestones that reflect sunlight, enhancing the aquatic feel. Nail decals featuring pineapples, coconuts, or tropical flowers make design application faster and uniform. Dotting tools help apply tiny dots or accents, mimicking seeds or flower centers. For texture, I use nail foils or glitter sparingly to keep the look fresh and vibrant without overwhelming it. These accessories must be applied carefully and sealed with a durable topcoat to last and protect nail health.
Step-by-Step Guide to Creating Tropical Nail Art
Mastering tropical nail art brings vibrant island vibes to your fingertips. I’ve created thousands of looks over decades in the salon, and I’ll walk you through each essential step for stunning results.
Preparing Your Nails
Start with clean, dry nails. Trim and file them into your desired shape, whether square or almond, to create a polished base. Gently push back cuticles using a wooden stick or cuticle pusher—never cut them to avoid infections. Buff the nail surface lightly to remove shine and help the polish adhere better. Always apply a nourishing base coat to protect nails from staining and extend the wear of your design.
Designing the Tropical Base
Choose bright, pigmented colors like coral orange, turquoise blue, or sunny yellow for your base coat—these colors set the perfect tropical tone. Apply two thin, even layers, allowing each to dry completely before adding the next. Gradients work beautifully here: blend shades to mimic sunsets or ocean waves using a makeup sponge. Finish this step with a quick-dry coat if you wish to speed up drying time but avoid thick layers that can smudge.
Adding Detailed Tropical Elements
Use fine nail art brushes and dotting tools for detailed designs. Paint classic tropical motifs such as palm leaves, hibiscus flowers, pineapples, or coconuts in contrasting colors to make them pop. Layer petals and leaves with overlapping strokes to create depth. Rhinestones or small decals add sparkle, so apply them on tacky polish before sealing. Seal your artwork with a durable, glossy topcoat to protect the design and maintain nail health. Apply two coats of topcoat and let nails dry fully to avoid chips.
Tips for Long-Lasting Tropical Nail Art
Achieving vibrant tropical nail art is just the start. Keeping it looking fresh and flawless takes the right techniques and care. Over my decades running a nail salon, I’ve seen what works best to extend the life of your masterpiece without compromising nail health.
Proper Sealing and Drying Techniques
Start with a high-quality topcoat, applied evenly and generously over your design. I recommend gel or quick-dry topcoats because they create a strong, glossy barrier that resists chips and smudges. Always seal the edges of your nails by brushing the topcoat along the tips; this simple step prevents premature peeling.
Let your nails dry completely between each layer—base, color, design, and topcoat. If allowed to dry fully, your nail art will hold up much longer. For gel manicures, use an LED or UV lamp as directed, and avoid moving your hands until the curing process ends. If you’re using regular polish, air-dry nails for at least 20 minutes, then protect them from water for an hour if possible.
Maintenance and Touch-Up Advice
Keep your tropical nails fresh by moisturizing your cuticles and nails daily with cuticle oil. Dry skin around the nails can cause polish to lift and chip. Avoid hot water and harsh chemicals, or wear gloves when cleaning.
For any minor chips or fading, touch up using the same colors, then reseal with a fresh layer of topcoat. Doing this every three to four days adds durability without needing a full redo. If you notice lifting or peeling, gently file the edges to prevent catching and further damage.
Through proper sealing, careful drying, and regular upkeep, your tropical nail art stays vibrant and beautiful far beyond your first application.
Conclusion
Tropical nail art is such a fun way to bring a splash of sunshine into your everyday look. I love how it instantly brightens my mood and adds a bit of island flair wherever I go.
Once you get the hang of the techniques and find your favorite colors and patterns, creating these vibrant designs becomes a joyful creative outlet. Plus, with a little care, your nails can stay stunning for days.
Give it a try and let your nails transport you to a tropical paradise anytime you want!