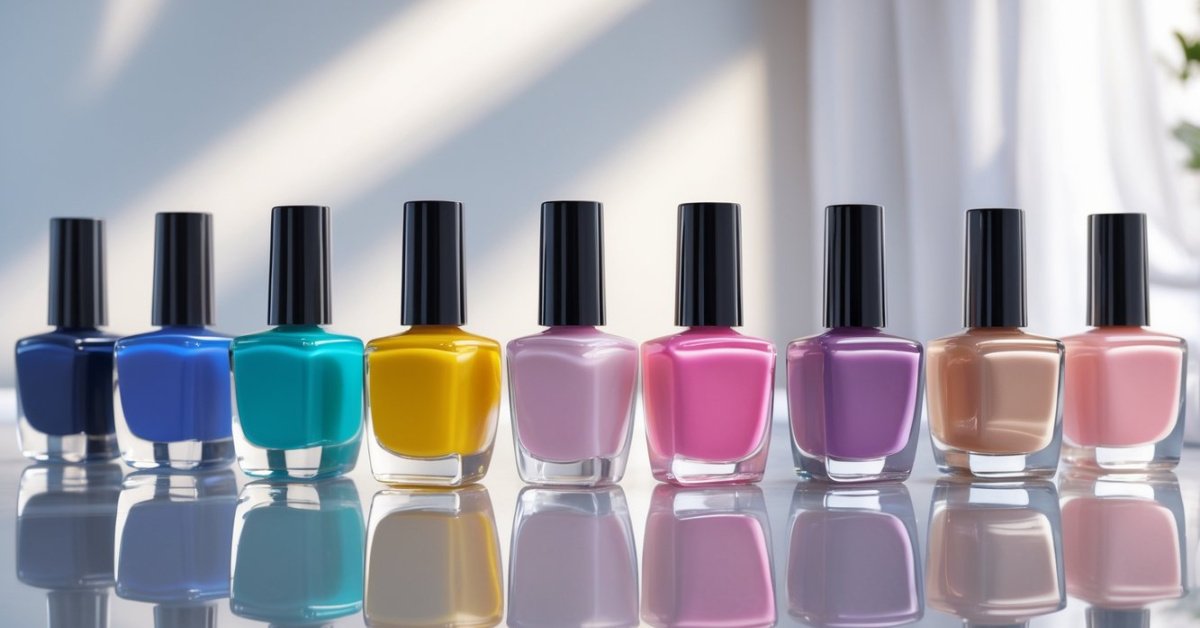
Nail powders have become my go-to for adding a touch of magic to my manicure. They offer endless possibilities from shimmering chrome to soft matte finishes that instantly elevate any look. If you’ve ever wondered how to get that salon-perfect finish at home, you’re in the right place.
Applying nail powders might seem tricky at first but once you get the hang of it, it’s a fun and creative process. I’ll walk you through the simple steps I use to achieve flawless nails that last. Whether you’re a beginner or just looking to refine your technique, this guide will help you master the art of nail powders with ease.
Understanding Nail Powders
Nail powders transform a basic manicure into a work of art. Knowing their types and benefits helps unlock their full potential.
Types of Nail Powders
I work mostly with three main types of nail powders:
- Chrome powders create a mirror-like, metallic shine that catches the light with dazzling effect.
- Holographic powders produce rainbow shifts, adding a dimensional glow to nail designs.
- Matte powders give a smooth, flat finish that contrasts beautifully against gloss.
Each type reacts differently depending on the base polish and application method, so experimenting reveals unique results.
Benefits of Using Nail Powders
I recommend nail powders for several reasons:
- They last longer than traditional polish and resist chipping through everyday wear.
- They dry quickly, speeding up the entire manicure process without sacrificing quality.
- They reduce the need for multiple layers, which keeps nails healthier and less brittle.
- They offer endless styles, from subtle shimmer to bold statement nails, fitting any occasion or mood.
Using nail powders elevates nail care to an art form, blending beauty with health and fashion seamlessly.
Preparing Your Nails for Application
Proper preparation ensures nail powders adhere smoothly and last longer. Here’s how I get nails ready for the best possible finish.
Cleaning and Shaping
First, I clean nails thoroughly to remove oils and residue. I soak nails in warm water for 2 to 3 minutes, then push back cuticles gently using a wooden stick or cuticle pusher. This prevents lifting and uneven application. Next, I file nails into the desired shape—square, oval, or almond—using a fine-grit file to avoid damage. I buff the nail surface lightly to create a smooth canvas, which helps the powder stick evenly. Finally, I wipe nails with a lint-free cloth soaked in 70% isopropyl alcohol to remove dust and oils completely.
Applying Base Coat
I always apply a thin coat of clear, high-quality base polish suited for powders. This layer protects natural nails and provides the perfect sticky surface for powder adhesion. I cure the base coat under an LED lamp for 30 seconds or as recommended by the product instructions; curing ensures it’s tack-free and ready for powder application. Applying base coat evenly without flooding cuticles prevents lifting and extends wear. For extra strength, I sometimes use a base coat with strengthening ingredients like keratin or calcium.
Step-by-Step Guide on How to Apply Nail Powders
Mastering nail powders begins with a careful, precise approach. Follow these steps to get a flawless, long-lasting finish that enhances both the health and beauty of your nails.
Applying the First Layer
Start by applying a thin, even coat of base polish designed for powder nails. I recommend using a base that cures under an LED lamp to ensure it sets properly without tackiness. Apply the polish smoothly, avoiding the cuticles to prevent lifting. Cure the nails under the LED lamp for about 30 seconds or until completely dry. The base layer forms the essential foundation for the powder to adhere to securely.
Dipping and Powder Application Techniques
Dip a clean, soft eyeshadow applicator or silicone brush into the nail powder. Work one nail at a time to maintain control and reduce mess. Gently press and rub the powder onto the nail surface in small circular motions to build an even, opaque coat. Avoid sweeping motions, which can create uneven patches. Tap off any excess powder and repeat if necessary to deepen the effect. For chrome powders, buffing lightly with a soft brush afterward intensifies the shine.
Sealing the Powder with a Top Coat
Finish by applying a thin layer of a high-quality top coat specifically formulated for powder nails. This step seals the powder and protects the design while enhancing shine or matte effects depending on the top coat type. Cure the top coat under the LED lamp for 60 seconds to lock everything in place. Avoid flooding the cuticle area to prevent lifting and ensure a smooth finish that lasts for weeks without chipping or dulling.
Tips for a Long-Lasting Finish
Achieving a durable, stunning nail powder manicure requires more than just skillful application. I focus on practical tips that extend wear and maintain your nails’ health while dazzling with beauty.
Avoiding Common Mistakes
Start by applying base coat in thin, even layers. Thick coats trap moisture, causing lifting. Cure base polish thoroughly under the LED lamp to create a solid foundation before applying powder. Avoid rushing this step or over-curing, which can weaken adhesion.
Next, dip or pat powder evenly onto the tacky surface without flooding cuticles. Excess powder creates uneven textures and peeling points. Use a gentle tapping motion, and remove stray powder around edges with a soft brush to prevent premature chipping.
Seal each layer with high-quality top coat. Skipping this step or applying it too thin reduces protective barrier effectiveness. Cure top coat completely to lock in color and shine. Reapplying a thin top coat every 2 to 3 days refreshes gloss and durability.
Maintenance and Care
Keep hands moisturized with cuticle oil daily. Hydrated cuticles prevent cracks and improve the manicure’s lifespan. Avoid using nails as tools to open packages or scrape surfaces to prevent chips and breaks.
Wear gloves when handling harsh chemicals or doing chores like washing dishes. Prolonged exposure to water and detergents weakens powder polish bonds. Buff nails gently only when necessary, as over-buffing thins powder layers and weakens structural integrity.
Schedule fills or touch-ups after 2 to 3 weeks to maintain appearance and nail health. Removing polish improperly, like peeling, damages natural nails and shortens polish life. Soak off with recommended solutions instead of forcing polish removal.
Following these expert tips keeps nail powder manicures vibrant, resilient, and healthy, blending fashion seamlessly with nail care.
Conclusion
Mastering nail powders has truly transformed my at-home manicures into something special. It takes a bit of patience at first, but once you get the hang of it, the results are well worth the effort.
I love how nail powders let me experiment with different looks while keeping my nails healthy. With the right prep, application, and care, you can enjoy gorgeous, long-lasting nails that feel salon-fresh every day. Give it a try—you might find yourself hooked just like I am!