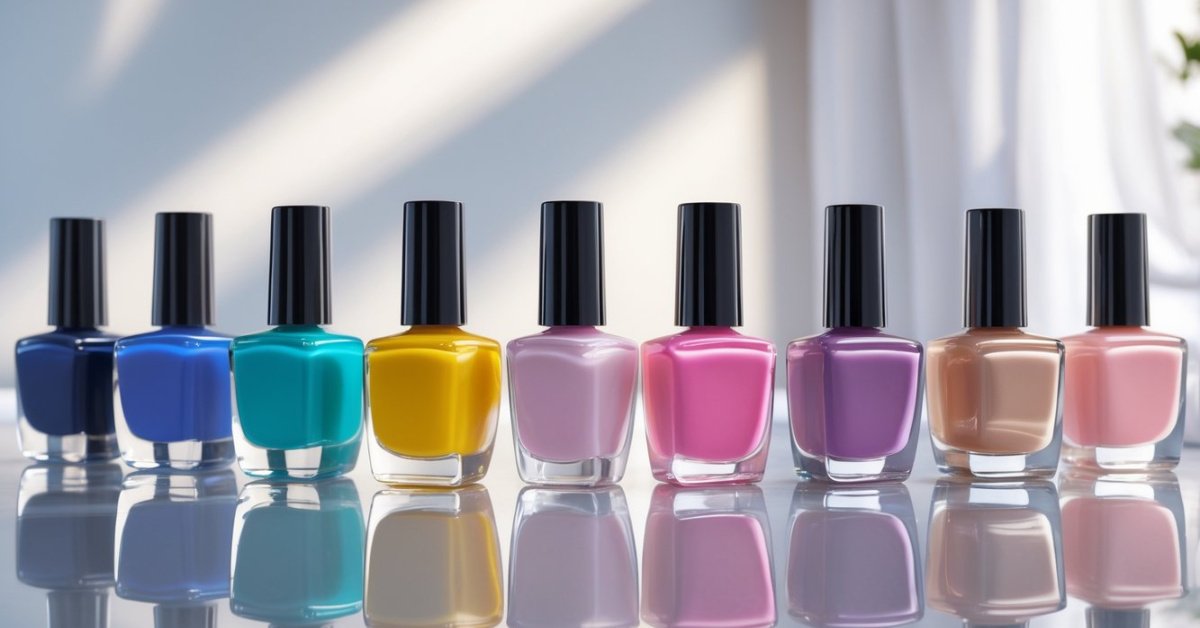
I remember the first time my little one asked for nail extensions. At first, I was a bit hesitant—after all, kids’ nails are so tiny and delicate. But with a little patience and the right approach, I found it’s totally doable and can be a fun bonding experience. Plus, it’s a great way to encourage creativity and self-expression in a safe way.
If you’re wondering how to apply nail extensions for kids without the mess or fuss, you’re in the right place. I’ll walk you through simple steps and share tips that make the process easy and enjoyable. Whether it’s for a special occasion or just some playful pampering, you’ll feel confident giving your child those cute, polished nails in no time.
Understanding Nail Extensions for Kids
Nail extensions for kids require extra care and consideration because children’s nails are thinner and more sensitive than adults’. Choosing safe materials and the right type of extensions makes all the difference in protecting young nails while keeping the experience fun and stylish.
Safe Materials and Products
I always recommend using non-toxic, hypoallergenic nail products specifically designed for sensitive skin. Avoid acrylic powders or gels containing harsh chemicals like formaldehyde, toluene, or dibutyl phthalate, which can irritate delicate nails. Instead, look for water-based glues and breathable nail tips that allow air circulation. Brands that comply with safety standards from the FDA or the Environmental Working Group (EWG) offer safer alternatives. Keeping the tools clean and sanitized also helps prevent infections.
Choosing the Right Type of Nail Extensions
When selecting extensions for kids, opt for soft, flexible nail tips made from materials like silicone or soft plastic instead of rigid acrylics. Press-on nail kits designed for children provide a secure yet gentle fit without damaging the nail bed. Lightweight gel extensions cured with LED lights tend to be safer, as they release fewer harmful fumes and dry quickly. Always select sizes that fit properly—too large can cause lifting, too small can harm the natural nail. Taking the child’s age and activity level into account ensures the extensions stay intact longer.
Preparing Kids for Nail Extensions
Making sure kids are ready for nail extensions starts with proper care and a relaxed environment. Knowing how to handle their delicate nails keeps the process safe and fun.
Nail Care and Hygiene
Keeping kids’ nails clean and healthy sets the foundation for flawless extensions. I always wash the hands thoroughly before starting, removing any dirt or oils that can affect adhesion. I trim and gently file the natural nails to shape them evenly, avoiding harsh buffing that can weaken the nail bed. I advise parents to maintain regular hygiene habits, including moisturizing the cuticles with gentle, kid-safe oils to keep the skin soft and prevent hangnails. Proper care reduces the chance of infection and promotes better bonding of the extensions.
Setting Expectations and Comfort
Talking with kids about what to expect helps create a calm experience. I explain the steps simply, showing the products and tools I’ll use so nothing feels unfamiliar. Encouraging them to sit still but allowing small breaks makes the session enjoyable. I remind parents that extensions might feel different at first but shouldn’t hurt or cause discomfort. If their child feels uneasy or fidgety, pausing or adjusting techniques helps maintain comfort. Setting clear expectations about the temporary nature of extensions and the importance of gentle handling afterward supports a positive introduction to nail polish and nail art.
Step-by-Step Guide to Applying Nail Extensions for Kids
Applying nail extensions for kids requires extra care and attention. I break down the process into simple steps that guarantee a safe, fun, and beautiful result.
Tools and Supplies Needed
Gather non-toxic, hypoallergenic tools to protect sensitive skin. Essential items include:
- Soft, flexible nail tips made from silicone or soft plastic
- Water-based adhesive designed for kids’ nails
- Gentle nail file and buffer
- Nail clippers appropriate for children
- Cuticle pusher or orange stick
- Mild nail cleanser or alcohol-free wipes
- Optional: kid-friendly nail polish or topcoat
Ensuring each supply is safe and gentle keeps children’s nails healthy throughout the process.
Cleaning and Prepping the Nails
Start by washing your child’s hands with warm water and mild soap to remove oils and dirt. Pat nails dry completely. Trim nails short, leaving enough length for the extension to attach securely. Gently buff the nail surface to create a slightly rough texture that helps the adhesive bond. Push back cuticles carefully without forcing to avoid irritation. Clean the nails with a mild cleanser or alcohol-free wipe to remove dust and oils.
Applying the Nail Extensions
Choose nail tips that match each natural nail’s size to prevent lifting or discomfort. Apply a thin layer of water-based glue sparingly to the nail tip’s inner edge. Press the tip onto the natural nail firmly but gently for about 10 seconds until secure. Repeat for all fingers. Avoid excess glue contact with skin or cuticles to minimize irritation. Allow glue to dry fully before moving on.
Shaping and Finishing Touches
Once all extensions are in place and dry, trim and file tips to the desired length and shape using a gentle, child-safe file. Buff edges smoothly to prevent snagging. If desired, apply a hypoallergenic, water-based topcoat or kid-safe nail polish for color and shine. Let polish dry fully to avoid smudges. Finally, encourage children to avoid rough use for several hours to maintain nail integrity.
Following these steps ensures a safe, enjoyable, and stylish nail extension experience tailored to kids’ delicate nails.
Tips for Maintaining Nail Extensions on Kids
Keeping kids’ nail extensions looking fresh and healthy takes consistent care. I’ve spent decades perfecting nail care and learned that with the right routine, kids’ nails stay safe and beautiful.
Daily Care Routine
Start with gentle washing. I recommend using mild soap and lukewarm water to clean the nails daily. Pat nails dry instead of rubbing to avoid lifting the extensions. Encourage kids to avoid biting or picking at their nails; it weakens both extensions and natural nails. Hydrate the cuticles often with a kid-friendly oil or moisturizer to keep skin soft and prevent cracks around the nails. Use gloves when kids play outside or help with chores involving water or dirt to protect their nails from damage. Check nails for any loosening or lifting regularly and fix them promptly to avoid discomfort or infection.
Avoiding Common Problems
Prevent infections by keeping nails dry and clean. Extensions can trap moisture if not properly maintained, so avoid prolonged water exposure. If lifting occurs, avoid pulling the extension off, which can tear the natural nail. Instead, return for a professional fix or remove the extension using safe, recommended methods. Avoid harsh chemicals like acetone or strong detergents near nail extensions; they break down adhesives and damage the tips. I always advise using products labeled hypoallergenic and free of toxic ingredients. Lastly, ensure nail extensions fit well from the start to minimize snagging or accidental chipping, which is common with ill-fitting tips on active kids.
Conclusion
Applying nail extensions for kids doesn’t have to be tricky or stressful. With the right products and a gentle approach, it can turn into a fun activity that both you and your child enjoy.
Remember, patience and care are key to keeping little nails healthy and happy. It’s all about making the experience safe, creative, and full of smiles. Give it a try and watch those tiny nails shine!