I’ve always loved the way a fresh coat of nail paint can instantly brighten up my day. But getting that perfect, smooth finish isn’t always as easy as it looks. Whether you’re a beginner or just want to improve your technique, knowing the right steps can make a huge difference.
Applying nail paint is more than just slapping on color. It’s about prepping your nails, choosing the right tools, and mastering a few simple tricks to avoid smudges and streaks. I’m excited to share some easy tips that will help you achieve salon-worthy nails right at home.
Preparing Your Nails for Painting
Preparing nails properly sets the foundation for a flawless polish finish. I focus on clean, well-shaped nails to ensure the paint adheres smoothly and lasts longer.
Cleaning and Trimming
Cleaning nails removes oils and residues that block polish adhesion. I start by soaking nails in warm, soapy water for 5 minutes, softening both skin and cuticles. Afterward, I dry nails completely and trim them with sharp nail clippers to the desired length. Filing edges with a fine-grit file softens corners, preventing chips. I always push back cuticles gently using a wooden stick, avoiding cuts that cause infection. Healthy nails free of dirt and oils hold polish better and look more vibrant.
Applying a Base Coat
Applying a base coat protects nails from staining and improves polish durability. I choose a base coat infused with strengthening ingredients like keratin or vitamins. I apply one thin layer, covering the entire nail surface, including edges. This layer creates a sticky base for color polish to bond with and seals nails against pigments, especially darker shades. After applying, I let the base coat dry fully for 2–3 minutes to avoid smudging the color coat. A good base coat makes all the difference in achieving a salon-quality finish that lasts.
Choosing the Right Nail Paint
Choosing the right nail paint sets the stage for a flawless manicure. Picking the proper formulas and colors ensures nails look vibrant and healthy while matching your style perfectly.
Types of Nail Paints
Understanding nail paint types improves application and durability.
- Regular nail polish: Traditional formula, easy to apply, offers a wide color selection; lasts 3 to 7 days with proper care.
- Gel nail polish: Cures under UV or LED light, provides a glossy, chip-resistant finish; lasts 2 to 3 weeks; requires special removal to avoid nail damage.
- Matte nail polish: Dries with a flat, non-glossy finish; perfect for trendy, understated looks; may need top coat for longevity.
- Breathable nail polish: Formulated to allow oxygen flow; supports nail health; ideal for sensitive or weak nails.
- Quick-dry nail polish: Contains fast-evaporating solvents; beneficial when time is limited; sometimes sacrifices durability.
Selecting the right type depends on personal preferences, nail condition, and maintenance routines.
Selecting Colors and Finishes
Choosing colors and finishes aligns nails with your personality and occasions.
- Classic reds and pinks: Timeless, suitable for virtually every setting; enhance nail appearance and complement most skin tones.
- Nude and neutral shades: Versatile, subtle; elongate fingers visually; perfect for professional environments.
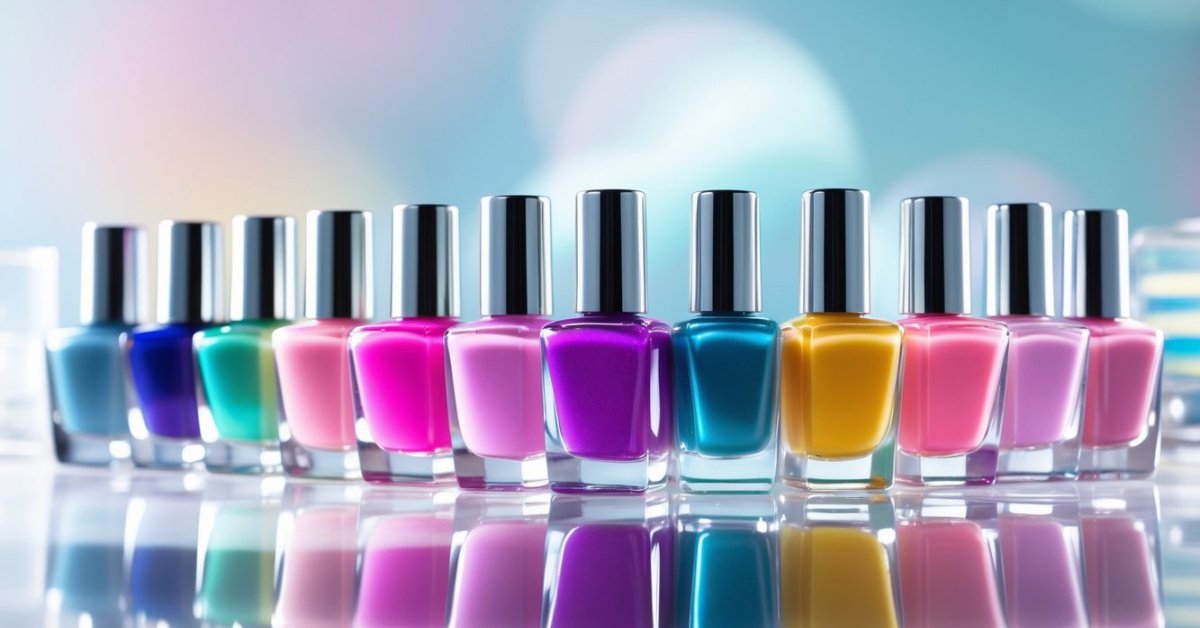
- Bold and vibrant colors: Blues, greens, purples; express creativity and fashion-forward style; best for casual or statement looks.
- Metallic and glitter finishes: Add sparkle and dimension; great for parties or special events; require strong base and top coats for durability.
- Sheer and translucent finishes: Emphasize natural nails; create understated elegance; often used with nail art.
Matching colors to skin undertones or seasonal trends enhances overall effect. Finishes should suit lifestyle demands—glossy for shine, matte for sophistication, or glitter for fun.
Step-by-Step Guide to Applying Nail Paints
Applying nail paint takes practice and careful technique to get that flawless finish. I’ve owned a nail salon for decades and often tell clients that perfect nails come from patience and precision at each step.
First Coat Application
Start by applying a thin first coat of nail paint. I dip the brush into the bottle just enough to cover the brush’s bristles lightly, avoiding excess that causes drips. Begin from the center of the nail near the cuticle, then sweep the brush toward the tip in smooth, steady strokes. Use one stroke down the middle and then two on each side to cover the edges evenly. A thin coat dries faster and ensures even coverage. Let the first coat dry completely before moving on, or the second coat may streak or smudge.
Second Coat and Touch-Ups
Apply a second coat once the first dries fully, repeating the same smooth strokes. This coat deepens the color and corrects any patchy or uneven spots. For imperfections near the edges or cuticles, use a small brush dipped in nail paint remover for precise touch-ups. Avoid thick coats, which increase drying time and risk smudging. Allow the second coat to dry thoroughly to lock in the color and shine, setting the stage for a top coat if desired.
Tips for Achieving a Professional Look
Mastering a salon-quality nail paint finish takes attention to detail and smart techniques. I’ve learned over decades running my nail salon that small adjustments make a huge difference.
Avoiding Common Mistakes
Start with clean, dry nails to prevent polish peeling. Apply thin coats instead of thick layers—thick coats trap moisture and cause bubbles or smudges. Use steady, even strokes beginning at the cuticle and sweeping to the tip, avoiding excess polish on skin or cuticles. If polish touches your skin, quickly wipe it away with a cotton swab dipped in remover to keep edges sharp. Avoid shaking polish bottles; instead, roll them between your palms to mix pigment without creating air bubbles. Lastly, don’t rush between layers—let each coat dry fully before applying the next to maintain smoothness and prevent streaks.
Drying and Setting Techniques
Speed drying helps lock in that flawless look. Use a quick-dry top coat rich in UV blockers and hardening agents for shine and durability. After finishing the top coat, dip nails in cool water for two minutes or use a nail dryer to speed hardening. Avoid using your hands for at least 15 minutes after application to prevent dents or smudges. If you want extra protection, a thin layer of cuticle oil seals moisture and keeps nails looking healthy. Investing time in drying seals polish firmly and extends your manicure’s life.
Maintaining Your Painted Nails
Keeping painted nails looking fresh and beautiful takes more than just applying polish. Proper maintenance ensures the color stays vibrant and nails remain healthy.
Top Coats and Nail Care
Applying a top coat seals the color and adds a glossy finish that resists chipping. I recommend reapplying a clear top coat every two to three days to extend the life of your manicure. Choose one with strengthening ingredients like keratin or vitamin E if you want extra nail care benefits. Avoid harsh chemicals and wear gloves when doing household chores to protect the polish and your nails. Regular use of cuticle oil softens the skin around your nails and prevents cracking, keeping your manicure neat and your nails healthy.
Removing Nail Paint Safely
Removing nail paint safely prevents damage and dryness. Use an acetone-free remover that’s gentle on nails and cuticles, especially if you polish frequently. Soak a cotton ball and press it on the nail for a few seconds before wiping away polish to reduce scrubbing that can weaken nails. After removing polish, wash and moisturize your hands well. Give nails some time without polish occasionally to breathe and regenerate, maintaining their strength and natural shine.
Conclusion
Nail painting is a fun way to express yourself and boost your confidence. With a little patience and practice, you can master the techniques that make your nails look salon-perfect right at home. Remember, it’s all about the details—from prepping your nails to choosing the right polish and taking care of them afterward.
Don’t rush the process, and enjoy the creativity that comes with each color and finish. Your nails deserve the best care, and when you treat them well, the results will truly shine. Happy painting!