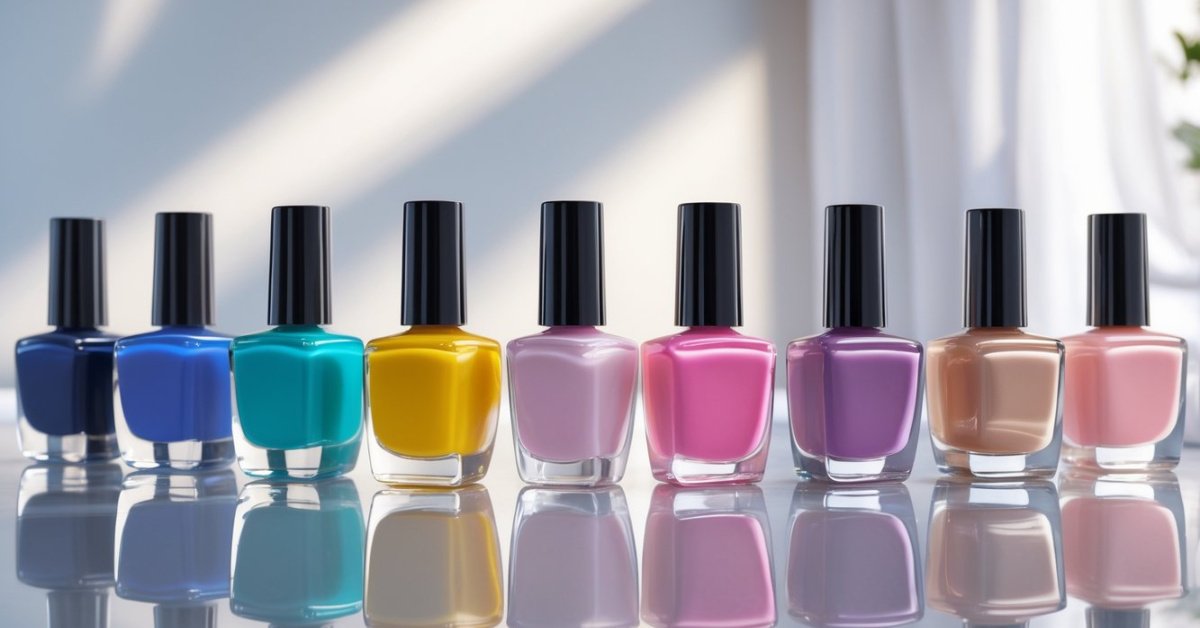
I’ve always loved having beautiful nails but found salon visits time-consuming and pricey. That’s why I got curious about dip powder nails. They offer a durable, vibrant finish that lasts longer than regular polish and don’t require a UV lamp. Plus, you can do them right at home with the right steps.
If you’re like me and want to give dip powder nails a try, I’ll walk you through the process. It’s easier than it looks once you get the hang of it. With a little practice, you’ll have salon-quality nails that stay flawless for weeks. Let’s dive into how to apply dip powder nails so you can enjoy gorgeous nails anytime you want.
Understanding Dip Powder Nails
Dip powder nails offer a unique way to achieve long-lasting, vibrant nails without the hassle of traditional polish or gel. My years running a nail salon taught me the value of this technique for both durability and style.
What Are Dip Powder Nails?
Dip powder nails use colored powder and a bonding agent to create a strong, chip-resistant coating on the nails. Instead of painting polish on and curing it under a lamp, the nails get dipped into pigment powders layer by layer. This method builds a thick yet lightweight finish that feels natural and lasts up to four weeks. The powders come in many colors and finishes, allowing easy customization for any look.
Benefits of Using Dip Powder Nails
Durability stands out most with dip powder nails because they resist cracks and chips better than traditional polish. They dry instantly without UV light exposure, reducing nail damage risks. The finish stays vibrant and glossy longer, which suits busy lifestyles or people who use their hands often. Plus, the application takes less time at home or in salons, combining beauty with convenience.
Preparing Your Nails for Application
Proper preparation sets the foundation for flawless dip powder nails. I ensure each step focuses on health, cleanliness, and ideal nail shape to maximize adhesion and durability.
Cleaning and Shaping Nails
I start by removing old polish and washing hands thoroughly to eliminate oils and dirt. Next, I push back cuticles gently using a wooden stick or cuticle pusher, careful not to damage the nail bed. I file nails to the desired shape—square, oval, or almond—using a fine-grit file. Smoothing edges prevents chipping later. I buff the nail surface lightly to create a slightly rough texture, which helps the bonding agent grip better. Finally, I wipe nails with a lint-free cloth soaked in nail cleanser or rubbing alcohol to remove dust and oils.
Applying a Base Coat
I apply an even layer of base coat designed specifically for dip powder systems. The base coat acts as an adhesive to hold the powder securely. I ensure the coat covers the entire nail surface without flooding the cuticle area, which could cause lifting. After applying, I dip the nail immediately into the chosen powder while the base coat remains tacky. This sequence repeats for each nail. Proper base coat application increases longevity and prevents premature peeling or chipping.
Step-by-Step Guide on How to Apply Dip Powder Nails
Applying dip powder nails takes practice but the process is straightforward when done right. I’ve owned a nail salon for decades and seen how this technique combines beauty and durability. Here’s how I approach each critical step.
Dipping Nails into the Powder
I start by applying a thin, even layer of base coat to one nail. Then I dip that nail straight down into the powder at a 45-degree angle, fully submerging it without shaking off excess yet. I repeat this for each nail individually to keep the powder fresh and avoid clumps. Waiting to dip nails one by one maintains a clean finish and prevents smudging. After dipping, I gently tap the finger sideways to remove loose powder particles. This method ensures solid adhesion and a smooth, vibrant finish.
Sealing with Activator
Right after dipping all nails, I apply the activator liquid. This step immediately hardens the powder and bonds it to the nail surface. I spread the activator evenly, covering the entire nail and ensuring no area is missed, especially near the cuticles. The activator dries quickly and sets the base layers, locking in color and strength. Proper use of activator prevents lifting and helps maintain the powder manicure’s durability for weeks.
Applying Additional Layers
For extra strength and depth of color, I apply additional layers following the same dip and activator steps. After the first layer dries, I repeat the base coat, dip powder, and activator process once or twice more, depending on the look desired. Each layer adds thickness, resilience, and saturation without feeling heavy. I finish with a topcoat to seal the manicure and add shine. This layering technique is key to achieving that salon-quality, long-lasting finish that dip powder nails are known for.
Finishing Touches and Aftercare
Perfecting dip powder nails doesn’t stop after applying the last layer of powder. Finishing touches and proper care keep nails looking flawless and strong.
Applying Top Coat for Shine and Protection
I always apply a top coat as the final step to seal in the dip powder layers. Use a thin, even coat across the entire nail surface. This locks in color and adds a glossy, salon-quality shine. After applying, let the top coat air dry for a few minutes. Avoid rushing this step, as a well-cured top coat prevents chipping and dullness. If you prefer extra durability, a second thin top coat enhances protection without compromising shine.
Tips for Maintaining Dip Powder Nails
Maintaining dip powder nails extends their life and preserves their beauty. Moisturize cuticles daily with nourishing oils or creams to prevent dryness and peeling. Wear gloves when cleaning or doing chores involving water and chemicals to protect nails from weakening. Avoid using nails as tools; even dip powder nails chip or lift under pressure. If you notice slight lifting or rough edges, gently file or buff the area to keep nails smooth. Regular touch-ups every 2-3 weeks maintain vibrancy and strength, especially if your nails grow quickly. Following these tips keeps nails healthy and your dip powder manicure looking fresh longer.
Common Mistakes to Avoid
Skipping proper nail prep weakens dip powder adhesion, causing premature lifting or peeling. Avoid this by thoroughly cleaning nails, pushing back cuticles, and lightly buffing the surface before applying base coat.
Applying thick layers of powder creates uneven texture and long drying time, reducing durability. Instead, dip nails at a 45-degree angle in thin, even coats to build a smooth finish with strong bonding.
Flooding the cuticle area with base coat or powder leads to lifting and an unpolished look. Carefully apply products close to but not touching the skin for clean lines and lasting wear.
Neglecting to apply enough activator compromises the hardening process, resulting in a tacky or brittle finish. Apply activator evenly and allow it to dry fully before moving on to the next step.
Skipping the topcoat sacrifices shine and protection, shortening the lifespan of your manicure. Always finish with a high-quality topcoat to seal layers, enhance gloss, and guard against chips.
Ignoring aftercare weakens your nails and reduces polish longevity. Regularly moisturize cuticles, avoid harsh chemicals without gloves, and perform touch-ups to keep nails healthy and vibrant.
Failing to work in a well-ventilated area exposes you to strong fumes from powders and activators. Ensure proper ventilation to protect your health during the application process.
Using expired or low-quality powders diminishes color vibrancy and adhesion. Choose reputable brands to guarantee consistent results and nail safety.
Rushing the application often leads to messy results and uneven curing. Take your time with each step to achieve the salon-quality nails you desire.
Conclusion
Getting the hang of dip powder nails is totally doable with a bit of practice. Once you nail the basics, you’ll enjoy vibrant, long-lasting nails without the salon price or time.
I love how this method fits into my busy schedule while still giving me that polished look. Give it a try—you might find it’s your new favorite way to keep your nails looking fabulous.