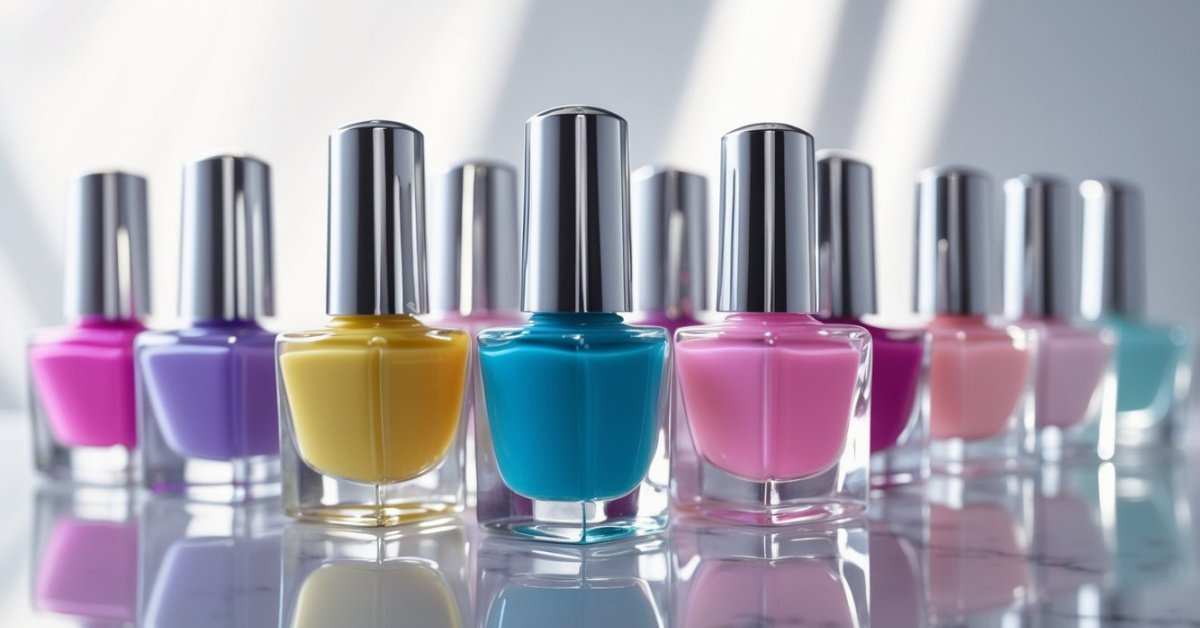
I’ve always loved experimenting with nail art, and nail pigments have quickly become one of my favorite ways to add a pop of color and shimmer. They’re super versatile and can transform a simple manicure into something eye-catching and unique. If you’re new to nail pigments or just looking to up your game, I’m excited to share some easy tips and tricks to help you get that flawless, salon-worthy finish at home.
Understanding Nail Pigments
Nail pigments play a key role in creating stunning, vivid manicures. Knowing their types and benefits helps in choosing the right ones for every look.
Types of Nail Pigments
Powder pigments come in various forms, like chrome, holographic, and matte finishes. Each offers unique effects—chrome pigments add mirror-like shine, holographic pigments create rainbow reflections, and matte pigments provide a soft, non-glossy finish.
Liquid pigments mix into clear polish or gel to create custom colors. They provide smooth application and blending capabilities for creative designs.
Pressed pigments resemble eyeshadows but are specially formulated for nails. I use pressed pigments for precise detailing or layering over gel polish.
Benefits of Using Nail Pigments
Vibrancy stands out because pigments deliver pure, concentrated color that lasts without fading.
Flexibility allows mixing pigments to create personalized shades, matching fashion trends or seasonal styles instantly.
Durability improves since pigments bond well with gels, reducing chipping and extending manicure life.
Health-conscious clients find pigments desirable as many contain fewer harsh chemicals than traditional polishes, aligning with my commitment to safe beauty.
Using pigments elevates nail art to professional levels, giving every manicure the luxe finish it deserves.
Tools and Materials Needed
Mastering nail pigments starts with gathering the right tools and materials. I rely on quality products that balance health, beauty, and performance to get every manicure just right.
Essential Supplies
- Base coat: I use a nourishing, non-toxic base coat to protect natural nails and enhance pigment adhesion.
- Nail pigments: Powders, pressed pigments, or liquid pigments in vibrant shades or shimmers fit different looks. Chrome, holographic, and matte powders remain my favorites for varied finishes.
- Top coat: A durable, glossy top coat seals pigment particles and provides long-lasting shine while preventing chipping.
- Applicator tools: Soft eyeshadow brushes or silicone applicators ensure smooth, even pigment application without waste.
- UV/LED lamp: For curing gel-based top coats, a reliable UV or LED lamp guarantees proper drying and durability.
- Cleanser: Isopropyl alcohol or a specialized nail cleanser removes residue and preps the nail surface before pigments go on.
Optional Accessories
- Cuticle pusher: I find a steel or wooden push stick ideal for cleaning edges and prepping cuticles for a clean finish.
- Lint-free wipes: They help remove excess pigment and polish without leaving fibers behind.
- Mixing palette: When customizing colors with liquid pigments, a small palette keeps blends neat and controlled.
- Nail primer: For clients with oily nails or challenging surfaces, a primer boosts pigment adhesion and longevity.
- Finger separator: To keep nails apart and tidy during application, especially useful for multi-tasking or detailed work.
These supplies create a foundation for vibrant, professional-quality pigment manicures with health-conscious care.
Step-by-Step Guide on How to Apply Nail Pigments
Mastering nail pigments requires attention to detail and quality steps. Following this guide ensures vibrant, long-lasting results.
Preparing Your Nails
Start by cleaning nails thoroughly to remove oils and residues. Gently push back cuticles using a cuticle pusher for a neat nail bed. Lightly buff the nail surface to create a smooth base for pigment adhesion. Wipe nails with a cleanser or alcohol pad to eliminate dust and moisture. Avoid skipping this step, as it impacts pigment longevity and finish.
Applying Base Coat and Pigment
Apply a thin layer of nourishing base coat to each nail. Cure under a UV/LED lamp according to the product’s instructions, usually 30 to 60 seconds. Use a soft applicator or eyeshadow brush to pick up pigment powder. Tap off excess powder before pressing it firmly onto the cured base coat. Build intensity by repeating the process if needed, curing briefly between layers. For liquid pigments, apply a thin coat evenly and cure as directed. This layering ensures rich color and shimmer.
Sealing with Top Coat
Seal the pigment with a high-quality top coat for durability and shine. Apply a generous yet even coat, covering the entire nail and sealing edges. Cure under the UV/LED lamp for the recommended time, generally 60 seconds. Wipe nails with a cleanser to remove any sticky residue if using a gel top coat. Proper sealing locks in the pigment and protects nails from chipping, maintaining a professional finish.
Tips for a Longer-Lasting Finish
Keeping nail pigments vibrant and chip-free takes more than just the right application. I’ve learned a few key strategies over decades in the salon business that extend the life of your pigment manicure.
Avoiding Common Mistakes
Starting with clean, dry nails is crucial; any oils or residue interfere with pigment adhesion. Applying thick layers of base or top coat slows curing, causing premature lifting. Always use thin, even coats cured properly under your UV/LED lamp. Rushing the pigment application or not sealing edges leaves nails vulnerable to chipping. Avoid using regular polish base coats, as they don’t bond well with pigments. Choosing quality pigments and top coats designed for lasting wear keeps the finish intact, so invest in reliable products.
Maintenance and Touch-Ups
Maintaining your pigment nails means keeping them dry and protected. Wearing gloves during chores and avoiding harsh chemicals preserves the finish. If minor chips appear, gently buff the area and reapply pigment and top coat rather than removing the entire manicure. Regularly moisturizing your cuticles and nails prevents dryness that can cause lifting. Scheduling touch-ups every 7 to 10 days helps maintain that freshly done look without a full redo. These simple steps keep your nails looking salon-fresh longer and protect your investment in beautiful pigment manicures.
Conclusion
Mastering nail pigments has truly transformed how I approach manicures. It’s amazing how a little shimmer or a pop of color can completely elevate your look.
With the right tools and a bit of practice, anyone can create stunning, long-lasting nails at home. I hope you feel inspired to experiment and make your nail art uniquely yours. Keep playing with those pigments and enjoy the process!

