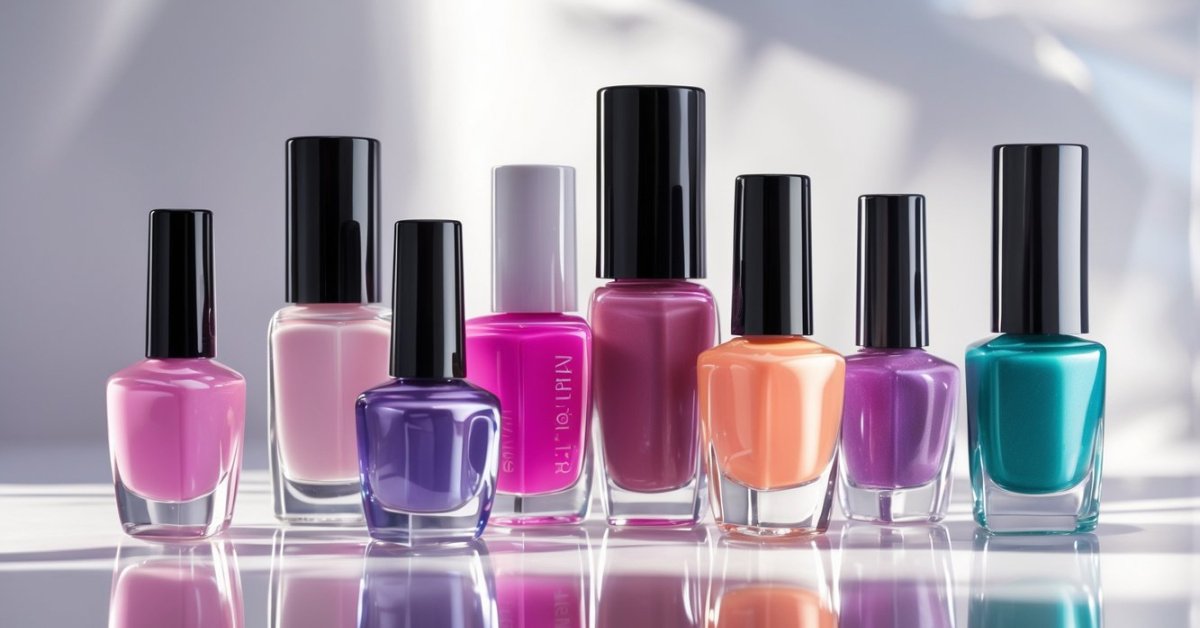
Halloween is just around the corner and I’m already buzzing with ideas to make my nails stand out this spooky season. Whether you’re into creepy spiders, glowing pumpkins, or classic ghosts, there’s a perfect nail art design waiting for you. I love how a little creativity on your nails can instantly add to the Halloween vibe.
The Best Nail Art for Halloween: Spooky and Stylish Designs
I’ve seen nail trends come and go, but Halloween always brings out the most fun and creative designs. Here are my top picks that balance spooky vibes with stylish flair.
- Glowing Pumpkin Nails: I love using bright orange polish with a glowing finish to mimic jack-o’-lanterns. Adding tiny black details for eyes and mouths creates that perfect Halloween pop. If you layer a shimmer topcoat, it gives a subtle glow under dim light, enhancing the festive look.
- Creepy Spider Webs: Thin black lines over a nude or dark base polish work great to create intricate spiderweb patterns. Placing tiny spider decals or hand-painting small spiders adds a realistic touch. Spider webs fit almost any nail shape and length, making them versatile and elegant.
- Classic Ghosts: White polish used as a base with simple black eyes and mouth shapes forms cute or eerie ghosts. Matte topcoats soften the shine prioritizing a ghostly effect. This design suits short and long nails and pairs well with glitter accents for extra charm.
- Blood Drip Effects: Deep red polish applied with a precise brush to resemble dripping blood makes a dramatic statement. Using a high-gloss topcoat ensures the red shines like fresh blood, intensifying the spooky feel. This style pairs perfectly with a black or dark base.
- Black Cats and Bats: Silhouettes of black cats with arched backs or flying bats add playful mystery. I recommend using black polish over a gradient or glitter background to highlight these shapes. Small rhinestones as eyes or accent nails add dimension without overwhelming the design.
Choosing the right topcoats and tools enhances the durability and vibrance of these designs. I advise gel or hybrid polish systems if you want your nails to hold up through Halloween parties and trick-or-treating. These nail art ideas mix haunting themes with wearable beauty, perfect for anyone passionate about nail polish and festive fashion.
Popular Halloween Nail Art Themes
Nail art for Halloween offers endless ways to express creativity. Choosing the right theme helps capture the festive spirit while showcasing your skills. I focus on designs that combine health-conscious polish choices with striking visuals, ensuring both beauty and wearability.
Classic Halloween Symbols
Classic motifs like pumpkins, ghosts, and spider webs remain staples in Halloween nail art. Pumpkins painted in various shades of orange with glowing details create a warm yet eerie effect. Ghost designs in translucent white polish capture spooky fun without being too scary. Spider webs, often drawn with fine black or silver lines over contrasting backgrounds, add intricate texture. These symbols connect directly with Halloween traditions and suit every nail length and shape.
Horror and Gothic Styles
Horror-inspired nails bring drama with blood-drip effects, skeletons, and skull patterns. Deep reds, blacks, and purples form the base palette, helping create a gothic vibe. Use matte topcoats to enhance darkness or glossy finishes for a wet, creepy look. Gothic styles often incorporate metallic studs or chains painted on polish for added edge. These themes work well for those who prefer bold statements and enjoy mixing nail health with intense artistic flair.
Cute and Whimsical Designs
Whimsical nail art softens Halloween’s spookiness with adorable bats, candy corn, and quirky witches’ hats. Pastel purples and pinks offset typical dark colors, making nails playful and approachable. Smiling pumpkins or cartoon ghosts invite fun and charm. Layering sheer polishes maintains nail strength while achieving multi-dimensional effects. These designs make Halloween approachable for clients who want festive nails without the fright factor.
Choosing any of these themes lets fingers become canvases for Halloween spirit, combining health-conscious polish with style and creativity.
Techniques and Materials for Halloween Nail Art
Creating standout Halloween nail art requires the right techniques and materials. My years running a nail salon show that combining quality products with simple methods delivers the best results for any skill level.
DIY vs. Professional Nail Art
DIY nail art offers flexibility and fun, letting you experiment with themes like glowing pumpkins or spider webs at home. Basic tools such as dotting pens and thin brushes help achieve detailed designs when you take your time. However, professional nail art guarantees precision and durability through expert application and advanced technology like gel polish curing under UV lamps. I recommend DIY for casual events and professional services for long-lasting, flawless looks during major Halloween festivities.
Tools and Products Needed
Nail art success hinges on the right tools and products. Essential items include:
- Gel and Hybrid Polishes: They last longer and resist chips, perfect for festive wear.
- Thin Detailing Brushes: Crucial for drawing intricate designs like spider webs or blood drip effects.
- Dotting Tools: Helpful for creating dots and small shapes such as eyes or pumpkin seeds.
- Topcoats: Matte and glossy topcoats both enhance designs while protecting polish.
- UV/LED Lamps: Needed for curing gel polishes efficiently without damage.
- Nail Stickers and Stencils: Great for quick application of complex shapes like bats or ghosts.
Investing in health-conscious, non-toxic products supports nail and skin health, especially around Halloween when nail polish use intensifies. My salon always emphasizes safe, breathable formulas that preserve natural nails while delivering stunning results.
Step-by-Step Guide to Creating Halloween Nail Art
Creating standout Halloween nail art starts with proper preparation and smart decorating techniques. I’ll walk you through each step to make sure your nails look festive, vibrant, and healthy.
Preparing Your Nails
First, I focus on nail health to create a smooth canvas. I trim nails to your preferred length and file them into shape, avoiding harsh back-and-forth sawing which can weaken the edges. Next, I gently push back cuticles using a wooden stick or cuticle tool after soaking them in warm water for a few minutes. This keeps the nail bed neat and ready.
Then, I polish off any oils or residues using a non-acetone nail polish remover, so color adheres better. I recommend a quick buff to smooth ridges but avoid over-buffing, which thins nails. If your nails are dry, I apply a light nail oil and wait a few minutes before starting polish.
Finally, I always apply a base coat. It prevents staining from pigmented Halloween colors like deep orange or black and strengthens the nail surface. Using a nourishing base coat packed with vitamins helps maintain nail health during repeated polish applications.
Painting and Decorating Tips
Next, I choose high-quality gel or hybrid polishes to keep your design vibrant for days. Applying thin, even coats helps avoid bubbles and streaks. Each layer should fully cure under an LED/UV lamp if using gel, or dry completely if using regular polish.
For Halloween designs, I use fine detailing brushes and dotting tools to create sharp spider webs, tiny ghosts, or dripping blood effects. If you lack steady hands, nail stickers and stamps offer precise shapes quickly.
Layer colors strategically. I paint background colors like matte black or bright orange first. After they dry or cure, I add detailed art in contrasting hues, such as white spider webs on black nails, for a crisp look.
Seal your work with a glossy or matte topcoat designed to resist chipping. Make sure to cap the nail edges to prolong wear through Halloween parties and activities.
Regular moisturizing with cuticle oil after polishing keeps skin soft and nails strong, maintaining your festive look longer.
Where to Find Inspiration for Halloween Nail Art
Finding the perfect Halloween nail art starts with the right inspiration. I turn to a few trusted sources that keep my creativity sharp and my designs fresh every season.
Social Media and Online Resources
Social media platforms like Instagram and Pinterest offer endless Halloween nail art ideas. Searching hashtags such as #HalloweenNails, #SpookyNailArt, or #PumpkinNails reveals the latest trends from nail artists worldwide. I save designs featuring intricate spider webs, glowing jack-o’-lanterns, and subtle blood drip effects to my inspiration boards. YouTube tutorials also provide step-by-step guides for both beginners and pros. Following reputable nail blogs and beauty websites adds insight on product recommendations and health-safe polish options, crucial for maintaining nail health throughout frequent polish changes. Online marketplaces carry themed nail stickers and decals that simplify complex designs without sacrificing style.
Nail Salons and Artists to Follow
In my decades running a nail salon, I’ve seen how following top nail artists elevates design ideas. I subscribe to accounts of professionals who specialize in Halloween and seasonal nail art. Their portfolios showcase expert use of gel paints, hybrid polishes, and nail embellishments. Some salons share behind-the-scenes videos revealing techniques for achieving durability and detail. I recommend following those who prioritize health-conscious products to learn how to balance beauty with nail care. Local salons with creative reputations often post their latest Halloween collections, providing regional inspiration and trends. Connecting with artists online creates a vibrant community where I exchange tips on fashion-forward, festive nails that stay healthy and vibrant.
Conclusion
Halloween nail art is such a fun way to get into the spooky spirit while showing off a bit of creativity. Whether you go for eerie or adorable designs, the key is to enjoy the process and make your nails a festive statement.
I love how nail art lets me experiment with colors and themes that match the season’s vibe. Plus, taking care of my nails with the right tools and products makes the whole experience even more rewarding.
So grab your favorite polishes, try out some new techniques, and have fun turning your nails into little Halloween masterpieces!