I’ve always been fascinated by vintage styles and how they bring a touch of timeless charm to everything they touch. Nail art is no exception. There’s something so fun about recreating those classic looks from the past that instantly add personality and flair to your nails.
Understanding Vintage Nail Art
Vintage nail art captures a rich history and unique style that remains relevant in modern beauty trends. Knowing its roots and signature traits helps create authentic looks that turn heads.
History and Inspiration Behind Vintage Nail Art
Vintage nail art traces back to the 1920s through the 1960s, eras that defined elegance in fashion and beauty. The 1920s favored natural nails with a glossy finish, reflecting the flapper spirit. The 1950s introduced bright colors and simple patterns, matching the optimism post-World War II. The 1960s pushed boundaries with bold shapes and geometric designs inspired by pop culture and art movements. Each decade offers inspiration drawn from fashion icons, cinema, and cultural shifts that influenced personal style and nail aesthetics. Knowing these sources provides a foundation for selecting colors, shapes, and motifs true to vintage styles.
Key Characteristics of Vintage Nail Designs
Vintage nail designs spotlight specific elements that set them apart. Classic colors like deep reds, soft pinks, and creamy nudes form the base palette. Shapes tend to be rounded or almond, reflecting natural nail growth common before modern sculpting techniques. Patterns include polka dots, florals, graphic stripes, and subtle accents like tiny rhinestones or hand-painted details. Matte and glossy finishes both appear, often capturing different decades’ moods. These characteristics emphasize simplicity paired with elegance and fun. Recognizing these defining features helps replicate stunning vintage nail art that honors tradition while embracing creativity.
Essential Tools and Materials for Vintage Nail Art
Creating vintage nail art requires specific tools and materials that capture the elegance of past eras. My decades of experience running a nail salon taught me the importance of selecting the right products to achieve authentic, lasting results.
Recommended Nail Polishes and Colors
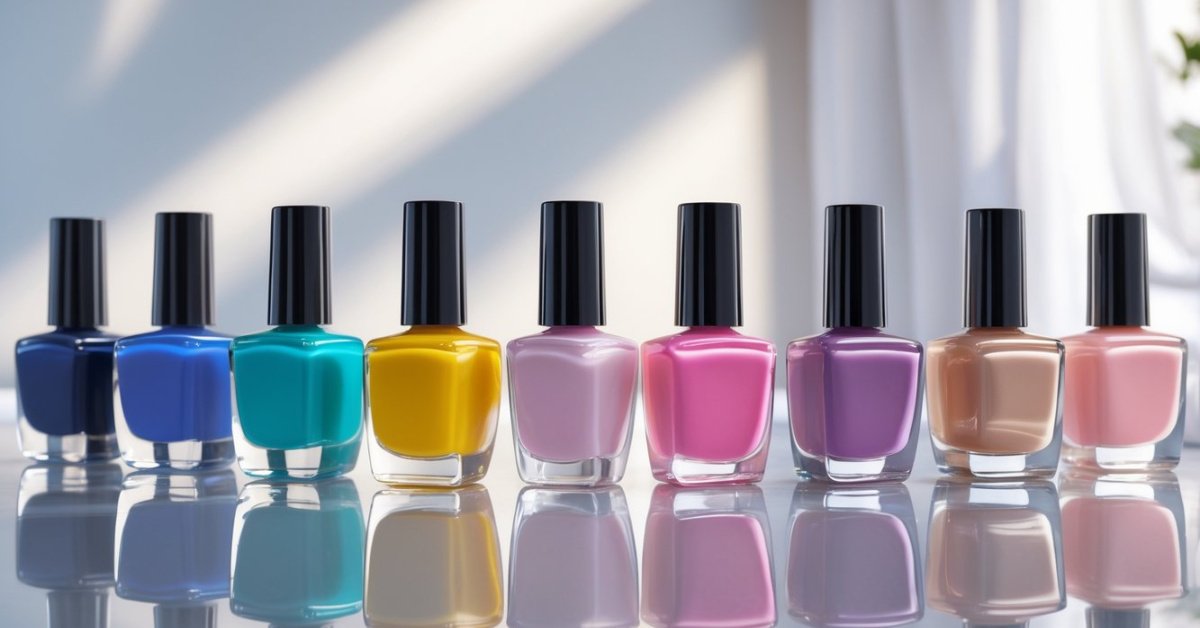
I trust classic brands known for quality and durability when choosing nail polishes. Reds like cherry, crimson, and oxblood dominate 1940s and 1950s styles. Soft pastels, such as mint green, baby blue, and pale pink, reflect the 1960s palette well. Creamy whites and nudes offer the base for more intricate vintage patterns.
- Reds (cherry, crimson, oxblood) for bold, timeless looks
- Pastels (mint green, baby blue, pale pink) for retro softness
- Creamy whites and nudes to highlight designs
Opt for formulas with a smooth finish that dry evenly. I recommend polishes with long-wear properties to keep those vintage designs pristine.
Nail Art Brushes and Accessories
Fine detail brushes make or break vintage nail art. I keep a collection of thin liner brushes, dotting tools, and angled brushes for precision. These allow me to recreate delicate floral patterns, polka dots, and intricate line work typical of vintage styles.
Essential accessories include:
- Thin liner brushes for crisp lines
- Dotting tools in varying sizes for classic polka dots
- Angled brushes to create geometric shapes
Invest in quality brushes to avoid splayed bristles and uneven strokes. Additionally, a good base coat and top coat protect and seal the design, maintaining shine and preventing chipping. Using these tools alongside the right polishes creates the foundation for authentic vintage nail art that combines health, beauty, and fashion effortlessly.
Step-by-Step Guide on How to Do Vintage Nail Art
Creating vintage nail art demands attention to detail and a careful approach. I break down the process into easy steps for you to follow, ensuring your nails capture the timeless elegance of classic styles.
Preparing Your Nails for Vintage Designs
Start by thoroughly cleaning your nails to remove old polish, oils, and dirt. File your nails into traditional shapes like rounded or almond, specific to vintage trends. Push back cuticles gently with a wooden stick to avoid damage. Apply a high-quality base coat to protect your nails, prevent staining, and create a smooth canvas for polish.
Classic Vintage Nail Art Techniques
Apply two coats of vintage-inspired polish colors—think cherry reds or pastel blues—allowing each coat to dry fully. Use fine detail brushes to paint classic shapes such as French tips or polka dots, maintaining steady hands for precision. Employ dotting tools for consistent round details, which are common in 1950s designs. Layer subtle stripes or floral patterns using angled brushes for authenticity. Let each detail dry completely before moving on.
Adding Finishing Touches and Details
Seal your design with a durable top coat to add shine and extend wear. Clean up edges with a small brush dipped in polish remover for crisp lines. If desired, add tiny rhinestones or vintage decals for an extra touch of flair, securing them with clear top coat. Allow nails to dry thoroughly before any activity to keep your vintage nail art flawless.
Tips and Tricks for Long-Lasting Vintage Nail Art
Keeping vintage nail art vibrant and intact demands careful attention. Years running my nail salon have taught me key maintenance techniques and common pitfalls to avoid for lasting beauty.
Maintenance and Nail Care
Regular moisturizing of cuticles and nails preserves health and prevents chipping. I advise using cuticle oil twice daily and hand cream frequently to maintain flexibility. Avoid hot water exposure over 10 minutes to stop polish from softening. Refresh top coat every two days to seal the design and enhance shine. Wearing gloves while doing chores protects nails from chemicals and abrasions that degrade polish. If polish starts to lift at edges, gently file the loose part and reapply top coat rather than peeling it off, which damages the nail surface. Proper nail care supports the durability of intricate vintage patterns and color depth.
Avoiding Common Mistakes
Skipping base coat risks stained nails and weak adhesion, so always apply a quality base. Applying thick polish layers extends drying time and invites smudges; two thin coats dry faster and last longer. Rushing drying causes dents and bubbles, so allow at least 5–7 minutes between coats under normal conditions. Neglecting proper nail shape weakens polish grip; filing nails into classic vintage shapes like rounded squares or soft ovals helps polish stay intact. Using old or thickened polish diminishes smoothness; store polish upright in a cool, dark place and replace every 12 months for best results. Avoid these errors to keep vintage nail art sharp and flawless.
Conclusion
Vintage nail art is more than just a style—it’s a way to connect with a beautiful past while expressing your own creativity. I love how these timeless designs bring a touch of elegance and personality to everyday life.
With the right tools and a bit of patience, anyone can master these classic looks. It’s all about enjoying the process and making the art your own.
So go ahead, experiment with those bold reds or soft pastels, and have fun bringing a little vintage charm to your nails!