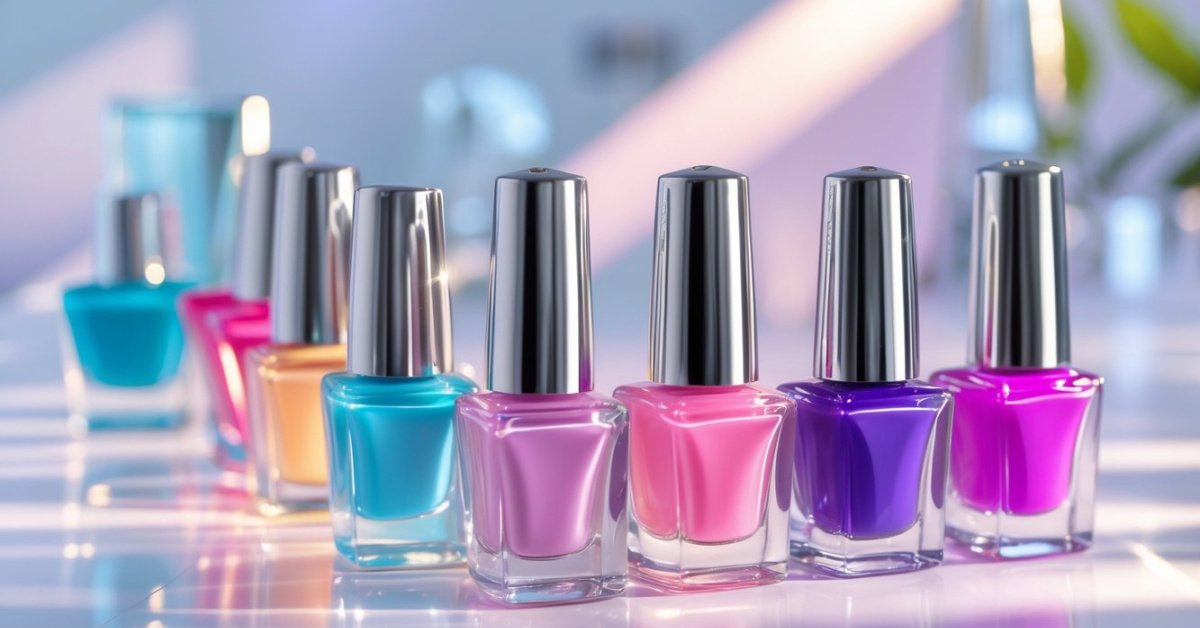
I’ve always loved experimenting with nail colors but getting that perfect, smooth finish can be tricky. Applying nail dyes isn’t just about slapping on color—it’s an art that anyone can master with a little practice and the right technique.
Whether you’re aiming for a bold statement or a subtle tint, knowing how to apply nail dyes properly makes all the difference. I’ll walk you through simple steps to help your nails look salon-worthy without the hassle.
Understanding Nail Dyes
Nail dyes are more than just colors; they transform nails into expressions of style and personality. Knowing the types and benefits of nail dyes helps me guide clients toward choices that suit their health and fashion preferences.
Types of Nail Dyes
I use several types of nail dyes in my salon, each offering unique qualities:
- Traditional Nail Polish uses pigments suspended in a solvent that evaporates as it dries, providing vibrant colors and easy removal.
- Gel Polish cures under UV or LED light, offering durability and a glossy finish that lasts up to two weeks without chipping.
- Dip Powder involves dipping nails into colored powder layered with a binding agent, creating a strong finish that resists cracks.
- Stain-Type Nail Dyes penetrate the nail surface, offering a more natural look but require frequent reapplication to maintain vibrancy.
These types give options for every style and nail health need.
Benefits of Using Nail Dyes
Nail dyes bring beauty and functional benefits I always highlight:
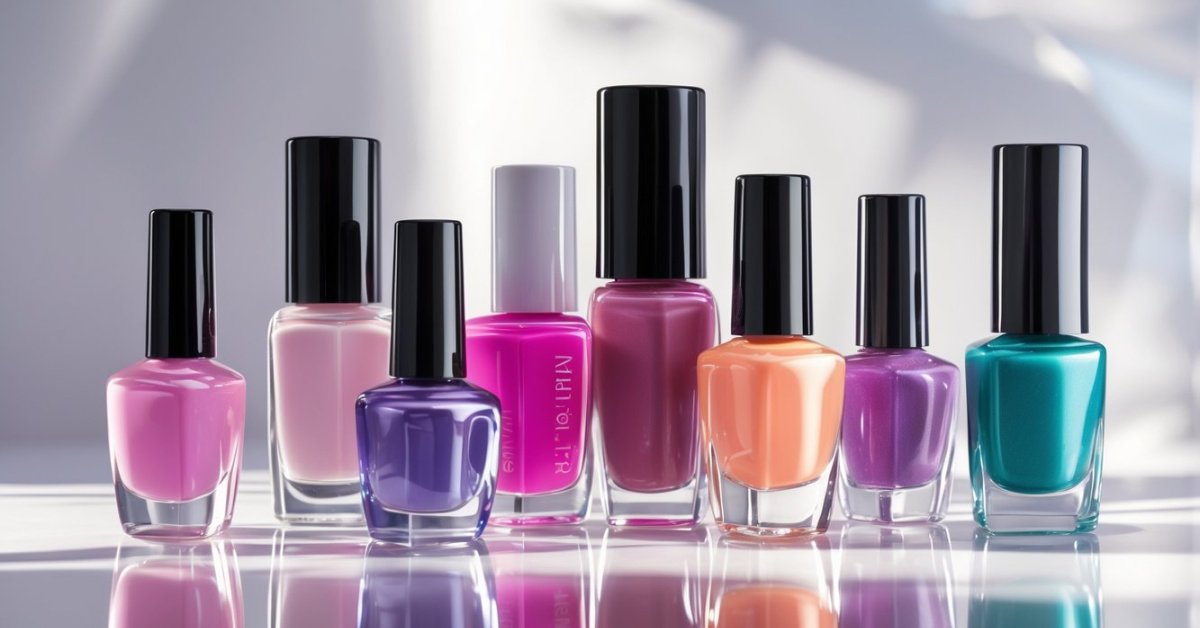
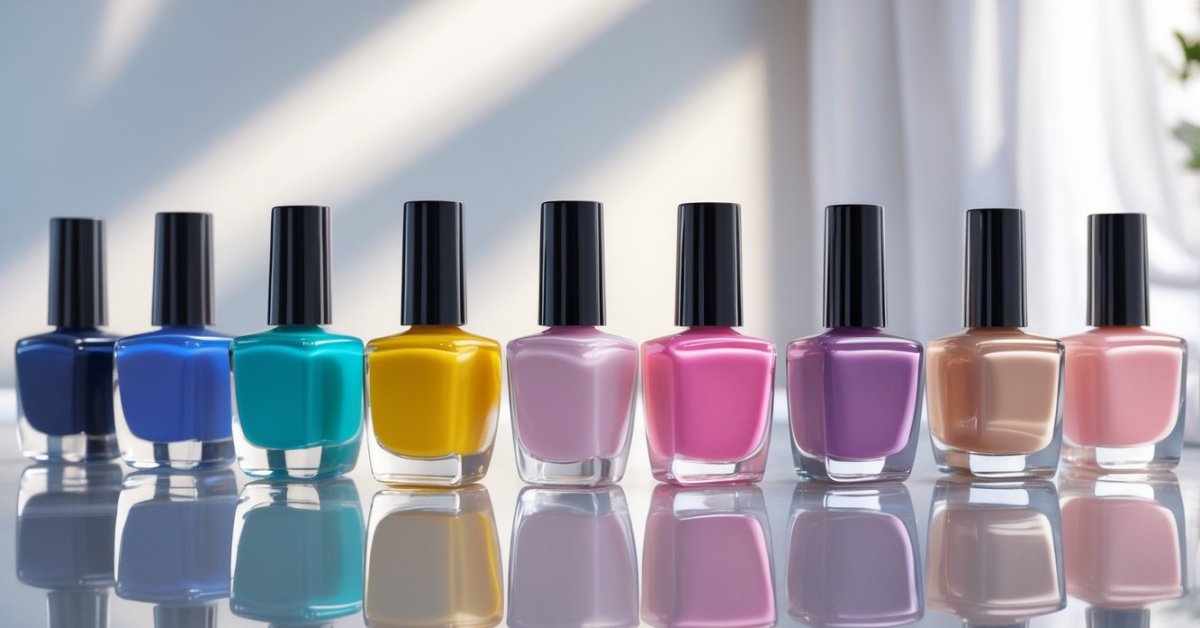
- Color Variety lets you express moods from bold reds to subtle nudes with over thousands of shades to pick from.
- Nail Protection from strong polish formulas helps prevent nails from peeling and breaking.
- Long-Lasting Finish with gel and dip powders reduces the need for daily touch-ups, saving time.
- Healthier Formulas often contain vitamins and fewer harmful chemicals, supporting nail strength and growth.
Choosing the right type fits personal style and keeps nails healthy and beautiful.
Preparing Your Nails for Dye Application
Preparing nails properly sets the stage for a flawless dye application and long-lasting wear. I focus on prepping nails to ensure they are clean, shaped, and protected before applying any color.
Cleaning and Shaping Nails
First, I remove any old polish with a gentle, acetone-free remover to avoid drying out the nails. Next, I trim and file each nail using a fine-grit file to achieve the desired shape—whether rounded, square, or almond. Filing in one direction minimizes splitting. Then, I gently buff the nail surface to create a smooth base, which helps the dye adhere evenly. Finally, I wash my hands with warm water and a mild soap, drying thoroughly to remove all dust and oils that could interfere with the polish’s grip.
Protecting Your Skin and Cuticles
Next, I apply a thin layer of cuticle oil to soften and protect the delicate skin around the nails. Pushing back cuticles gently with a wooden stick clears the nail bed without damage. I avoid cutting cuticles, which can cause infections. To shield my skin during dye application, I dab a small amount of petroleum jelly or a specialized barrier cream around the nail edges. This guards against undesired staining and keeps my manicure clean and professional-looking.
Step-by-Step Guide to Applying Nail Dyes
Mastering nail dye application starts with solid techniques. Following each step carefully ensures nails look polished and last longer without chipping.
Choosing the Right Color and Tools
Selecting the perfect shade makes all the difference. I always suggest picking colors that complement your skin tone and outfit. Use high-quality brushes and nail files to create a smooth base. For beginners, a nail dye with a thin formula applies more evenly and dries faster. Gather cotton pads, nail polish remover, and a steady hand to avoid messes.
Applying the Base Coat
Applying a base coat protects nails and extends the life of your color. I use a nourishing base enriched with vitamins to strengthen nails during wear. Brush a thin, even layer over each nail, staying clear of cuticles. Let it dry completely before the next step; this prevents bubbles and uneven color.
Applying the Nail Dye
Applying the nail dye requires patience. I recommend starting with a stroke down the center of each nail, then gently one on each side. Thin, even coats prevent streaking and pooling. Two coats usually provide full coverage, but allow each layer to dry fully—around 2 minutes—before applying the next. Avoid shaking polish bottles; instead, roll them gently to preserve consistency.
Adding a Top Coat
A glossy top coat seals color and adds shine. I apply a thin layer, covering the edges to prevent chips. For added durability, use a fast-drying formula that also guards against UV damage. Reapply top coat every few days to maintain freshness and protect your nails.
| Step | Key Action | Tips |
|---|---|---|
| Choose Color/Tools | Pick shade and gather tools | Match skin tone; use high-quality brushes |
| Base Coat | Apply thin layer; dry fully | Strengthens nails; prevents staining |
| Nail Dye | Apply two thin coats, dry each | Stroke center first; avoid shaking polish |
| Top Coat | Seal with thin, even layer | Cover edges; reapply every 2-3 days for protection |
Tips for Long-Lasting Nail Dye
Keeping nail dye vibrant and chip-free takes skill and care. I share expert tips to help your manicure last longer while keeping nails healthy and beautiful.
Avoiding Common Mistakes
Skipping base coat weakens polish adhesion and causes premature chipping. Applying thick coats results in uneven drying and peeling. Nail polish dries better in thin, even layers. Ignoring drying time between coats leads to smudges. Using quick-dry sprays too often can dry out nails and cuticles. Removing polish with harsh acetone damages nails and shortens dye life. Finally, neglecting to seal nail edges invites chips at tips.
Proper Nail Care After Application
Protect nails with gentle hand creams that contain vitamins E or B5 to nourish the nail bed. Avoid prolonged water exposure, which softens polish and weakens nails. Wear gloves when doing chores to prevent chemical damage. Reapply top coat every 2-3 days to maintain shine and seal out wear. Keep cuticles moisturized with oil to prevent peeling around the nail plate. Regularly trim and file nails to prevent splits that ruin your polish’s lifespan.
Conclusion
Nail dyeing is a fun way to express yourself and boost your confidence. With a bit of patience and practice, anyone can achieve that flawless, salon-quality look right at home.
Remember, the key lies in preparation, choosing the right products, and taking your time with each step. The more you experiment, the better you’ll get at finding what works best for your nails and style.
So go ahead, pick your favorite shade, and enjoy the process. Beautiful nails are just a few coats away!