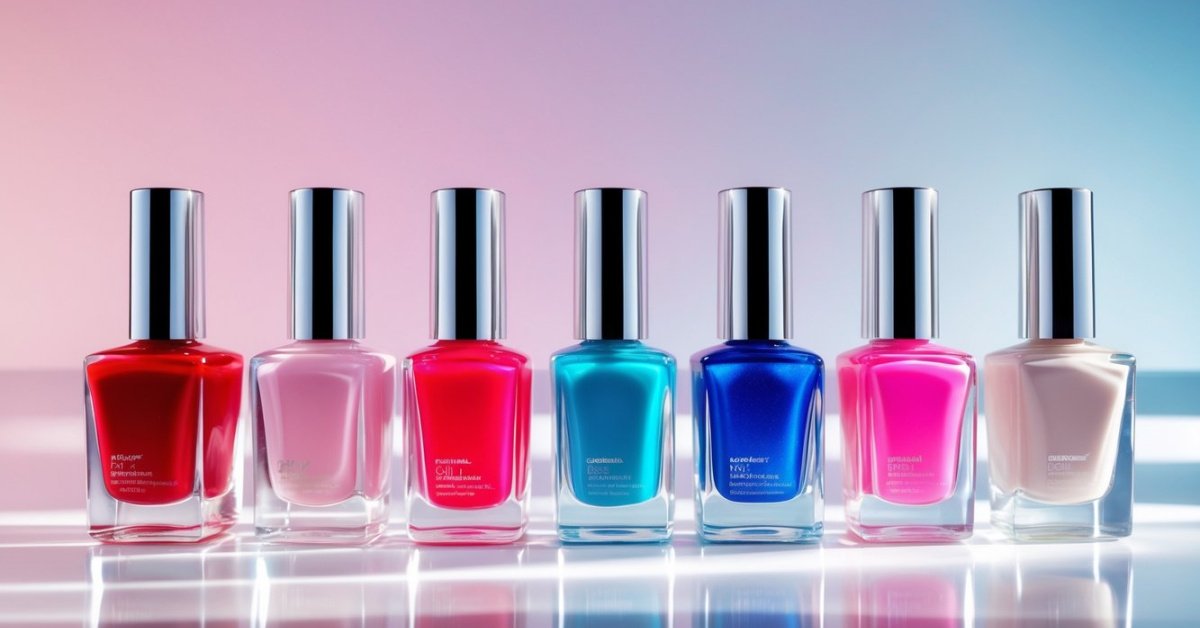
I’ve always loved having perfectly polished nails but struggled to keep them looking fresh. That’s when I discovered gel nail extensions. They give your nails a flawless, long-lasting finish without the hassle of constant touch-ups. Plus, they feel natural and sturdy, which is a total game-changer.
Understanding Gel Nail Extensions
Gel nail extensions offer a stylish and durable way to enhance nails. I’ve worked with countless clients, and knowing these extensions helps in choosing the best option for your nails.
What Are Gel Nail Extensions?
Gel nail extensions are artificial nails created by applying a gel layer that hardens under UV or LED light. Unlike traditional acrylics, gel extensions maintain flexibility and shine without feeling heavy. They bond directly to your natural nail or nail tips, providing length and strength while looking natural. The curing process seals the gel, preventing chipping and peeling.
Benefits of Gel Nail Extensions
Gel nail extensions deliver several key benefits:
- Durability and Flexibility: They resist breaks better than regular polish and bend slightly without cracking or lifting.
- Natural Appearance: Their glossy finish mimics natural nails, enhancing beauty with a smooth surface.
- Less Odor: Unlike acrylics, gel formulas have minimal smell, making the application process more pleasant.
- Healthier for Nails: They’re less likely to damage the nail bed when applied and removed properly.
- Long-Lasting: Extended wear time up to 2-3 weeks keeps nails looking flawless without frequent touch-ups.
These qualities make gel extensions a fantastic choice for anyone embracing fashion and health in nail care.
Preparing Your Nails for Application
Proper preparation sets the foundation for flawless gel nail extensions. I always dedicate time to prepping nails thoroughly to ensure lasting results and healthy nails underneath.
Cleaning and Shaping Your Nails
Start by removing any old polish or residue using an acetone-free nail polish remover to avoid drying the nail surface. Gently push back cuticles with a wooden stick or cuticle pusher without cutting them, as healthy cuticles protect the nail bed. Next, file the nails into the desired shape using a fine-grit nail file, working in one direction to prevent splitting. Buff the nails lightly to remove shine, which helps the gel adhere better. Finish by wiping nails with a lint-free cloth soaked in 70% isopropyl alcohol to eliminate oils and dust.
Applying a Base Coat
Applying a base coat is essential to protect natural nails and improve gel adhesion. Use a thin layer of a gel base coat, ensuring even coverage without touching the cuticles or skin. Cure the base coat under a UV or LED lamp following the product instructions—usually 30-60 seconds for LED and 2 minutes for UV. This base strengthens the natural nail plate and prevents staining from colored gels, contributing to a flawless, healthy gel extension application.
Step-by-Step Guide on How to Apply Gel Nail Extensions
Applying gel nail extensions takes skill and precision, but with the right technique, it brings out the best in your nails. I’ll guide you through each step to ensure a beautiful, durable finish.
Choosing the Right Gel and Tools
Selecting quality gel and tools makes all the difference in application and nail health. I recommend using professional-grade builder gels for strength and flexibility. Choose brushes with synthetic bristles designed for gel—these provide smooth application without streaks. Nail forms or tips depend on your preference; forms offer custom shapes, while tips come pre-shaped and save time. Always keep alcohol wipes, cuticle pushers, and nail files on hand for prepping and refining.
Applying the Gel Extensions
Begin by applying a thin layer of gel on the prepared nail surface. If you’re using tips, secure them first with gel adhesive, then blend the tip with the natural nail using a fine file. Use a small brush to sculpt the builder gel over the nail or tip, ensuring even coverage and proper thickness—about 1 to 2 millimeters is ideal to balance strength and natural feel. Avoid touching your skin or cuticles with gel to prevent lifting. Focus on the free edge and apex, which add durability and structure to the extension.
Curing the Gel Under UV/LED Light
Properly curing the gel is essential for lasting results. Place your nails under a UV lamp for 2 minutes or an LED lamp for 30 to 60 seconds, depending on the gel brand’s instructions. Curing at this stage hardens the gel, locking in the shape and strength. I always double-check the manufacturer’s guidelines, since curing times vary. Avoid under-curing, which causes lifting or chipping, and over-curing, which can dry out the gel and irritate skin.
Finishing Touches and Top Coat Application
Finish the look by applying a thin layer of gel top coat to seal the extensions and add shine. Cure this final layer under the lamp for the recommended time. Afterwards, wipe each nail with an alcohol pad to remove any sticky residue. File and buff the edges gently if needed to perfect the shape without compromising the gel structure. Finally, nourish cuticles with oil to maintain healthy nail beds and enhance overall appearance. This careful attention to finishing details ensures your gel extensions stay flawless for 2 to 3 weeks or longer.
Tips for Maintaining Gel Nail Extensions
Keeping gel nail extensions looking fresh and healthy takes some care. With the right habits, gel nails hold their shine and strength longer, benefiting both your style and nail health.
How to Avoid Common Issues
Protect your nails by avoiding prolonged water exposure, which can weaken the gel and cause lifting. Wear gloves when washing dishes or cleaning. Refrain from using nails as tools; for example, avoid prying open containers or scratching surfaces. Moisturize cuticles daily with oil or cream to prevent dryness and cracking. Pay attention to any lifting or cracks early and schedule a touch-up—delaying repairs invites dirt and bacteria that can harm your natural nails.
Safe Removal Techniques
Never peel or force off gel extensions, as this damages the nail bed. Instead, soak your nails in acetone using cotton pads wrapped in foil for 10–15 minutes until the gel softens. Gently push off the gel with a wooden cuticle stick, avoiding scraping. If you sense resistance, soak a bit longer to avoid harming your nails. After removal, buff gently and apply a strengthening treatment or cuticle oil to restore moisture and build resilience. Regular professional removal prevents thinning and maintains nail health.
Conclusion
Getting gel nail extensions right takes a bit of practice but it’s so worth the effort. Once you nail the prep and application steps, you’ll enjoy beautiful, durable nails that feel natural and look stunning for weeks.
Taking care of your gel extensions and knowing how to remove them safely keeps your nails healthy and strong. With the right routine, gel extensions can be a fantastic way to express your style without compromising nail health.
I hope you feel confident to give gel nail extensions a try and enjoy the polished look they bring to your hands!