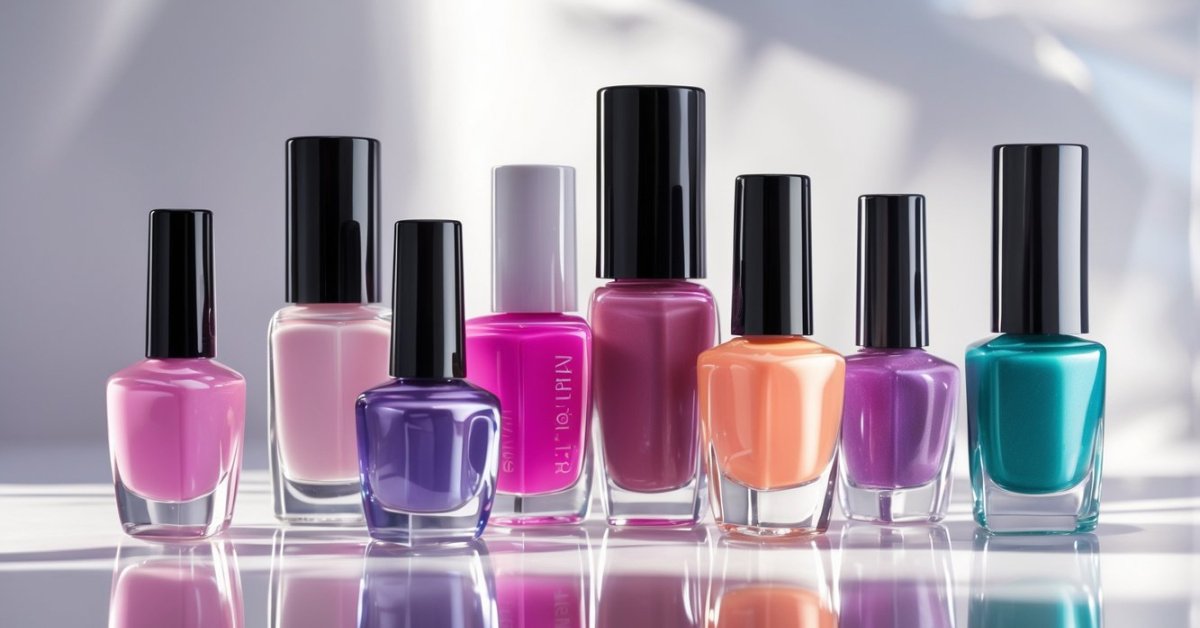
I’ve always loved the look of perfectly polished nails, and acrylics give that flawless finish that lasts. Applying nail acrylics might seem tricky at first, but once you get the hang of it, it’s a fun way to express your style right at home.
Understanding Nail Acrylics
Getting to know nail acrylics helps build confidence before applying them. I’ve seen many clients transform their nails by embracing this technique.
What Are Nail Acrylics?
Nail acrylics consist of two main components: a liquid monomer and a powdered polymer. When combined, they create a pliable substance that hardens into a durable layer on your natural nails. Acrylics provide structure, length, and shape, offering more versatility than regular polish. They dry quickly and bond firmly to your nails, allowing for long-lasting wear.
Benefits of Using Acrylics
Acrylic nails offer multiple advantages compared to other nail enhancements. They resist chipping and cracking, holding up well through daily activities. Acrylics can correct nail imperfections such as uneven edges or weak nails. They allow for endless customization—lengthening, shaping, and decorating in countless styles. I recommend acrylics for their durability and the flawless finish they deliver, making them a staple in nail care and fashion.
Preparing Your Nails for Acrylic Application
Proper nail preparation forms the foundation of a flawless acrylic manicure. I focus on cleaning, trimming, and smoothing natural nails to ensure acrylics last longer and look their best.
Cleaning and Trimming Natural Nails
I start by removing any old polish or residue using an acetone-based remover. I clean under the nails gently to avoid damage. Then, I trim nails straight across to the desired length, which helps prevent breakage. Filing edges smooth prevents snags and creates a neat base for the acrylic.
Pushing Back Cuticles
I use a cuticle softener followed by a wooden or metal cuticle pusher to gently push cuticles back. This step exposes more of the nail plate, allowing the acrylic to adhere properly. I never cut cuticles, as this can lead to infection and weak nail growth.
Buffing the Nail Surface
I lightly buff the nail surface with a fine-grit buffer to remove shine. This creates a slightly rough texture that helps the acrylic bond securely. Over-buffing weakens nails, so I keep this step minimal. After buffing, I wipe nails with a lint-free pad soaked in alcohol to remove dust and oils.
Essential Tools and Products Needed
Mastering acrylic nails depends on having the right tools and products. I always start by making sure my workspace includes high-quality essentials, which guarantee the best results and protect the natural nails.
Acrylic Powder and Liquid Monomer
Acrylic powder and liquid monomer form the foundation of acrylic nails. I use a finely milled polymer powder paired with a clear or slightly tinted monomer liquid. The powder comes in colors like white, pink, and nude, providing options for different nail looks. The monomer liquid’s quality affects drying speed and bonding strength—choosing a reliable brand reduces strong odors and potential skin irritation.
Brushes and Nail Forms
Brushes designed specifically for acrylic application make a huge difference. I prefer synthetic or kolinsky sable brushes for their ability to hold the acrylic mixture well and create smooth layers. Nail forms, used to shape the acrylic extensions, come in reusable metal or disposable paper varieties. I keep both types on hand, switching depending on the client’s nail shape and the desired length.
Primer and Nail Glue
Primer preps the natural nail surface, ensuring the acrylic adheres firmly without lifting. I always apply a bond-enhancing primer after preparing the nail bed. Nail glue plays a role when attaching tips before applying acrylic. Using a strong, fast-drying glue makes nail tip placement secure, which is crucial for a smooth acrylic overlay that lasts.
These tools and products set the stage for flawless nail acrylics, blending health-conscious choices with beauty and fashion trends I’ve embraced through years of salon experience.
Step-by-Step Guide on How to Apply Nail Acrylics
Applying acrylic nails combines precision with creativity. I’ve honed this process over decades to deliver results that balance durability, beauty, and health. Below are essential steps to master acrylic application confidently.
Mixing the Acrylic Powder and Liquid
Start by pouring a small bead of liquid monomer onto a glass dappen dish. Next, dip your acrylic brush into the liquid, then touch it lightly to the acrylic powder. The brush should pick up a smooth, cohesive bead that’s not too wet or dry. Proper mixing ensures the acrylic sets evenly and adheres well. Work with small amounts to maintain control and avoid waste.
Applying the Acrylic Mixture on Nails
Begin at the center of the nail near the cuticle and gently pat the acrylic bead onto the surface. Use smooth, even strokes to spread the mixture outward toward the free edge. Avoid flooding the cuticle or sides to prevent lifting. For extensions, apply the acrylic over nail forms or tips, sculpting them to your desired length. Consistent pressure and attention to coverage guarantee longevity and a flawless finish.
Shaping and Sculpting the Acrylic
Shape the acrylic while it’s still pliable by sculpting with your brush and fingertips. Form a natural or stylized curve, ensuring the acrylic layer is even and free of bumps. Once the acrylic starts to harden, avoid reshaping to prevent cracks. Using quality brushes with firm bristles aids in detailed sculpting and smooth finishes.
Allowing the Acrylic to Dry and Harden
Allow acrylic nails to dry fully before filing or polishing. The drying time varies but typically lasts 10 to 15 minutes. Test the surface gently to confirm it’s hard to touch. Incomplete drying results in dents and weak nails. Proper curing ensures a strong, chip-resistant finish that maintains your nails’ health and aesthetic appeal.
Finishing Touches and Aftercare
Mastering the application is only half the journey. Finishing touches and proper aftercare keep acrylic nails looking great while preserving natural nail health.
Filing and Buffing Acrylic Nails
Filing and buffing shape acrylic nails for a smooth, polished look. I start with a medium-grit file, sculpting edges to your desired shape—square, oval, or almond. Filing always goes in one direction to prevent acrylic lifting or cracking. Then, I use a fine-grit buffer to smooth the surface gently, eliminating ridges without thinning acrylic layers. Buffing creates the perfect canvas for polish or topcoat while maintaining strength.
Applying Top Coat and Nail Art Options
Applying a top coat seals and protects acrylic nails. I prefer a high-gloss, fast-drying gel top coat for lasting shine and chip resistance. Brush it evenly over each nail, sealing edges to lock everything in place. If you enjoy nail art, acrylic nails are ideal for designs like glitter, foils, or hand-painted details. Apply these before the top coat to ensure longevity and vibrancy. The right combination enhances beauty without compromising durability.
Tips for Maintaining Acrylic Nails
Maintaining acrylic nails extends their life and keeps nails healthy. I advise moisturizing cuticles daily with nourishing oils to prevent dryness and peeling. Avoid harsh chemicals; wear gloves during cleaning or dishwashing to protect acrylic layers. Schedule fills every 2-3 weeks to address growth and prevent lifting. If you notice lifting or damage, avoid picking or peeling—visit your nail tech promptly to prevent infections. Following these tips ensures your acrylics stay flawless and nails stay strong.
Common Mistakes to Avoid When Applying Acrylics
Applying acrylics takes practice, but avoiding common mistakes speeds up the learning curve. Here are key missteps I warn every client and beginner to watch for.
- Skipping Nail Preparation
I emphasize prepping nails carefully before acrylics. If nails aren’t clean, dry, and lightly buffed, the acrylic won’t adhere properly, leading to lifting and early breakage.
- Mixing Acrylic Incorrectly
I mix the liquid monomer and powder to form a bead that’s not too dry or too wet. Using a bead that’s too wet causes it to spread uncontrollably, while a dry bead leads to crumbling and cracks.
- Applying Acrylic Too Thick or Too Thin
I recommend applying medium-thickness layers for durability without bulk. Thick layers dry unevenly and crack; thin layers chip easily and don’t provide enough strength.
- Flooding the Cuticle Area
I avoid pushing acrylic too close to the cuticle to prevent lifting and uneven growth. Leaving a small gap ensures cleaner edges and better adhesion.
- Not Allowing Acrylic to Fully Dry
I never file or buff until acrylic fully hardens. Filing prematurely weakens the nail and causes dents, compromising the finish.
- Over-Filing or Over-Buffing
I file nails gently to shape and smooth, avoiding aggressive buffing that thins both acrylic and natural nails. Protecting nail health ensures longer-lasting acrylics.
- Ignoring Aftercare
I stress regular moisturizing and timely fills. Neglecting cuticle care or fills creates lifting and infections that could damage natural nails.
Avoiding these errors helps acrylic nails look polished and stay healthy. Every step from preparation to finishing affects the final result and affects how long nails last.
Conclusion
Mastering acrylic nails takes a bit of practice but it’s definitely worth the effort. Once you get the hang of the process, it’s a fun way to express your style and keep your nails looking flawless for weeks.
Taking care of your nails before and after application makes all the difference in how they look and last. With patience and the right techniques, you can create salon-quality acrylics right at home.
I hope you feel inspired to try it out and enjoy the creative journey that comes with perfecting your acrylic nails.