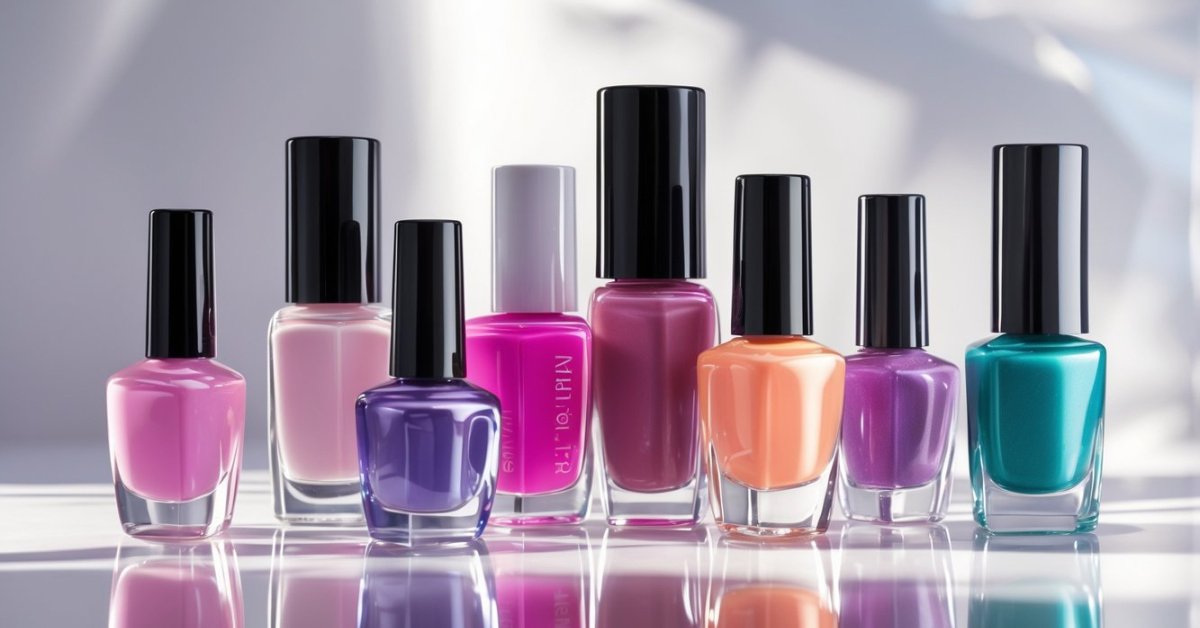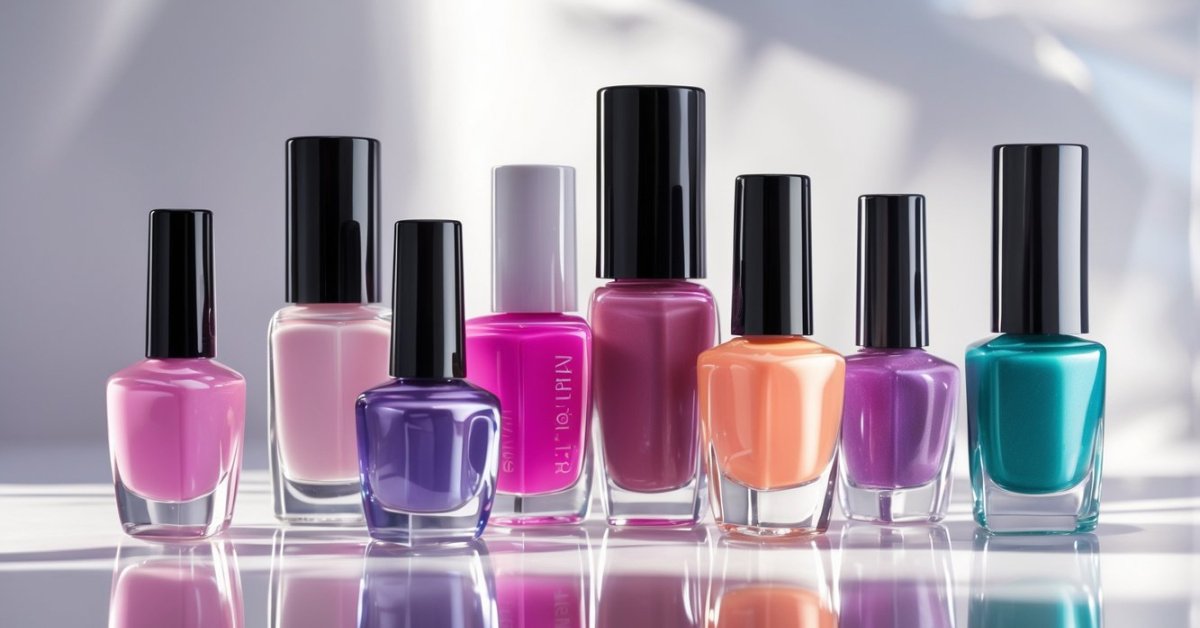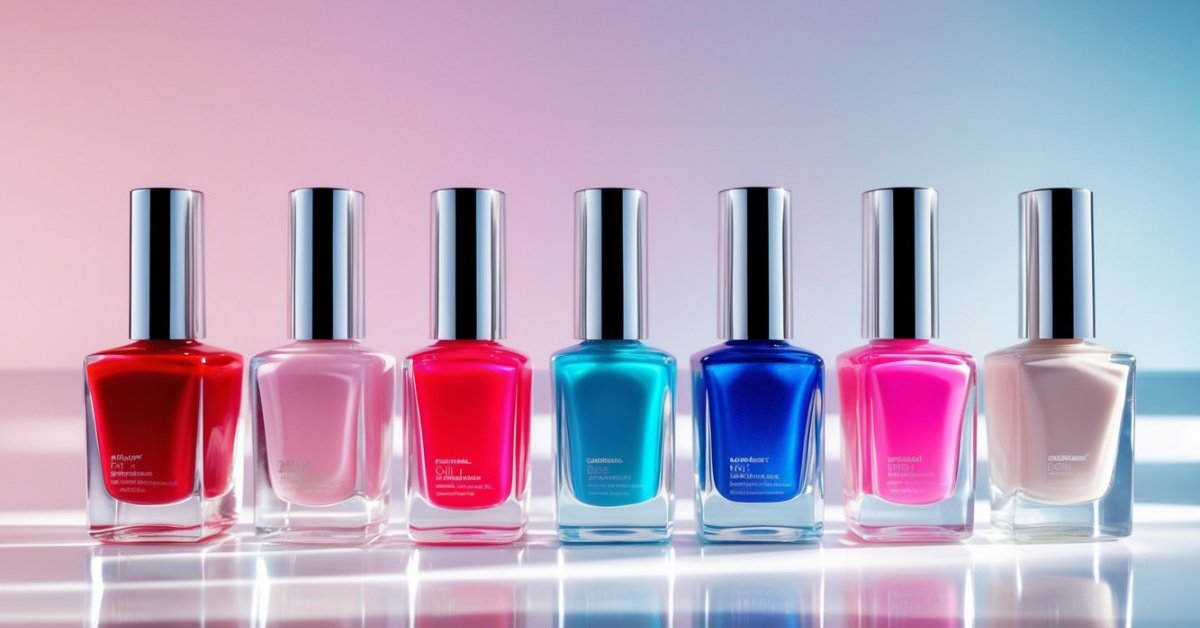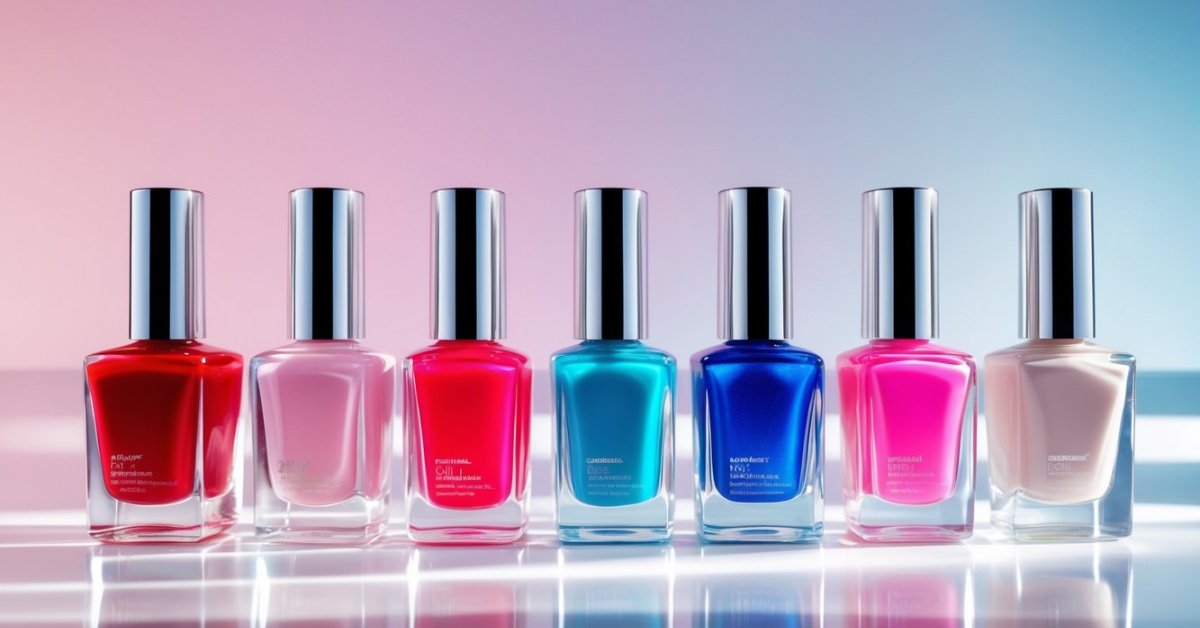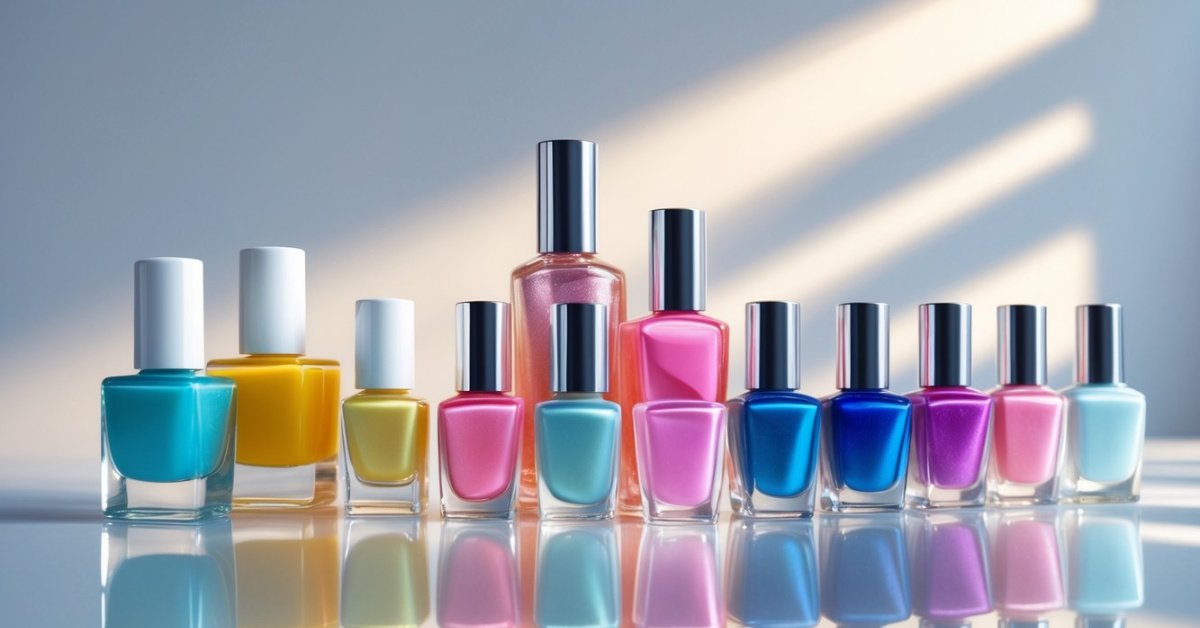
I’ve always found that a fresh coat of nail enamel can instantly lift my mood and add a pop of color to any day. But getting that perfect, smooth finish isn’t always as easy as it looks. Over time, I’ve picked up some simple tricks that make applying nail enamel a breeze and help my nails look salon-worthy right at home.
Preparing Your Nails for Nail Enamel Application
Getting nails ready before applying enamel sets the stage for a flawless finish and long-lasting wear. My decades of experience owning a nail salon reveal that proper preparation boosts both nail health and polish durability.
Cleaning and Shaping Nails
Start by removing any old polish with an acetone-free remover, which preserves natural oils and prevents dryness. Wash hands thoroughly afterward to clear residue and oils. Trim nails to the desired length with a nail clipper, then shape them using a fine-grit nail file. Filing in one direction avoids splitting or weakening nails. Push back cuticles gently with a wooden or rubber cuticle pusher instead of cutting, which protects the nail bed from infections. Finish by lightly buffing the nail surface with a buffer block to smooth ridges for even enamel application.
Applying a Base Coat
Apply a thin layer of base coat to clean, dry nails before nail enamel. A good base coat seals the nail surface, preventing staining and promoting adhesion. Choose a strengthening base coat if nails are brittle or prone to peeling. Allow the base coat to dry fully—about two minutes—before applying color. Skipping this step often causes the enamel to chip or peel quickly. This simple step creates a smooth canvas for vibrant, long-lasting nail color.
Step-by-Step Guide to Applying Nail Enamels
Mastering nail enamel application takes practice, but the right approach simplifies the process and delivers stunning results. I’ll guide you through essential steps from choosing your polish to finishing with multiple coats.
Choosing the Right Nail Enamel
Selecting nail enamel depends on your preferred finish and nail health. I pick brands with nourishing ingredients like vitamin E or keratin that strengthen nails during wear. Creamy formulas glide on easily, while shimmer or glitter polishes add flair but may require extra drying time. Opt for non-toxic, cruelty-free products to support beauty without compromising health.
Proper Brush Techniques
Using the brush effectively shapes the manicure. I start with one thin stroke down the nail’s center, then paint one side each with two smooth strokes. Avoid flooding the cuticle or sides to prevent smudging. Wipe excess enamel on the bottle neck to maintain control. Gentle pressure ensures even coverage and prevents streaks.
Applying Multiple Coats
Layering coats enhances color intensity and durability. I apply two thin coats rather than one thick one, letting each dry about two minutes. Thick coats trap moisture and cause peeling. Finish with a top coat to seal color, add shine, and extend wear. If needed, lightly buff between coats for ultra-smooth results.
Tips for a Long-Lasting Finish
Maintaining a fresh, flawless manicure takes more than just applying polish. Years of salon experience taught me precise techniques to keep nail enamel vibrant and chip-free longer.
Avoiding Common Mistakes
Skipping proper nail prep causes premature chipping. I always ensure nails are completely clean and dry before applying polish or base coat. Applying polish in thick layers also ruins durability; thin, even coats dry faster and bond better. Painting too close to the cuticle creates lift and peeling, so I leave a tiny gap near the skin. Letting each coat dry fully before the next prevents smudges and uneven texture. Avoid shaking the nail polish bottle; instead, roll it gently between hands to mix pigment without air bubbles.
Using a Top Coat and Nail Drying Techniques
Sealing your manicure with a quality top coat boosts shine and shields color from everyday wear. I replenish the top coat every two days; it refreshes protection and slows polish fading. For drying, patience helps, but using a quick-dry spray or drops speeds the process effectively without compromising finish quality. If using a fan or cold air dryer, I keep nails positioned horizontally to avoid dents. Steer clear of heat or hot water immediately after polish application to prevent softening and damage.
Caring for Your Nails After Application
Keeping nails healthy after applying nail enamel takes simple, consistent care. I focus on easy habits that protect both the polish and your natural nails.
Maintaining Nail Health
I treat nails gently, avoiding harsh chemicals or excessive water exposure, both of which weaken the nail plate. I recommend applying a cuticle oil daily to lock in moisture and keep cuticles soft. Using hand creams rich in vitamins A and E supports nail strength and skin hydration. When doing chores, I wear gloves to protect polish from chipping and prevent nails from becoming brittle. Regularly trimming and filing nails keeps their shape intact and prevents breakage. If polish starts to chip, I remove it promptly to avoid damaging the nail surface.
Removing Nail Enamel Safely
I always choose acetone-free removers that contain nourishing ingredients like vitamin E or aloe, as acetone strips essential oils and dries nails. Soaking a cotton pad with remover and pressing it on the nail for 30 seconds allows polish to dissolve without harsh rubbing. Gentle wiping removes enamel with less friction and decreased risk of damage. After removal, I wash hands thoroughly and apply a rich nail and cuticle treatment to restore moisture. Avoid peeling or scraping off polish, which can strip layers of your nail and cause thinning or sensitivity.
Conclusion
Applying nail enamel can be a fun and rewarding way to express yourself. With a little patience and the right techniques, you can achieve a polished look that lasts and makes you feel great.
Taking care of your nails before and after application really makes all the difference. I’ve found that treating my nails gently and using nourishing products keeps them healthy and strong.
So go ahead and enjoy the process—your nails deserve a little love and attention!