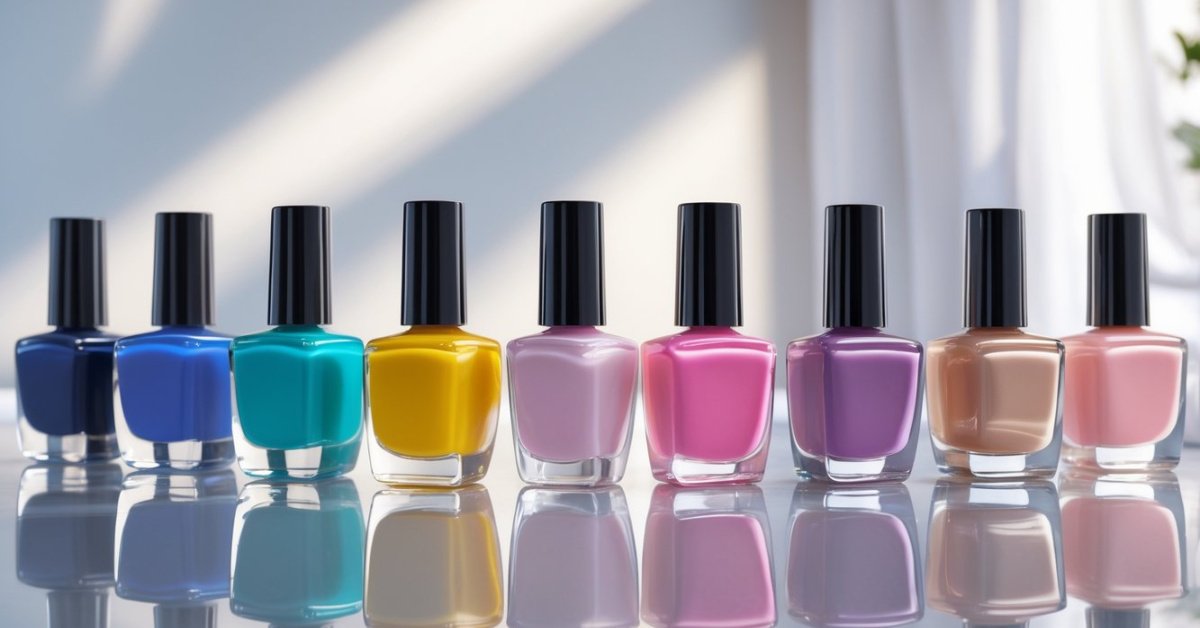
I’ve always loved the look of perfectly polished nails but struggled to get that salon finish at home. Applying nail tips is a game-changer if you want longer nails without the wait. It’s easier than you might think and gives you a neat base to create any style you like.
Understanding Nail Tips
Nail tips provide a versatile and quick method to extend nails and create beautiful nail art. Knowing the basics and selecting the correct types is key to a flawless application and long-lasting results.
Types of Nail Tips
Plastic tips made of ABS material fit most natural nails and come in various shapes like square, almond, and stiletto. Silk and fiberglass wraps offer a more natural look and add strength but require additional layers and curing. Acrylic tips provide durability and solid structure, ideal for clients wanting stronger extensions. Pre-shaped tips reduce filing time, while full-cover tips encapsulate the entire nail for a seamless finish.
Choosing the Right Nail Tips for You
Selecting tips depends on nail size, shape, and lifestyle. Smaller nails benefit from shorter, curved tips to avoid lifting, while wider nails match better with broader tips. Active lifestyles require robust acrylic or reinforced tips for durability. Matching the tip’s shape to your natural nail creates a natural appearance and reduces the chance of breakage. Always pick tips that feel comfortable and suit your daily routine for the best experience.
Preparing Your Nails for Application
Proper preparation sets the stage for flawless nail tip application. I focus on both health and aesthetics to ensure the best results.
Cleaning and Shaping Natural Nails
I start by thoroughly cleaning nails with a gentle, oil-free cleanser to remove dirt and oils. Removing old polish and hand lotion traces prevents lifting. I trim nails to a uniform length and gently file edges using a fine-grit file to create a smooth, even shape. Pushing back cuticles with a wooden stick creates space for the nail tips without damaging the nail bed.
Prepping the Nail Surface
I buff the nail surface lightly to remove shine and promote adhesion. Over-buffing weakens nails, so I use just enough pressure to create a slightly roughened texture. I wipe nails with a lint-free pad soaked in 70% isopropyl alcohol or a professional nail cleanser to eliminate dust and remaining oils. Applying a dehydrator solution afterwards balances moisture and ensures a clean, dry surface ready for tip bonding.
Step-by-Step Guide on How to Apply Nail Tips
Applying nail tips requires patience and precision for a flawless, long-lasting look. I’ll walk you through the essential steps I’ve perfected over decades in my nail salon.
Selecting and Sizing Nail Tips
Choosing the right size is crucial. I compare each nail tip against my natural nail bed to find a near-perfect fit—too wide causes lifting, too narrow looks unnatural. I keep a set of tips in various widths and shapes, such as square, almond, and oval, so I can match the client’s nail shape and lifestyle. If the tip overlaps the skin or sidewalls, I file it down gently for a seamless edge.
Applying Nail Glue Properly
Applying the glue evenly prevents air bubbles and ensures strong adhesion. I squeeze a small drop of nail glue onto a clean surface or directly on the tip’s well area, then spread it in a thin, even layer. Pressing the tip against the natural nail immediately after applying glue maximizes bonding strength before it sets too quickly. Excess glue around the edges signals to wipe off gently to avoid hard residue or lifting.
Positioning the Nail Tips
Positioning defines the natural look and durability. I align the tip’s curve with the nail’s cuticle area without touching the skin. Pressing firmly from the cuticle to the free edge for about 10 seconds removes any trapped air pockets. If the tip isn’t symmetrical or straight, I adjust quickly before the glue sets. Once set, I check edges for any gaps and file them smooth for a sleek finish.
Completing these steps carefully creates a solid base ready for shaping and polish, helping maintain nail health and beauty with every application.
Finishing Touches for a Professional Look
Creating a polished finish starts with perfecting the details after applying the nail tips. These finishing touches ensure nails look natural, strong, and salon-ready.
Trimming and Shaping the Applied Tips
I trim each nail tip carefully to match the desired length and shape. Using sharp nail clippers, I cut straight across for square tips or follow a gentle curve for oval or almond shapes. I take my time to make sure the length fits your lifestyle, since nails too long may break, and nails too short may lose their elegance. Precision here sets the foundation for a neat, balanced look.
Blending the Seam and Filing
Next, I blend the seam between the natural nail and the tip with a fine grit file or buffer. This step smooths rough edges and eliminates visible lines that make nail tips obvious. I file gently in one direction to avoid damaging the natural nail or lifting the tip. The transition should look seamless and natural. A perfectly blended seam increases strength and comfort.
Applying Nail Polish or Enhancements
Once the shape and surface are flawless, I apply a base coat to seal everything in place. Whether you prefer classic nail polish, gel, or enhancements like acrylics, I always emphasize clean application to enhance durability. I recommend two coats of your favorite polish for rich color and a final top coat to add shine and protect against chipping. This step highlights your style and finishes the transformation into beautiful, professional-looking nails.
Common Mistakes to Avoid When Applying Nail Tips
Ignoring proper sizing causes discomfort and premature lifting. Always select nail tips that fit the natural nail bed perfectly, matching width and curvature.
Overusing glue results in excess mess and uneven bonding. Apply a thin, even layer of nail glue to prevent air bubbles and ensure secure adhesion.
Skipping nail surface preparation reduces glue effectiveness and shortens tip wear. Clean the nail thoroughly, push back cuticles, and lightly buff to create an optimal surface for bonding.
Pressing the tip incorrectly leads to gaps or bent edges. Place the tip at the cuticle line, then press gently but firmly from center outward to eliminate air pockets.
Neglecting to blend the seam creates an unnatural look. Use a fine grit file to soften the junction between natural nail and tip, producing a seamless finish.
Applying polish before letting glue dry risks smudges and chip. Wait until glue sets for several minutes to secure the tip before starting polish application.
Ignoring nail health during application causes damage. I recommend regular moisturizing and avoiding over-filing to protect the natural nail under the tip.
Conclusion
Applying nail tips might seem tricky at first but with a bit of practice it becomes a fun way to get beautiful nails at home. Taking the time to prep your natural nails and choosing the right tips really makes all the difference.
I’ve found that being patient during each step helps avoid common mistakes and results in a polished finish that lasts. Once you get the hang of it you’ll love how easy it is to switch up your look whenever you want.
Remember to treat your nails gently and enjoy the creative process. Your nails deserve that little extra care and attention!