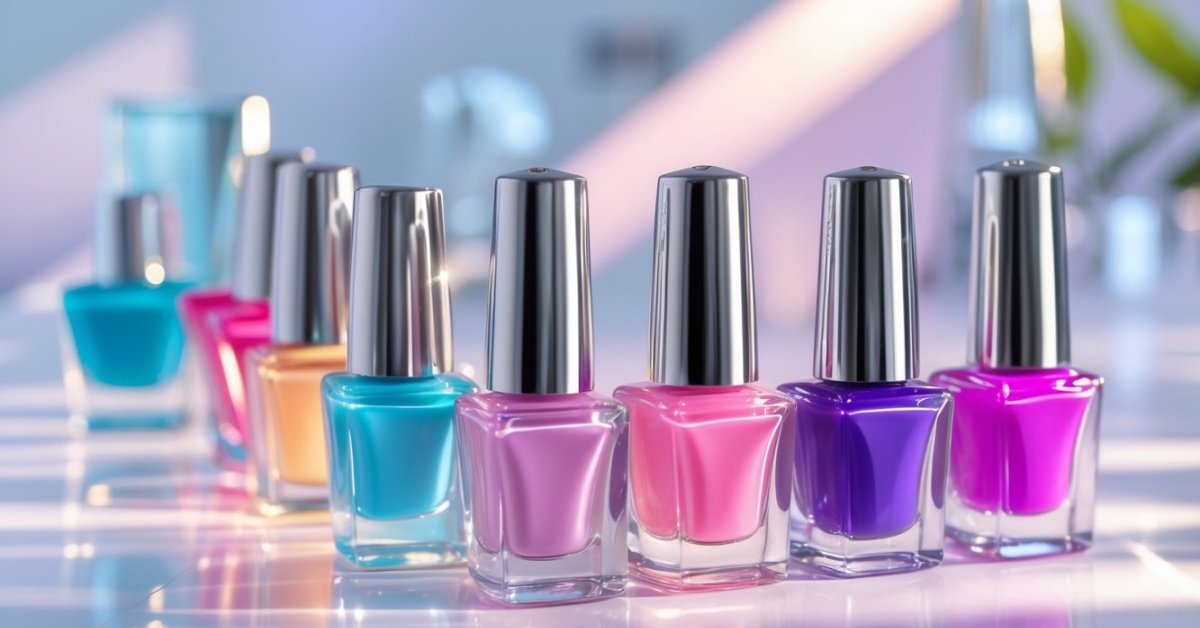
I’ve always been fascinated by how a simple set of nails can transform your entire look. Nail extensions are the perfect way to add length, style, and a bit of glam to your hands without waiting for your natural nails to grow. Whether you’re a beginner or looking to perfect your technique, understanding the basics can make all the difference.
Understanding Nail Extensions
Nail extensions provide an instant upgrade to your nails, combining beauty and fashion with practical enhancements. Knowing what they are and the types available makes it easier to choose the style that fits your look and lifestyle.
What Are Nail Extensions?
Nail extensions are artificial nails applied over your natural nails to add length and strength. I’ve worked with countless clients who want longer, more glamorous nails without waiting months for growth. Extensions come in different materials like acrylic, gel, and fiberglass. Each method bonds to your natural nail, creating a durable surface that supports polish, designs, and daily wear. Proper application protects your natural nails while enhancing their appearance.
Different Types of Nail Extensions
I’ve mastered several extension types over my years in the salon, and here are the main ones you’ll encounter:
- Acrylic Extensions: Powder and liquid mix to form a hard protective layer. Quick-drying and highly customizable, acrylic nails suit anyone needing strength and length.
- Gel Extensions: UV or LED light cures the gel, creating a flexible and glossy finish. These extensions offer a more natural look and less damage to the natural nail.
- Fiberglass or Silk Wraps: Thin fabric layers apply over the nail with resin. These wraps reinforce weak nails and repair breaks without adding much bulk.
- Polygel Extensions: A hybrid of acrylic and gel, polygel nails combine the durability of acrylic with the lightweight feel of gel. They require curing under LED light and offer excellent flexibility.
Knowing these types helps you pick nail extensions that match your style desires and nail health needs. Each option brings its advantages to keep your manicure flawless and eye-catching.
Preparing for Nail Extensions
Proper preparation ensures nail extensions last longer and look flawless. I focus on nail health and having the right tools ready before starting.
Nail Health and Care Before Extensions
Healthy natural nails create a strong foundation for extensions. I always check for signs of damage, such as peeling, dryness, or fungal infections, and recommend treatment first. Keeping nails clean and free of polish for at least 24 hours before application helps adhesives bond better. I advise moisturizing the cuticles daily but avoiding oily creams right before the procedure. Filing and buffing the natural nail surface lightly improves adhesion without thinning the nail plate. If nails are brittle, strengthening treatments with biotin or protein supplements help restore resilience before extensions.
Tools and Materials Needed
High-quality tools influence the final result and durability of extensions. I keep these essentials on hand:
- Nail files and buffers in various grits to shape and smooth nails
- Nail tips or forms, depending on the extension method chosen (acrylic, gel, etc.)
- Primer and dehydrator to prepare the nail surface and prevent lifting
- Acrylic or gel products, including monomer, polymer powders, and builder gels
- Brushes designed for nail enhancements, clean and in good condition
- UV or LED lamp for curing gel extensions
- Cuticle pusher and nippers for careful cuticle management
- Nail dehydrator and anti-fungal solutions to maintain nail health during application
Having these materials ready assures a smooth, professional application and minimizes the risk of damage.
Step-by-Step Nail Extension Application Process
Mastering the nail extension application process starts with precise steps to ensure strong, beautiful results. Each stage builds on the previous, creating a lasting and healthy finish.
Prepping Natural Nails
Begin by sanitizing your hands thoroughly. Trim and gently push back cuticles without cutting them to avoid irritation. File the natural nails to remove shine; this creates the perfect surface for adhering extensions. Cleanse nails with an alcohol wipe to eliminate oils and debris. If any signs of damage or fungus appear, address those before continuing to protect nail health.
Applying Tips or Forms
Choose the right size tips for each finger to ensure a natural fit. Apply nail glue sparingly to avoid excess that can lift. Press tips firmly onto the natural nails, holding for 10 seconds to secure. For form users, align the form snugly under the natural nail edge, sculpting the extension’s length and shape without gaps. Proper tip or form placement guarantees a smooth foundation.
Applying Acrylic, Gel, or Dip Powder
Work in thin layers to control thickness and flexibility. For acrylics, mix liquid monomer and powder polymer into a bead, then apply from the base outward, shaping the nail extension. For gels, brush on even coats and cure under a UV or LED lamp as directed. Dip powder requires applying a base coat, dipping nails into the powder, and sealing the layer with activator. Repeating layers builds strength and length systematically.
Shaping and Finishing Touches
After extension material fully cures or dries, file the nails to shape them to your desired style—square, oval, or almond. Buff surfaces to smooth out imperfections. Apply a top coat for shine and protection, curing if using gel. Finish with cuticle oil to nourish skin and keep nails healthy. These finishing steps refine the look and extend the life of your nail extensions.
Maintaining Nail Extensions
Maintaining nail extensions keeps them looking fresh and ensures they last longer. Proper care protects your natural nails and preserves the beauty of the extensions.
Daily Care Tips
- Moisturize cuticles daily with cuticle oil or cream to prevent dryness and cracking.
- Avoid using nails as tools for opening cans or packages, which causes lifting or breaking.
- Wear gloves when doing household chores such as washing dishes or cleaning to protect nails from harsh chemicals.
- Gently file rough edges with a fine nail file to prevent snagging and further damage.
- Refrain from picking at or peeling extensions, as this weakens both artificial and natural nails.
- Schedule regular fills every 2 to 3 weeks to maintain nail shape and strength.
Common Problems and How to Fix Them
- Lifting: Often caused by moisture trapped under the extension or improper application. If detected early, apply a primer or bonding agent at the lifted edge and gently press it down. Severe lifting requires professional touch-up.
- Cracking or breaking: Usually the result of impact or excessive pressure. Trim and file the broken area to avoid further damage, then reinforce with gel or acrylic overlay.
- Infections: Redness, swelling, or pain around the nail indicate infection. Remove extensions immediately and consult a healthcare professional. Avoid using artificial nails if fungal or bacterial infections are present.
- Yellowing or discoloration: Caused by staining from certain nail polishes or inadequate sealing. Use a clear top coat regularly and avoid prolonged exposure to tinted products.
Regular maintenance and attentive care protect nail extensions and natural nails, combining health and fashion for lasting beauty.
Removing Nail Extensions Safely
Removing nail extensions requires patience and care to protect your natural nails from damage. I always recommend avoiding the temptation to peel or force extensions off, as that strips layers from your nails and causes weakening.
Start by gently filing the surface of the extensions to break the seal of the top coat. Soak cotton balls in acetone-based nail polish remover that’s pure or specially formulated for nail extension removal. Place the cotton over each nail and wrap it tightly in foil to trap the acetone and speed up softening.
Leave the foil wraps on for 15 to 20 minutes. Check one nail by gently pushing the extension with a wooden cuticle stick; it should lift easily if the resin has dissolved. If not, soak for an additional 5 to 10 minutes.
Once softened, gently slide the extensions off without forcing. Use a soft buffer to remove any residual adhesive. If any stubborn spots remain, repeat soaking on those nails only.
Always finish by moisturizing your nails and cuticles with nourishing oils or creams to restore hydration. Regular breaks between application and removal, plus using quality acetone and tools, preserve nail health and keep your hands beautiful.
Conclusion
Nail extensions have truly changed the way I look at nail care and style. They offer a fun way to express creativity while giving my nails that extra length and strength I’ve always wanted. Whether you’re just starting out or looking to perfect your technique, taking the time to learn and care for your extensions makes all the difference.
Remember, patience and proper maintenance are key to keeping your nails healthy and beautiful. With the right approach, nail extensions can be a fantastic addition to your beauty routine that boosts confidence and adds a touch of glam to your everyday look.