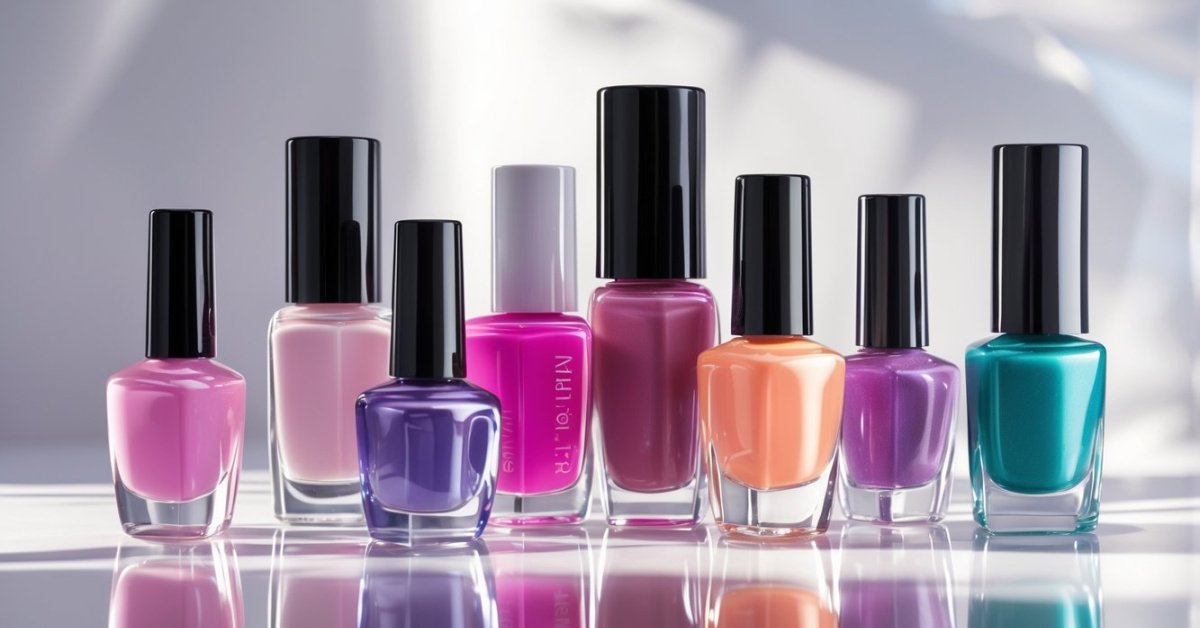
Taking care of your nails is a small but powerful way to boost your confidence. Sometimes though, stubborn nail polish or gel just won’t budge, and that’s where nail dissolvers come in handy. They’re a quick and effective solution to get your nails back to a clean slate without harsh scraping or damaging your natural nails.
I’ve found that knowing the right way to apply nail dissolvers makes all the difference. It’s not just about slapping on a product but doing it carefully to protect your nails and skin. In this article, I’ll walk you through simple steps to use nail dissolvers safely and efficiently so you can enjoy fresh nails in no time.
Understanding Nail Dissolvers
Nail dissolvers play a vital role in nail care by safely breaking down polish or gel without harming the nail plate. Mastering their use ensures nails stay healthy, making polish removal both gentle and effective.
What Are Nail Dissolvers?
Nail dissolvers are specially formulated liquids or gels designed to break down nail polish, acrylics, or gel coatings. Unlike traditional removers that merely dissolve polish layers, these products target tough, stubborn applications often resistant to acetone alone. Nail dissolvers often contain ingredients like acetone combined with conditioning agents to protect the skin and nails during removal.
Benefits of Using Nail Dissolvers
Nail dissolvers make polish removal faster, reducing the need for excessive scraping or filing that can weaken nails. They preserve nail strength and moisture, decreasing peeling and brittleness. Using a dissolver lowers the risk of skin irritation common with harsh solvents. For fashion-forward clients, dissolvers allow quick polish changes without compromising nail health. With decades in nail care, I’ve seen how the right dissolver maintains a balance between effective removal and nail protection.
Preparing Your Nails for Application
Preparing nails properly sets the foundation for effective nail dissolver use and protects nail health. I’ve found these steps essential in my salon to ensure smooth, damage-free removal.
Cleaning and Drying Your Nails
Cleaning nails removes oils, lotions, and dirt that block nail dissolvers from working. I always start by washing my hands with a gentle soap and warm water. Then, I use a lint-free cloth to dry completely. Wet or oily surfaces lessen dissolver action. Keeping nails dry boosts polish breakdown.
Protecting Your Skin and Surroundings
Protecting skin and surroundings prevents irritation and mess. I apply a thin layer of petroleum jelly or cuticle cream around each nail to shield skin from acetone’s drying effects. Using cotton pads soaked in nail dissolver fits nails snugly without spilling. Wrapping fingertips in foil holds pads in place and keeps the dissolver concentrated. I always cover my work surface with paper towels to catch spills, avoiding stains on furniture or fabrics.
Step-by-Step Guide on How to Apply Nail Dissolvers
Applying nail dissolvers correctly speeds up polish removal and protects nail health. I’ll share precise steps honed from years in the nail salon.
Applying the Nail Dissolver Correctly
Start by soaking a small cotton pad with the nail dissolver. Lay the pad flat over your nail, covering every edge. Press gently to ensure full contact. Wrap each fingertip tightly with aluminum foil to keep the pad in place and trap heat, which accelerates dissolving. Avoid applying too much dissolver, which can cause excess dripping and skin irritation.
Waiting Time and Monitoring Progress
Allow the dissolver to work for 10 to 15 minutes, no longer than 20 minutes. Check your nails every 5 minutes to monitor progress. The polish or gel should appear soft, wrinkled, or lifting from the nail surface. If it isn’t loosening, rewrap and wait a few more minutes. Avoid scraping too soon, which risks nail damage.
Removing Residue Safely
Once softened, gently press and slide the foil and cotton off each nail. Use a wooden stick or cuticle pusher to push away any remaining polish gently. If residue resists, reapply a small amount of dissolver on a fresh cotton pad and wrap again briefly instead of forcing it off. Finish by washing hands thoroughly and moisturizing nails and cuticles to restore hydration.
Tips for Best Results and Aftercare
Applying nail dissolvers correctly makes a big difference in nail health and appearance. These tips help protect nails and keep them looking their best after removing polish.
Avoiding Nail Damage
Protect nails by avoiding over-soaking with acetone-based dissolvers, which can dry nails and skin. I recommend limiting soak time to 15 minutes per nail, checking progress every five minutes. Peel or scrape softened polish gently with a wooden stick to prevent nail surface scratches. Always apply petroleum jelly around the nail before dosing to shield skin from harsh chemicals. Cleaning nails thoroughly before application ensures the dissolver works effectively without repeated exposure.
Moisturizing and Nail Care Post-Application
Hydrate nails and cuticles immediately after polish removal to restore moisture lost from acetone use. I find rich cuticle creams containing vitamins E and B5 provide excellent nourishment. Massage cream into nails and skin daily to boost strength and flexibility. Avoid harsh soaps for at least 24 hours and wear gloves when doing household chores. A weekly treatment with a strengthening nail oil helps maintain durability and shine, preventing brittle or peeling nails. Regular moisturizing keeps nails healthy and polished-looking longer.
Conclusion
Using nail dissolvers the right way makes all the difference in keeping my nails healthy and looking great. Taking a little extra time to protect my skin and follow each step carefully means I get clean nails without damage or irritation.
I’ve found that patience and gentle care really pay off, especially when it comes to moisturizing afterward. It’s all about balance—removing polish effectively while treating my nails kindly.
With these tips in mind, I feel confident tackling stubborn polish anytime and keeping my nails strong and beautiful between manicures.