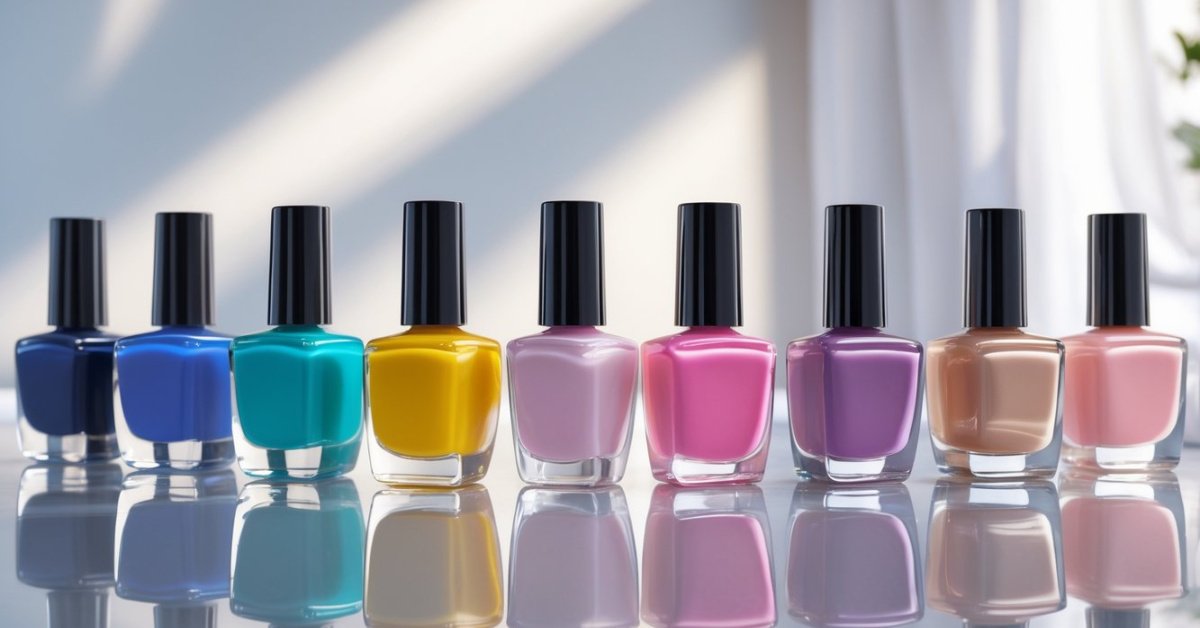
I’ve always loved experimenting with nail art, and foil nails quickly became one of my favorite go-to styles. They add this cool metallic shine that instantly makes any manicure stand out. Plus, you don’t need to be a pro to get great results—once you get the hang of it, foil nail art is surprisingly easy and fun to do at home.
Understanding Foil Nail Art
Foil nail art combines creativity and technique to add a striking metallic effect to any manicure. Knowing the basics makes the process straightforward and fun.
What Is Foil Nail Art?
Foil nail art uses thin sheets of metallic or patterned foil applied over nail polish or gel. You start by applying a base coat, followed by a special adhesive or gel that becomes tacky. Then, pressing the foil onto the nail transfers its shiny design. The result delivers a mirror-like finish that catches light in stunning ways, transforming simple nails into standout pieces of art.
Popular Styles and Designs
Popular foil styles include:
- Holographic foils: Change color and shimmer with light shifts.
- Chrome foils: Offer a smooth, reflective silver or gold surface.
- Patterned foils: Include leopard prints, geometric shapes, and floral designs.
- Gradient foils: Blend metallic shades for seamless color transitions.
In my years running a salon, I’ve seen clients love foil accents combined with matte finishes or layered over bright colors. Foils pair well with minimalist nail designs like French tips and can elevate bold looks such as glam rock or futuristic themes.
Materials Needed for Foil Nail Art
Getting the right materials makes foil nail art easier and more enjoyable. My decades of salon experience show that having quality supplies improves both look and longevity.
Types of Nail Foils
Foil nail art uses various foil types for unique effects:
- Metallic Foils: Classic gold, silver, and chrome foils provide a mirror-like shine.
- Holographic Foils: Shift colors with light for a multidimensional sparkle.
- Patterned Foils: Include floral, geometric, or abstract designs that add artistry.
- Gradient Foils: Blend multiple colors for ombré and rainbow finishes.
Choosing the right foil depends on the nail look and occasion. I keep a selection handy to cater to different styles.
Essential Tools and Products
Using quality tools and products ensures the foil adheres smoothly and lasts:
- Base Coat: Protects natural nails and provides a smooth canvas.
- Foil Glue or Nail Adhesive: Specifically formulated to bond foil to nails effectively.
- Top Coat: Seals foil designs, maintaining shine and durability.
- Tweezers: Help place foils accurately without damaging delicate sheets.
- Cuticle Pusher or Orange Stick: Assists in smoothing foil edges for a clean finish.
- Nail File and Buffer: Preps nails by shaping and smoothing surfaces before application.
Applying the right products and tools with precision delivers professional results. I recommend using nail glue over regular polish for better foil transfer and longevity.
Step-by-Step Guide on How to Do Foil Nail Art
Mastering foil nail art involves clear, precise steps for perfect results. I’ll walk you through the process to help you achieve salon-quality foil nails at home.
Preparing Your Nails
Start by cleaning nails thoroughly to remove oils and old polish. Buff nails gently to smooth the surface and file edges to your preferred shape. Push back cuticles carefully, avoiding damage to prevent infections. Sanitizing hands and nails reduces bacteria for a healthier manicure.
Applying Base Color and Adhesive
Apply a quality base coat to protect nails and extend polish wear. Choose a base color that complements your foil design and apply two thin, even coats. Let polish dry fully before moving on. Apply an adhesive designed specifically for foil nails evenly over the base color. Let it dry until tacky but not completely dry—this step is crucial for proper foil transfer.
Transferring Foil onto Nails
Cut foil into manageable pieces that cover each nail. Using tweezers, place foil shiny side up on the tacky polish. Press foil firmly with a silicone tool or finger for 30 seconds to ensure adhesion. Remove foil gently; the design transfers onto your nail where the adhesive is tacky, creating that signature metallic finish.
Sealing and Finishing Touches
Seal your foil art with a durable top coat to protect the design and add shine. Apply two coats, allowing each to dry thoroughly. Be sure to cover the nail edges to prevent lifting. Clean up any excess polish around nails with a brush dipped in polish remover. Regular moisturizing of cuticles maintains nail health and enhances your manicure’s longevity.
Tips and Tricks for Long-Lasting Foil Nails
Keep nails clean and dry before applying foil to prevent lifting. Avoid water contact for at least an hour after finishing the manicure since moisture weakens adhesion. Use high-quality foil glue formulated for nail art; cheaper glues don’t hold well. Replace glue if it thickens or loses tackiness during application.
Press foil firmly and evenly with a silicone tool or your fingertip to ensure full transfer. Lift foil gently to avoid smudging or tearing the delicate design. Apply thin layers of top coat in two coats, allowing each to dry fully. Without enough top coat, the foil chips or fades quickly.
File and shape nails before applying foil glue to remove oils and create a smooth surface. Avoid heavy buffing that thins natural nails, but light buffing boosts adhesion significantly. Moisturize cuticles daily with nourishing oil, but keep oils off nails pre-application as they reduce foil grip.
Avoid picking, scratching, or exposing nails to harsh chemicals like cleaning agents, which strip polish and break down adhesive layers. Wear gloves during housework to protect foil nails. Immediately fix small chips by applying glue and pressing foil bits over damaged areas before sealing with top coat.
Rotate your foil designs every 1 to 2 weeks. While durable, foils are more fragile than regular polish. Reapplying the top coat every 3 to 4 days extends shine and keeps edges sealed. If nails start peeling, reapply glue and foil to affected spots without removing the entire design.
With these tips from decades in the salon chair, you’ll keep your foil nails looking sharp and vibrant longer. Consistent care and proper sealing transform foil nails into a stunning, lasting fashion statement.
Common Mistakes to Avoid
Skipping nail preparation causes poor foil adhesion and premature lifting. I always start with clean, dry nails, lightly buffed to remove oils and smooth the surface. Applying foil glue on wet or oily nails reduces transfer quality.
Using regular nail polish instead of foil adhesive limits metallic shine and durability. I recommend foil glue specifically designed to get the full mirror effect and strong hold.
Rushing the foil application results in incomplete transfer and patchy designs. Press the foil firmly and hold it in place for at least 30 seconds to ensure the foil sticks properly. Avoid peeling it off too quickly.
Applying too thick a top coat can dull the foil’s reflective finish. I apply a thin layer of quick-dry top coat to seal the foil without compromising shine. Also, avoid rubbing the nails while drying.
Ignoring cuticle care harms nail health and shortens the life of your manicure. I moisturize cuticles daily with nourishing oil to keep nails flexible and prevent chipping around the edges.
Exposing foil nails to water or harsh chemicals immediately after application causes lifting and fading. I advise avoiding water contact for an hour and wearing gloves when cleaning or washing dishes.
Using low-quality foils or tools produces inconsistent results. My salon uses premium foils with vibrant patterns and sturdy tweezers for precise handling, which makes all the difference.
Applying multiple layers of foil glue or top coat often backfires by creating a thick, uneven surface. One smooth layer of each product is enough to maintain a sleek, long-lasting finish.
Waiting too long to reapply a top coat or fix minor chips accelerates damage. I tell clients to refresh their top coat every 3 to 5 days for lasting brilliance and protection.
Not rotating nail designs or taking breaks from foil nail art can strain nails. Changing styles periodically gives nails a chance to recover and stay healthy over time.
Conclusion
Foil nail art is such a fun way to add a bit of sparkle and personality to your look. Once you get the hang of the technique and have the right tools, it’s pretty easy to create salon-worthy nails at home.
I love how versatile foil designs can be, letting you switch up your style whenever you want. Just remember to take your time, use quality products, and care for your nails between manicures. With a little practice, you’ll have stunning foil nails that turn heads every time.