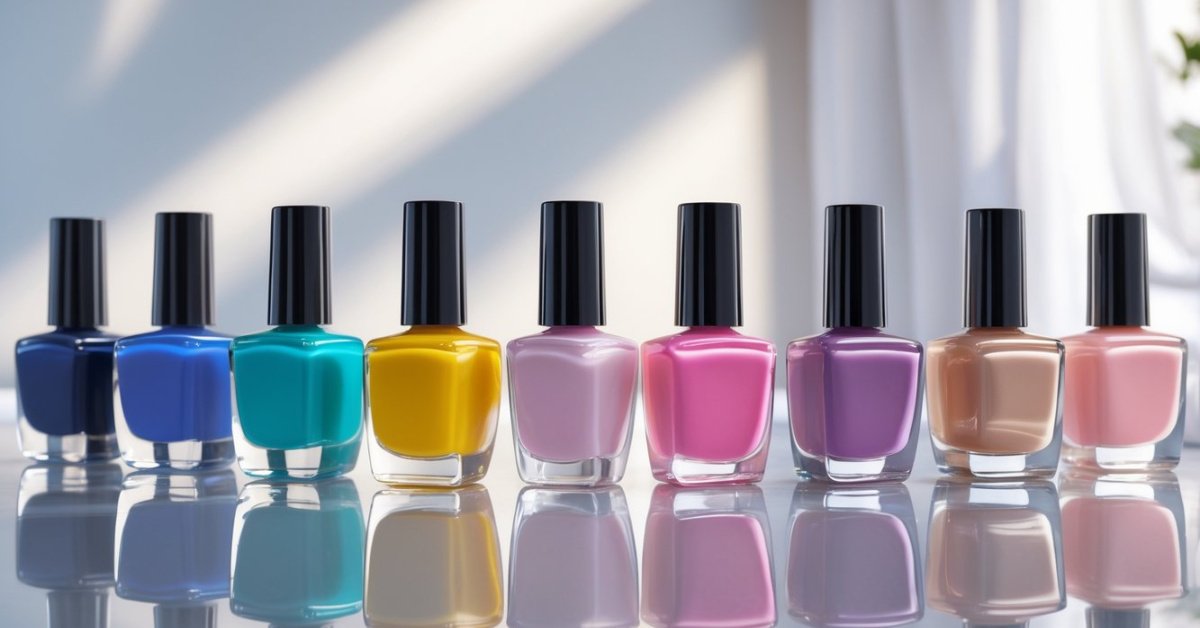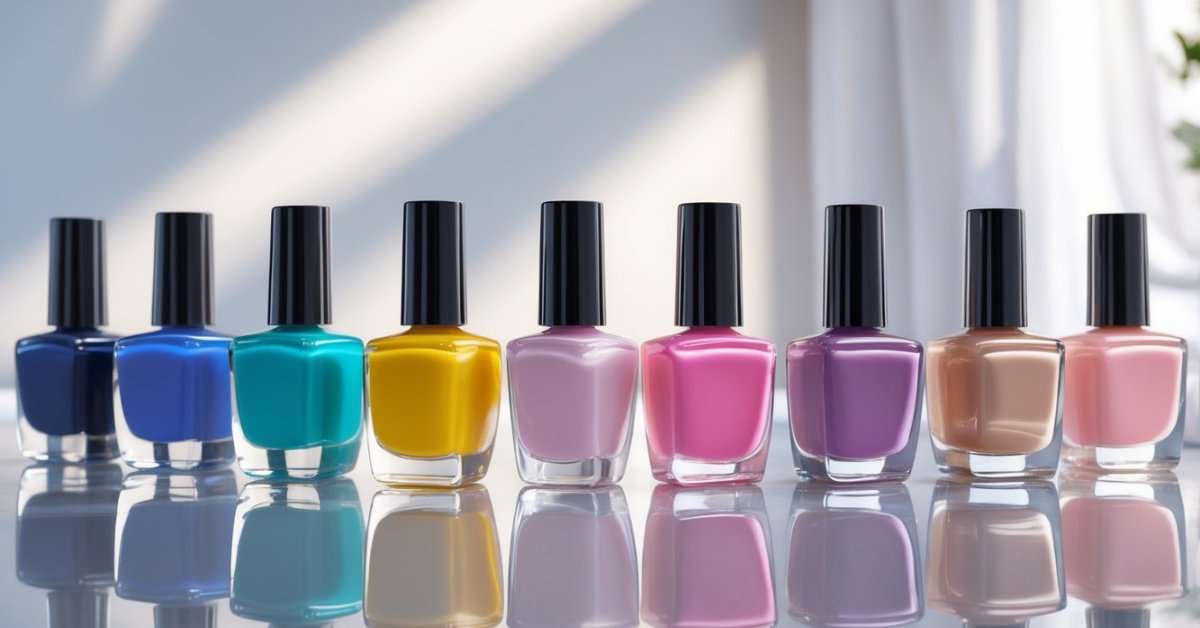
I’ve always loved the look of perfectly polished nails but don’t always have the time or patience for a full manicure. That’s why I turned to nail covers—they’re a quick and easy way to get salon-worthy nails at home. Whether you want a bold design or a simple, classy look nail covers can give you instant style without the mess.
Understanding Nail Covers
Nail covers offer a fast, stylish way to update your nails without the usual fuss. Having worked in the nail salon industry for over 30 years, I’ve seen these become a popular choice for many who love nail polish but want less commitment and mess.
Types of Nail Covers
Nail covers come mainly in three types:
- Stick-on Nail Covers: These pre-designed covers come with adhesive backs. They fit easily over your natural nails in minutes, perfect for quick changes.
- Glue-On Nail Covers: These require applying nail glue before attaching. They provide a stronger hold, ideal for longer wear or special events.
- Press-On Nail Covers: A hybrid between stick-on and glue-on, these use a press-fit adhesive for moderate durability without the hassle of glue.
Shapes vary too, including oval, square, coffin, and stiletto, allowing customization for your preferred look.
Benefits of Using Nail Covers
Using nail covers offers several advantages:
- Time-Saving: They take under 10 minutes to apply, which beats extended drying times of regular polish.
- Damage-Free: Unlike acrylics or gels, they don’t require harsh chemicals, protecting your natural nail health.
- Variety of Designs: Nail covers provide access to salon-quality patterns and colors that might be tricky to paint by hand.
- Flexibility: You can switch styles frequently without waiting for polish to chip or removing stubborn gel layers.
- Travel-Friendly: Nail covers need no extra tools, so they’re convenient for touch-ups or on-the-go use.
These benefits combine to make nail covers a smart choice for anyone passionate about fashion and beauty but pressed for time.
Preparing Your Nails for Application
Proper preparation makes nail covers last longer and look flawless. I’ll guide you through cleaning, shaping, and removing residue to ensure your nails are ready for a perfect application.
Cleaning and Shaping Nails
Start by washing your hands with warm water and gentle soap to remove oils and dirt. Dry them thoroughly with a clean towel. Use a nail file to shape your nails, choosing a style that complements the nail covers—square, oval, or rounded edges work well. Keep the nails short or moderate in length, as overly long nails can prevent covers from adhering properly. Finally, gently buff the surface of each nail to remove shine, helping the covers stick securely.
Removing Old Polish or Residue
Apply a non-acetone nail polish remover to wipe away any old polish or residue. Non-acetone formulas protect the natural nail from drying out, preserving its health and strength. Use a cotton ball or pad and ensure no traces of polish remain before you move on. If residue or oils linger, nail covers may peel or lift prematurely. This step ensures a clean, smooth canvas for the best adhesion and appearance.
Step-by-Step Guide on How to Apply Nail Covers
Applying nail covers correctly ensures a flawless look and long-lasting wear. The process is simple but requires attention to detail to achieve salon-quality results every time.
Selecting the Right Size
I always start by matching each nail cover to its corresponding natural nail size. Pick covers that fit snugly without overlapping onto the skin. Covers too large cause lifting, while those too small create gaps that look uneven. Most kits include several sizes. Lay them out and try fitting each one before starting to avoid surprises during application.
Applying the Nail Covers Properly
I recommend starting with clean, dry nails free of oils or residue. Peel the nail cover gently from its backing, holding by the edges to prevent fingerprints on the adhesive side. Center it over your nail, then press down firmly from the base to the tip. Smooth out any bubbles or wrinkles with your finger or a soft tool, focusing on the edges to seal the cover securely. Take your time on each nail; a meticulous application creates the best finish.
Securing and Adjusting for Comfort
Once all covers are applied, press the edges again to reinforce adhesion. Trim and file any excess nail cover extending beyond your natural nail shape. Be gentle to avoid lifting. If any cover feels tight or uncomfortable, adjust it slightly by repositioning or selecting a different size. Comfortable, well-fitted covers protect natural nails and maintain style without irritation or damage.
Tips for Maintaining Nail Covers
Maintaining nail covers extends their beauty and protects natural nails. Careful handling and routine steps keep your nail covers looking fresh and lasting longer.
Avoiding Common Mistakes
Avoid moisture on nails before applying covers, as dampness causes lifting. Avoid using lotions or oils right before application; they reduce adhesion. Avoid rough use of your nails, like opening cans or typing aggressively, as this shortens wear time. Avoid peeling covers off prematurely; this damages your natural nails and shortens future wear. Avoid overlapping covers onto the skin, which leads to lifting and discomfort. Avoid skipping gentle filing or buffing before application; this step strengthens the bond.
How to Remove Nail Covers Safely
Remove nail covers with patience to prevent nail damage. Remove after soaking nails in warm water for 10-15 minutes, softening the adhesive. Remove covers gently by lifting edges with a wooden cuticle stick or your fingertips. Remove any leftover adhesive with a non-acetone polish remover to protect nail health. Avoid pulling or forcing covers off as this strips the nail surface and causes pain. After removal, moisturize cuticles and nails to restore hydration and maintain strength.
Conclusion
Nail covers have truly changed the game for me when it comes to quick and stylish nails. They offer a fantastic way to enjoy beautiful designs without the hassle of a full manicure. With just a little prep and care, you can achieve a polished look that lasts.
I love how easy it is to switch up styles whenever I want, making nail covers perfect for any occasion or mood. If you haven’t tried them yet, I encourage you to give them a shot—you might just find your new favorite beauty hack.