Polka dot nail art has always been one of my favorite ways to add a playful touch to my look. It’s simple yet so charming, and the best part is you don’t need to be a pro to create it. Whether you’re getting ready for a casual day out or a fun night with friends, polka dots can instantly brighten up your nails.
Essential Tools and Materials for Polka Dot Nail Art
Creating perfect polka dot nail art depends on having the right tools and materials on hand. As someone who’s owned a nail salon for decades, I know these essentials make all the difference.
Choosing the Right Nail Polish Colors
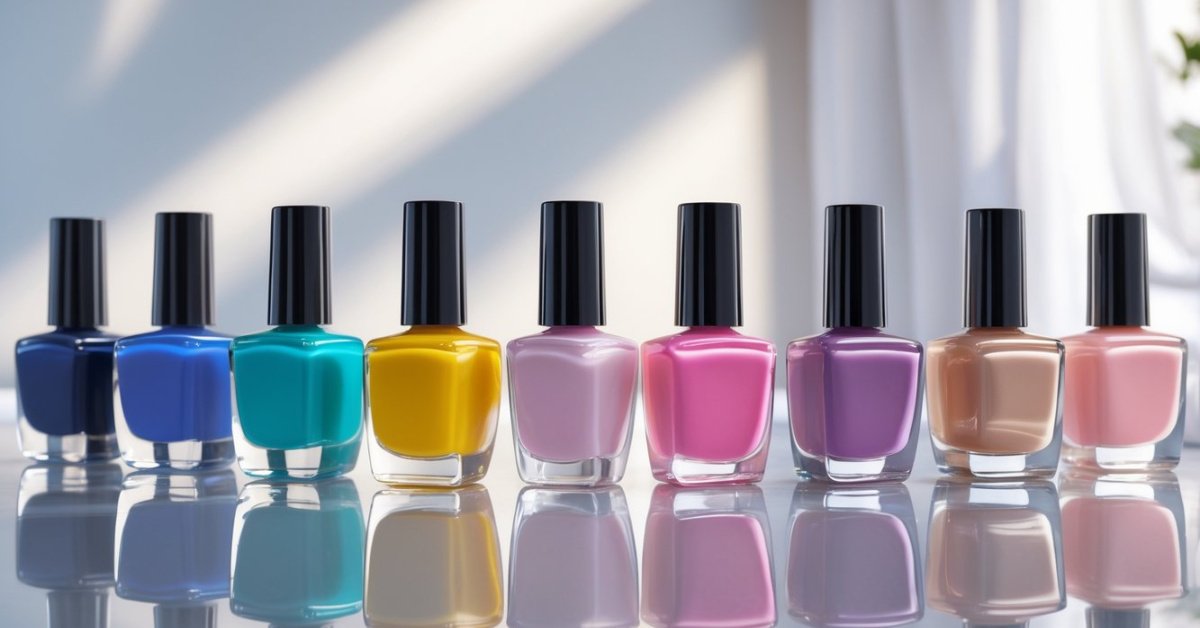
Selecting nail polish colors sets the tone for your polka dot design. I recommend picking a base color that complements your skin tone or matches your outfit. Bold shades like red, navy, or black create striking backgrounds. Pastels or neutral tones work well for a subtle, elegant look. For the dots, contrast matters. Use white or black dots on bright bases, or go with metallic or glitter polishes for added glam. Always choose long-lasting, chip-resistant polishes from trusted brands to keep your art looking fresh.
Tools Needed for Creating Polka Dots
Precision defines neat polka dots. Start with a good-quality dotting tool set, which usually includes various sizes for dots from tiny to bold. If you don’t have these, household items like bobby pins or the tip of a toothpick can substitute. A fine detail brush helps clean edges and fix errors. Keep cotton swabs and nail polish remover nearby for quick cleanups. A quality base coat and top coat protect your design and enhance hold. Together, these tools ensure your polka dot nails look salon-perfect every time.
Step-by-Step Guide to Creating Polka Dot Nail Art
Mastering polka dot nail art starts with preparation, precise techniques, and proper finishing. I break down each step so anyone can create this classic, playful design that complements any style.
Preparing Your Nails for Art
Clean, smooth nails set the foundation for standout polka dots. Begin by removing old polish with an acetone-based remover, which cleans thoroughly and preps the surface. Next, trim and file your nails to your preferred shape, avoiding jagged edges that can disrupt polish application. Push back cuticles gently using a wooden stick or cuticle pusher, then wash hands with warm water to remove oils. I always recommend buffing the nail surface lightly to create a smooth canvas — this helps the polish adhere evenly and last longer.
Techniques for Making Perfect Polka Dots
Steady hands and the right tools turn simple dots into stylish art. Use a dotting tool or household items like a bobby pin or toothpick, depending on the size of your dots. Dip the tool into the contrasting polish, then apply evenly spaced dots on a fully dried base coat. For uniform dots, apply consistent pressure—press harder for larger dots, lighter for smaller. Create patterns by alternating dot sizes or arranging rows. Always allow each layer to dry before adding more dots to prevent smudging.
Tips for Drying and Sealing the Design
Protect your nail art by drying and sealing correctly. After the dots dry for at least 10 minutes, apply a fast-drying clear top coat. This seals the design, adds shine, and prevents chipping. I advise applying two thin layers of top coat rather than one thick one to avoid smearing your dots. Let nails dry fully between layers and avoid using your hands heavily for at least 30 minutes. Keep a quick-dry spray or drops handy to speed up the drying process without compromising the finish.
Creative Variations of Polka Dot Nail Art
Adding variety to polka dot nail art keeps it fresh and exciting. I’ve spent decades perfecting these designs and love sharing creative twists that anyone can try at home.
Combining Polka Dots with Other Nail Art Styles
Mixing polka dots with stripes, florals, or geometric shapes creates unique, eye-catching designs. For example, painting delicate stripes on an accent nail and adding polka dots on others balances simplicity with detail. Layering glitter beneath dots adds sparkle while retaining the classic playful vibe. I use this combination to elevate nail art beyond basic patterns, making it perfect for both everyday wear and special occasions.
Using Different Sizes and Colors of Dots
Varying dot sizes—from tiny specs to large circles—adds dimension and interest. I often alternate large white dots with smaller colored ones on a dark background to create contrast and depth. Using multiple colors in a coordinated palette, such as pastel pinks and blues, produces a charming, soft effect. Experimenting with sizes and colors lets you personalize your look, ensuring your nails stand out with polished precision.
Common Mistakes to Avoid When Creating Polka Dot Nail Art
Starting with uneven base coats weakens the entire look. Applying a thin, smooth base ensures the dots lay flat and crisp. Using thick layers often causes smudging once you start dotting. Rushing through drying times also ruins the pattern. Waiting at least five minutes between coats prevents smears and blending of colors.
Choosing the wrong size for dotting tools or substitutes results in inconsistent dot sizes. Using tools that are too large or too small breaks the uniformity. Selecting the right size creates balance in your design, so keep multiple sizes handy. Pressing too hard or too lightly changes the shape of dots. Applying consistent pressure produces well-rounded, clean dots.
Trying to fix mistakes before the polish fully dries spreads the color and damages the navy finish. Patience pays off; let the dots dry completely before corrections or applying topcoat. Ignoring the importance of a quality topcoat risks chipping and fading. Apply two thin layers of fast-drying topcoat to protect the design and maintain shine.
Finally, overloading your brush with nail polish causes blobs and uneven dots. Dip lightly into the polish and remove excess on the bottle neck or palette. This controls dot size and prevents smudging. Avoid common pitfalls by sticking to these techniques and your polka dot nail art will look professional and flawless every time.
Conclusion
Creating polka dot nail art is such a fun way to express your style without needing a ton of experience. Once you get the hang of the basics, it’s easy to mix and match colors and patterns to keep your nails looking fresh and unique.
I love how this simple design can be dressed up or down depending on the occasion. With a little patience and practice, you’ll be rocking salon-worthy nails right at home!