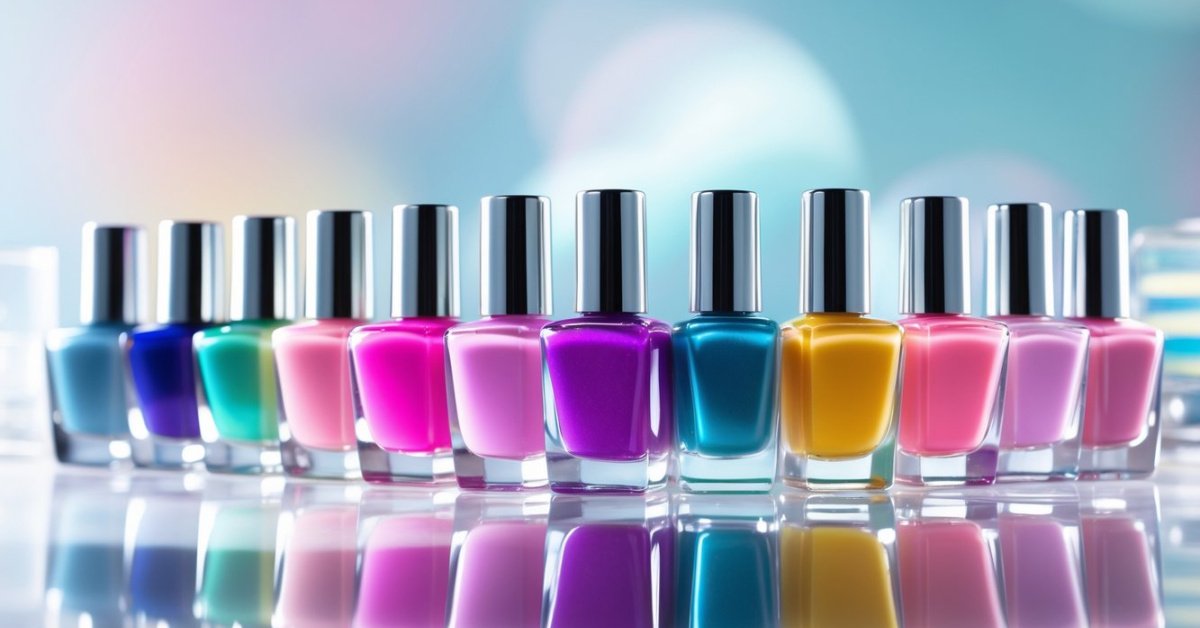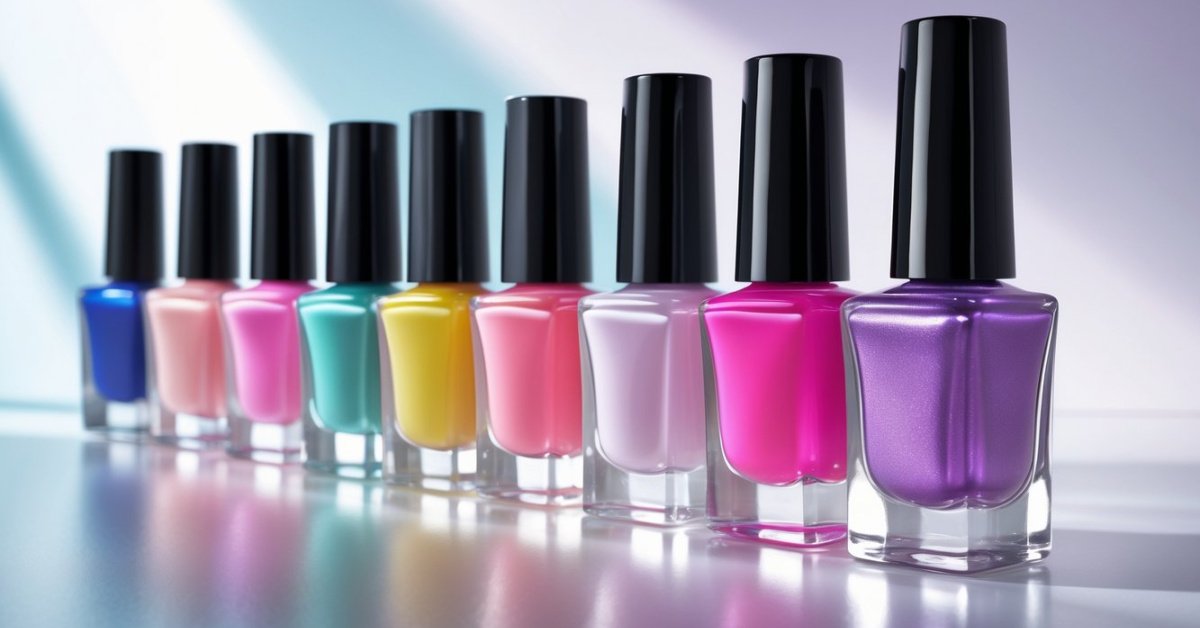
Nail art has always fascinated me with its endless possibilities to express creativity right at my fingertips. When I first started, it felt a bit overwhelming, but once I got the hang of it, I realized how fun and relaxing it could be. Whether you’re someone who loves bold designs or prefers subtle elegance, nail art offers something for everyone.
Understanding Nail Art Basics
Mastering nail art starts with knowing the essentials. I’ve spent decades running a nail salon, and I’ve seen that beginners benefit most from a solid foundation in tools and techniques before trying complex designs.
Essential Tools for Beginners
Every nail art journey begins with the right tools. I recommend starting with these basics:
- Base coat and top coat: Protect nails and seal designs with quality formulas.
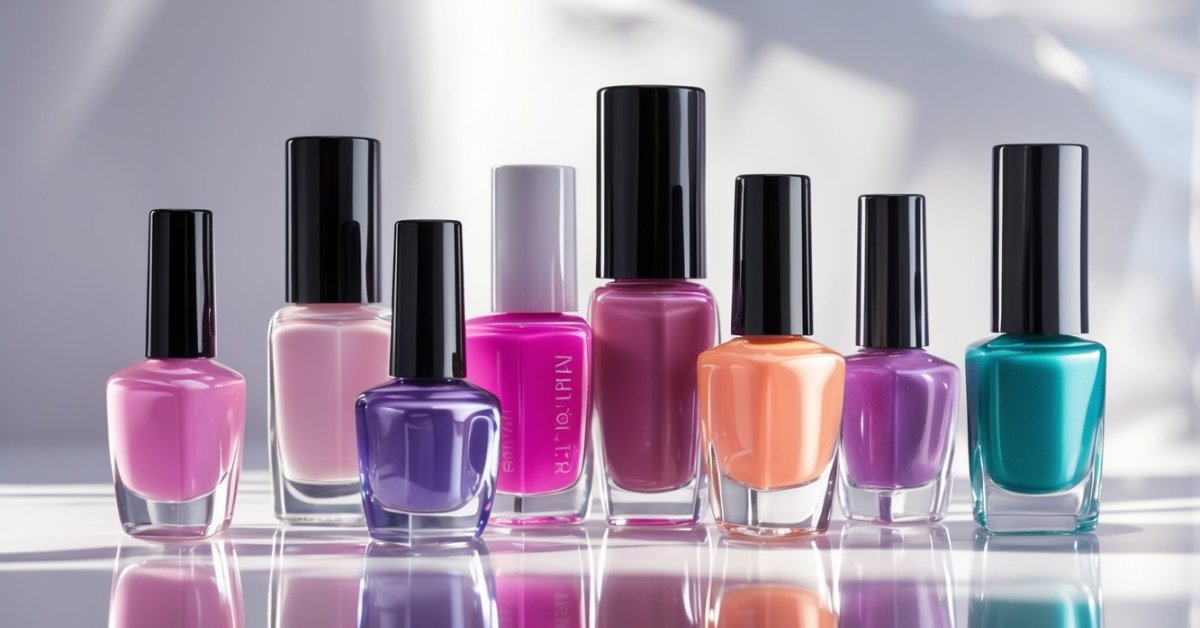
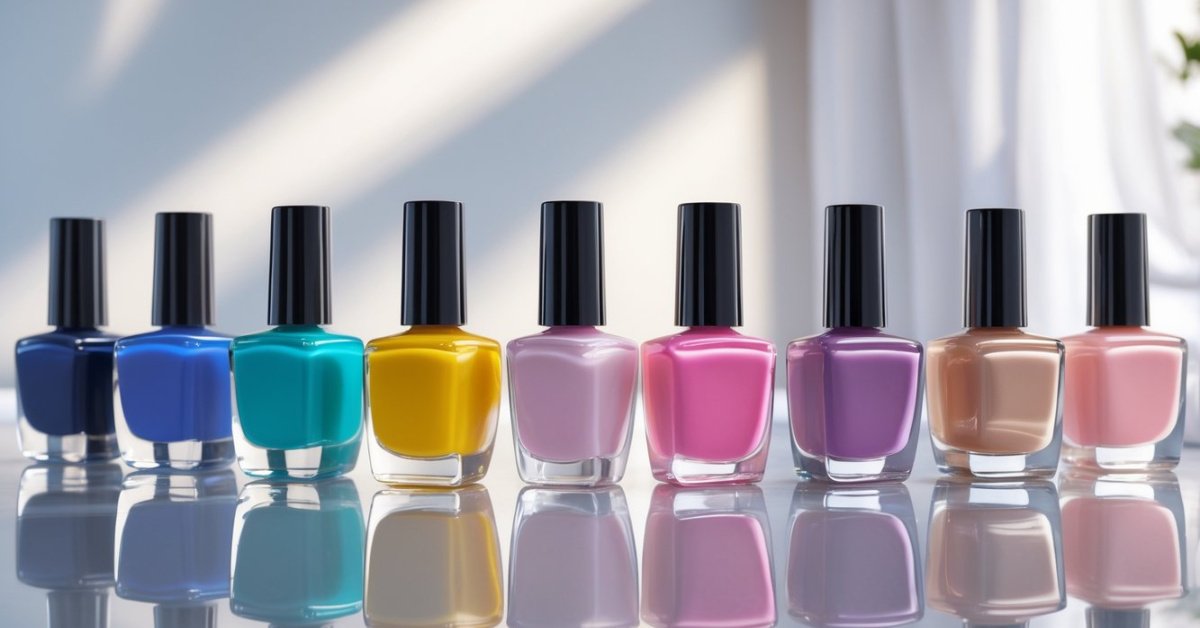
- Nail polish: Invest in a few versatile colors like nude, red, and black for various styles.
- Dotting tools: Simple devices that create precise dots and patterns, essential for detailed work.
- Thin brushes: Ideal for drawing stripes, shapes, or outlines on nails.
- Nail file and buffer: Shape nails and smooth surfaces to prepare for polish application.
- Cuticle pusher: Gently push back cuticles to create a clean canvas.
- Tweezers: Help place small embellishments like rhinestones or decals accurately.
Using quality tools avoids frustration and makes your designs last longer. When tools feel comfortable, creativity flows more naturally.
Common Nail Art Techniques
Starting with beginner-friendly techniques builds confidence before moving to advanced styles. I suggest mastering these first:
- Simple dots and stripes: Use dotting tools and brushes to create polka dots or clean lines.
- Gradient or ombré effect: Blend two or more colors smoothly using a makeup sponge.
- Stamping: Apply intricate patterns quickly with stamping plates and polish.
- Freehand painting: Practice drawing small flowers, hearts, or geometric shapes using a thin brush.
- Glitter application: Add sparkle precisely by dabbing loose glitter or using polish with glitter particles.
Practicing these techniques on a nail wheel or tips helps perfect control and timing. Each method enhances your ability to combine styles innovatively.
Step-by-Step Nail Art Tutorials
Mastering nail art starts with step-by-step tutorials that guide beginners through easy, achievable designs. I break down techniques into clear actions so you can build skills and enjoy the process.
Simple Designs to Try at Home
Start with dotting and striping techniques using basic tools like dotting pens or toothpicks. Apply a base coat and paint nails with a neutral color, then add dots or stripes in contrasting shades. Try polka dots, stripes, or minimalist hearts for elegance. Gradients come next—blend two polish colors using a makeup sponge, gently dabbing from base to tip. These simple designs demand minimal tools but deliver striking results. Keep nails dry and polish layers thin to speed drying and avoid smudges.
Using Nail Stamps and Stickers
Nail stamps and stickers simplify complex patterns. Choose stamp plates with floral, geometric, or seasonal designs. Apply polish on the plate, scrape off excess, and roll the stamper over the design before pressing it onto your nails. With stickers, peel and place directly, sealing edges with a top coat to prevent lifting. Both methods save time and let you explore intricate art without advanced freehand skills. Clean tools after each use to maintain crisp patterns and avoid residue buildup.
Tips for Long-Lasting Nail Art
Creating nail art that lasts starts with proper preparation and care. I’ve seen how small steps extend the life of designs and keep nails healthy and beautiful.
Proper Nail Preparation
Begin by cleaning nails thoroughly. Remove old polish, oils, and dirt using a gentle nail polish remover. Shape nails evenly with a fine-grit file and smooth edges to prevent chipping. Push back cuticles carefully with a cuticle pusher without cutting them, which protects nail growth. Buff the nail surface lightly to remove ridges but avoid over-buffing, as it weakens the nail. Apply a dehydrator or swipe with rubbing alcohol to eliminate remaining oils. Finish with a thin layer of base coat; it creates adhesion, protects nails from staining, and balances the surface for even polish application.
Sealing and Maintenance
Seal each layer of polish with gentle strokes, making sure to cap the free edge of the nail to reduce peeling. Use a high-quality top coat to add shine and strengthen the design. Reapply top coat every two to three days to maintain durability and prevent dullness. Avoid hot water and harsh chemicals for extended periods, since they weaken polish adhesion. Wear gloves when doing chores like washing dishes or gardening. Moisturize cuticles and hands regularly with cuticle oil and hand cream to support healthy nail growth and prevent cracking. If a chip appears, fix it promptly by smoothing the edge and reapplying polish and top coat to keep the design intact longer.
Safety and Nail Care
Maintaining healthy nails keeps nail art looking fresh and beautiful. I’ve seen countless clients transform their nails safely by following simple care tips.
Avoiding Nail Damage
Protecting nails starts with gentle care. Avoid peeling or biting polish, as this strips layers and weakens nails. Limit exposure to harsh chemicals like acetone and other solvents; when using them, wear gloves to shield skin and nails. Keep nails trimmed and filed to prevent snagging or breakage. Use a nourishing cuticle oil daily to strengthen the nail bed and promote growth. When removing polish, never scrape or pick at nails, as this causes damage. Avoid overusing gel or acrylic treatments, which can thin nails if applied repeatedly without breaks. Staying hydrated and eating a balanced diet also supports nail strength.
Removing Nail Art Safely
Safe removal of nail art ensures nails stay intact and healthy. Use a gentle, acetone-free polish remover to minimize drying effects unless removing gel polish, which often needs pure acetone. Soak a cotton ball in remover, place it on the nail, and wrap with foil for 10-15 minutes to dissolve polish thoroughly without harsh scraping. For gel nails, soaking prevents excessive filing that thins natural nails. After removal, wash hands, gently buff the surface with a soft nail buffer, and apply cuticle oil to restore moisture. Frequent moisturizing after removal helps maintain the nail’s natural barrier and prevents peeling or cracking.
Conclusion
Nail art is such a fun way to express yourself and unwind. It doesn’t have to be perfect right away—every design you try helps you grow more confident and creative.
Remember, it’s all about enjoying the process and finding what styles make you happy. With a little patience and practice, you’ll be amazed at what you can create right at home.
So grab your favorite polishes and tools, and start experimenting. Your nails are your canvas—make them uniquely yours!