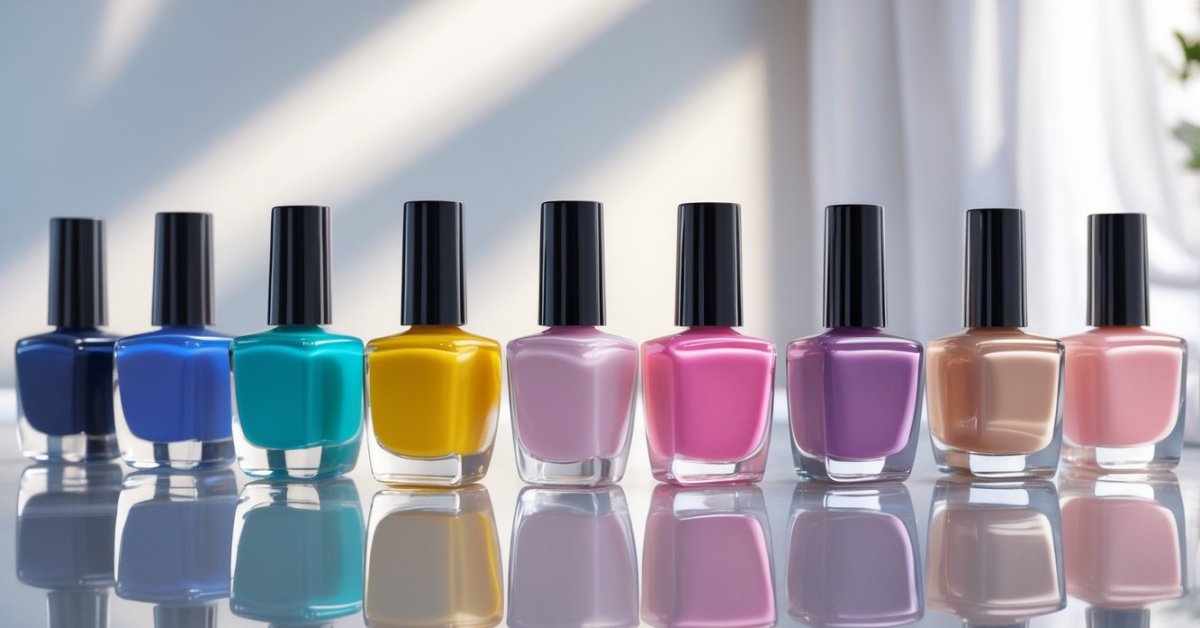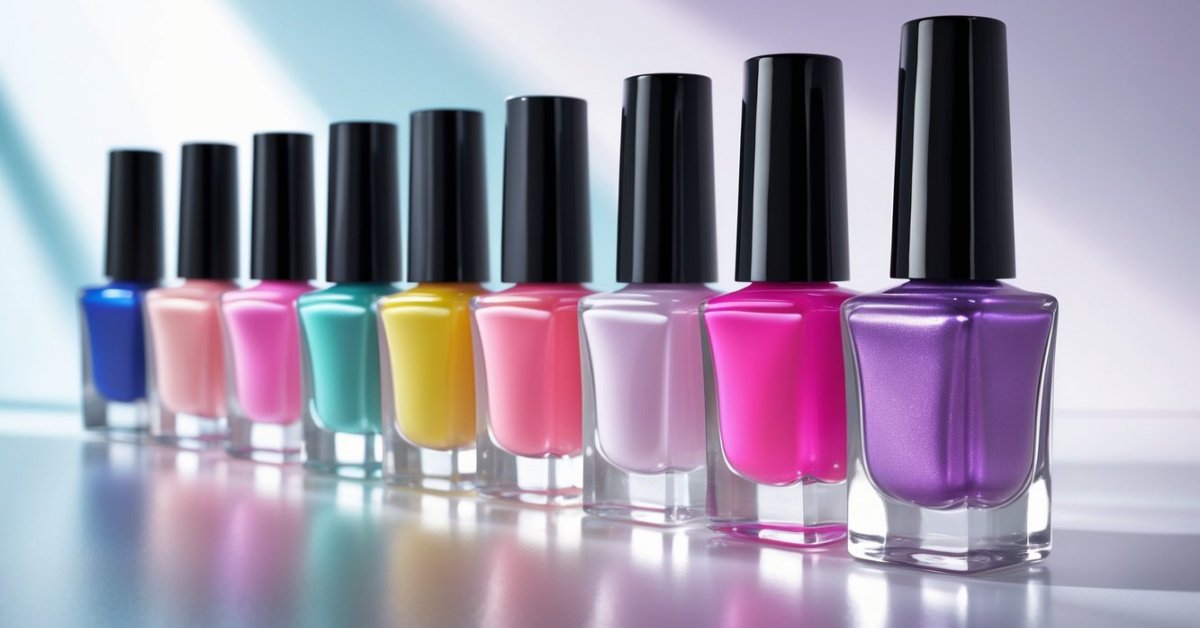
I’ve always loved experimenting with nail colors, but lately, nail tints have caught my eye. They offer a subtle, natural look that’s perfect for any occasion. If you’re like me and want something less bold than regular polish but still want a touch of color, nail tints might be your new favorite.
Understanding Nail Tints
Nail tints bring a fresh approach to nail color, blending elegance with subtlety. From my years running a nail salon, I’ve seen how they gently enhance natural nails without overpowering them.
What Are Nail Tints?
Nail tints are sheer, translucent layers of color that sit lightly on the nail surface. Unlike traditional nail polish, which offers opaque coverage, tints let the natural nail show through. They come in gel or liquid formulas and often contain nourishing ingredients like vitamin E or aloe vera to support nail health. Nail tints create a delicate wash of color that enhances your nail’s natural appearance instead of masking it.
Benefits of Using Nail Tints
Nail tints offer several advantages, especially for clients seeking a natural, polished look. First, they minimize staining often caused by darker polishes. Second, their sheer formula allows for easy layering to build just the right shade intensity. Third, their quick-drying nature reduces appointment times at the salon. Fourth, nail tints tend to chip less if applied over a strong base coat, making them a practical choice for everyday wear. Lastly, they complement any style—from casual to formal—making them versatile options in my salon’s offerings.
Preparing Your Nails for Application
Preparing nails correctly ensures the nail tint applies smoothly and lasts longer. I always start with a clean canvas and a strong foundation.
Cleaning and Shaping Nails
Cleaning nails removes oils and dirt that block polish adhesion. I soak my nails in warm, soapy water for 5 minutes, then gently push back cuticles with a wooden stick to avoid damage. I trim and file each nail to a uniform shape, usually preferring a soft square or rounded oval that suits most nail beds. Filing in one direction prevents splitting and keeps nails healthy.
Applying a Base Coat
Applying a base coat protects nails from staining and creates a sticky surface that helps nail tints adhere evenly. I use a high-quality, strengthening base coat with ingredients like keratin or vitamin E for extra nail health benefits. One thin layer is enough—too thick can cause bubbling or peeling. Let the base coat dry completely before moving on to the nail tint to achieve the best finish.
Step-by-Step Guide on How to Apply Nail Tints
Mastering nail tint application enhances the natural beauty of nails while ensuring durability and a flawless finish. Each step contributes to the final look, so precision matters.
Choosing the Right Nail Tint Shade
Start by selecting a shade that complements your skin tone and occasion. Warm undertones pair well with peachy or coral tints, while cool undertones shine with pink or mauve shades. Opt for sheer colors that enhance your nail’s natural color, especially for everyday wear.
Applying the Nail Tint Evenly
Begin with a clean, dry base coat. Apply the nail tint using steady strokes, starting from the nail’s center and moving towards the edges. Maintain a thin, even layer to avoid streaks or pooling near the cuticles. That method prevents uneven color and drying issues.
Layering for Intensity and Longevity
Apply multiple thin layers of the nail tint to build intensity gradually. Let each layer dry for one to two minutes before adding the next. Two to three layers usually create an ideal balance between translucency and color depth. Excess layers won’t improve the finish but may cause chipping.
Sealing with a Top Coat
Finish with a high-quality top coat that provides shine and protection. Apply it evenly, covering the entire nail and sealing the edges. This step extends wear, prevents chips, and locks in the tint’s delicate hue while adding a polished look.
Tips for Maintaining Your Nail Tints
Keeping nail tints looking fresh and vibrant takes a bit of know-how. From my decades running a nail salon, I’ve seen how simple habits make a big difference in prolonging that beautiful tint.
Avoiding Common Mistakes
Start by avoiding harsh chemicals like acetone or cleaning products without gloves. They break down tint layers quickly. Choose gloves when doing dishes or cleaning to shield your nails. Resist peeling or picking at your tint—it chips faster when the polish layer is disturbed. Moisturize cuticles and nails daily; dry nails cause tint to lift and flake. Lastly, don’t skip the drying time between coats during application; rushing can cause smudges and uneven wear.
Touch-Up Techniques
Apply a thin layer of tint to chipped areas using the original polish for seamless repair. If the tip wears down, lightly buff the edge before tinting to smooth the surface. Seal touch-ups with a fresh top coat to lock color and add shine. When restoring color, add only one or two thin layers to avoid thick buildup. Carry a small bottle of your tint for quick fixes to keep your manicure impeccable throughout the week.
Conclusion
Nail tints have truly changed the way I think about manicures. They offer such a fresh and natural vibe that’s perfect for anyone wanting a subtle pop of color without the fuss.
I’ve found that with a little patience and the right technique, achieving that flawless, sheer finish is easier than you might expect. Plus, the versatility and durability make them a go-to choice for everyday wear or special occasions.
If you’re looking to switch things up or just try something new, I highly recommend giving nail tints a shot. They might just become your new favorite way to keep your nails looking effortlessly polished.