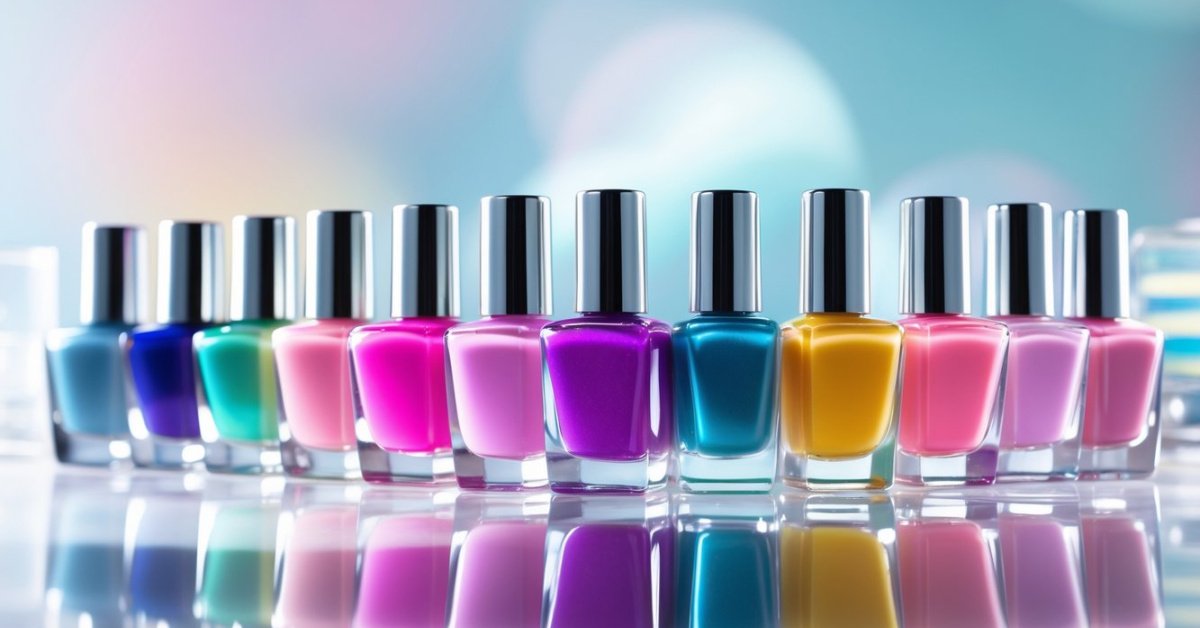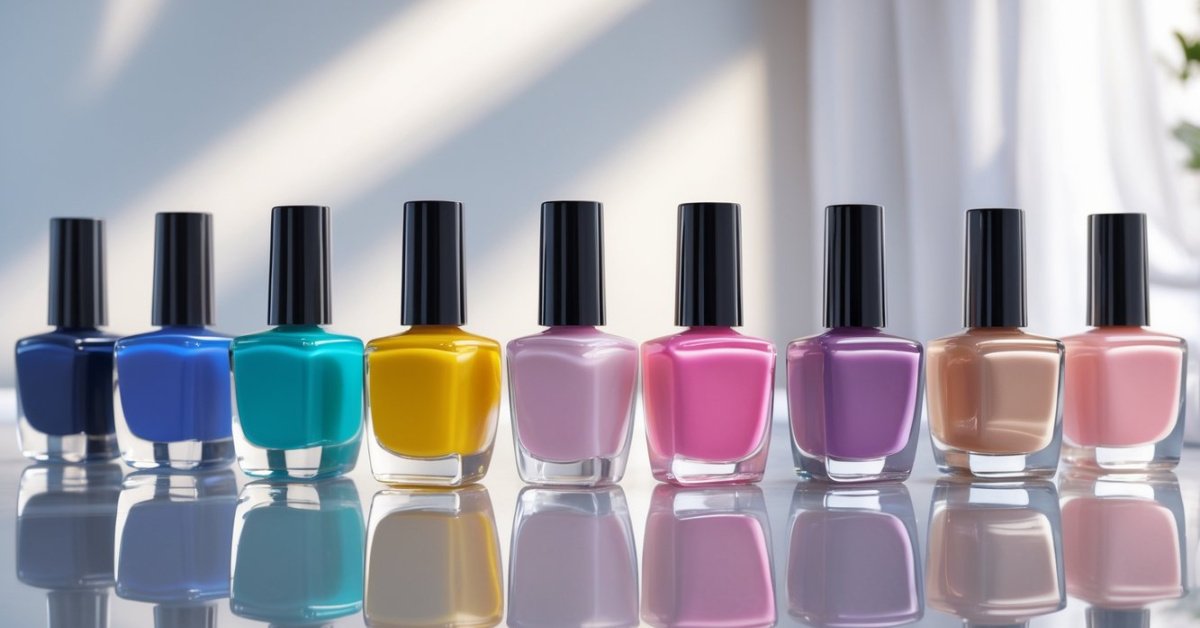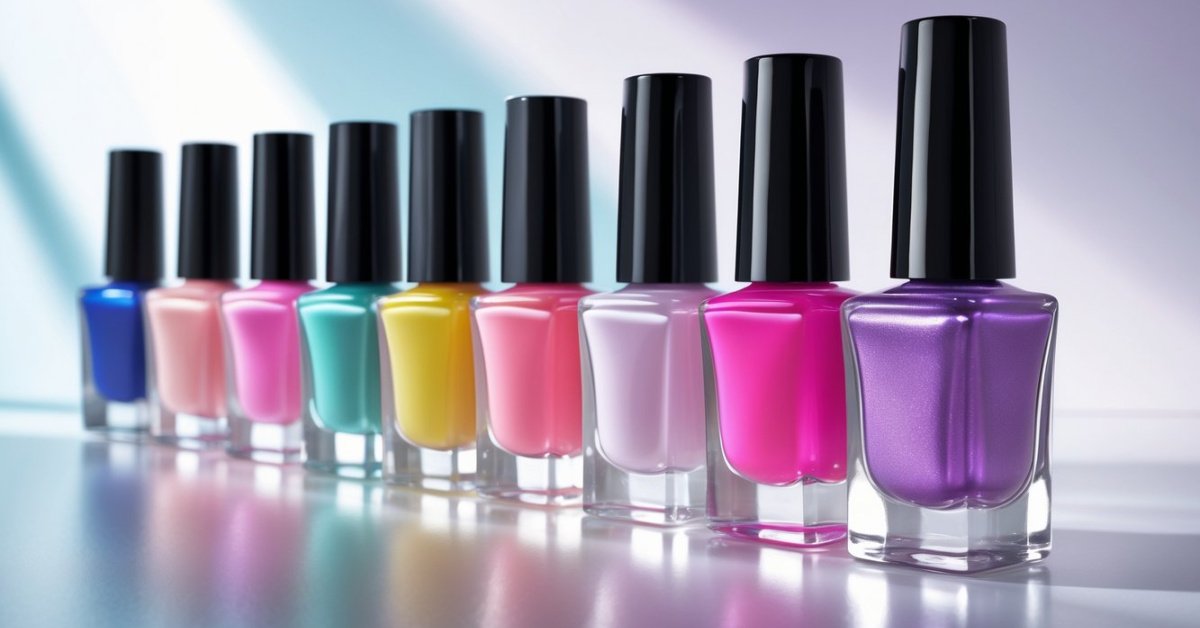
If you’ve ever admired those perfectly smooth and polished nails, you know the secret often lies in using nail compounds. These products can transform rough, uneven nails into a flawless canvas ready for polish or just a natural, healthy look. But applying nail compounds the right way can make all the difference between a professional finish and a messy one.
I’ve spent a lot of time experimenting with different techniques and products, and I’m excited to share what I’ve learned. Whether you’re a beginner or just looking to improve your nail care routine, mastering nail compounds can boost your confidence and keep your nails looking their best. Let’s dive into the simple steps that will help you get that salon-quality finish at home.
Understanding Nail Compounds
Nail compounds play a vital role in refining nail surfaces and creating a flawless canvas for polish. Knowing the different types and benefits helps in selecting the right product to enhance nail health and appearance.
Types of Nail Compounds
I use several types of nail compounds in my salon, each designed for specific purposes:
- Cuticle Softening Compounds: These ease tough cuticles, preparing nails for polish application.
- Buffing Compounds: Available in grits ranging from coarse to ultra-fine, these smooth ridges and remove imperfections.
- Polishing Compounds: These add a natural shine to nails before applying color or can be used alone for a clean look.
- Nourishing Compounds: Infused with vitamins or oils, these strengthen nails while improving texture.
Choosing the right compound depends on your nail condition. Rough, uneven nails need coarser buffing compounds, while smooth nails benefit from fine polishing compounds to achieve a high gloss.
Benefits of Using Nail Compounds
Using nail compounds regularly offers several advantages:
- Enhances smoothness by eliminating ridges and bumps.
- Boosts polish adhesion, increasing manicure longevity.
- Promotes nail health when formulas contain nourishing ingredients.
- Provides a professional, salon-quality finish quickly and easily.
In my experience, incorporating compounds transforms nails from dull and uneven to sleek and polished, making every manicure look flawless and well cared for.
Preparing Your Nails
Proper nail preparation sets the foundation for a flawless application of nail compounds. I’ve learned that thorough cleaning and precise shaping enhance the final look and health of nails.
Cleaning and Shaping
Cleaning nails removes oils, dirt, and residue that block compounds from adhering evenly. I start by soaking nails in warm, soapy water for 5 minutes, which softens cuticles and lifts debris. Next, I gently push back cuticles with a wooden stick or cuticle pusher. Filing nails into the desired shape—square, oval, or round—follows. I use firm, one-direction strokes to prevent splitting or weakening nails. After shaping, I wipe nails with a lint-free pad soaked in alcohol to remove remaining oils. This step ensures compounds work smoothly and last longer.
Choosing the Right Tools
Selecting quality tools affects how well nail compounds apply and how healthy nails remain. I prefer glass or crystal files for gentle shaping and smooth edges without roughing nails. Buffing blocks with multiple grit levels refine nail surfaces; I start with a coarser grit then move to finer for a polished feel. Soft, clean brushes remove dust after filing and buffing, preventing unwanted lumps in the nail compound. For cuticles, an angled cuticle pusher and nipper keep the area neat without damage. Investing in these tools pays off in a salon-quality finish and stronger, healthier nails.
Step-by-Step Guide on How to Apply Nail Compounds
Mastering the application of nail compounds ensures smooth, healthy nails that stand out. I’ll walk you through each essential step, drawn from decades of experience running my own nail salon and passion for nail care.
Applying the Base Coat
Start with clean, dry nails free of oils or residue. I recommend using a quality nail cleanser or alcohol wipe. Apply a thin, even layer of base coat, focusing on the nail plate without touching the cuticles. This layer seals your nails, protects against staining, and creates a smooth foundation for compounds and polish. Let it dry completely to avoid clumping in the next steps.
Layering the Nail Compound
Choose the right compound for your nail’s needs—cuticle softener for prep, buffing compound to smooth ridges, or nourishing compound for strength. Apply a small amount sparingly. Use gentle, circular motions with a soft buffer or applicator to spread the compound evenly. Avoid heavy pressure to prevent thinning the nail plate. Repeat layering as necessary, allowing each coat to absorb or dry. This builds a flawless base that improves polish adhesion and overall nail health.
Shaping and Buffing
Shape your nails before buffing with a fine-grit glass or crystal file to ensure clean edges without damage. Follow with a buffing block to refine the nail surface, working in light, even strokes from base to tip. Buffing compacts the nail surface and enhances shine without over-thinning. Finish with a final polish or sealing compound to lock in moisture and create a professional, radiant finish that lasts.
Tips for Long-Lasting Results
Achieving nails that stay flawless takes more than applying nail compounds. Mastering key techniques and maintaining nails properly ensures your polish lasts and nails stay healthy.
Avoiding Common Mistakes
Skipping nail prep ruins polish longevity. I always clean nails thoroughly and push back cuticles before applying compounds. Using too much compound clogs pores and weakens nails. I recommend thin, even layers instead. Buffing aggressively causes nail damage; gentle strokes protect natural nails and enhance shine. Neglecting base coats leads to staining and poor adhesion—never skip this essential step. Applying polish on damp nails traps moisture and causes chipping, so ensure nails are completely dry.
Maintenance and Care
Regular moisturizing of cuticles and nails keeps them flexible and prevents cracking. I use nourishing oils daily to maintain hydration. Avoid exposing nails to harsh chemicals without protection; gloves save polish and nail health. Reapplying top coat every two to three days refreshes shine and seals compounds. Keep nails trimmed and shaped to prevent snags and breaks. Proper maintenance extends the life of your manicure and preserves nail integrity while showing off your flawless finish.
Conclusion
Taking the time to apply nail compounds properly has made a huge difference in how my nails look and feel. It’s not just about appearance—it’s about caring for your nails so they stay healthy and strong.
With a little practice and the right tools, you can easily bring that salon-quality finish into your own home. Trust me, once you get the hang of it, your nails will thank you every time.