If you’ve ever admired those flawless, long-lasting nails and wondered how to get the same look at home, nail dips might just be your new best friend. I remember the first time I tried them—it felt like a game changer. Nail dips offer a vibrant, durable finish without the hassle of traditional polish or the time commitment of gels.
What Are Nail Dips?
Nail dips offer a unique way to get vibrant, long-lasting nails without the drawbacks of traditional polish. As someone who’s owned a nail salon for decades, I’ve seen nail dips transform the way many clients approach nail care.
Overview of Nail Dip Powder
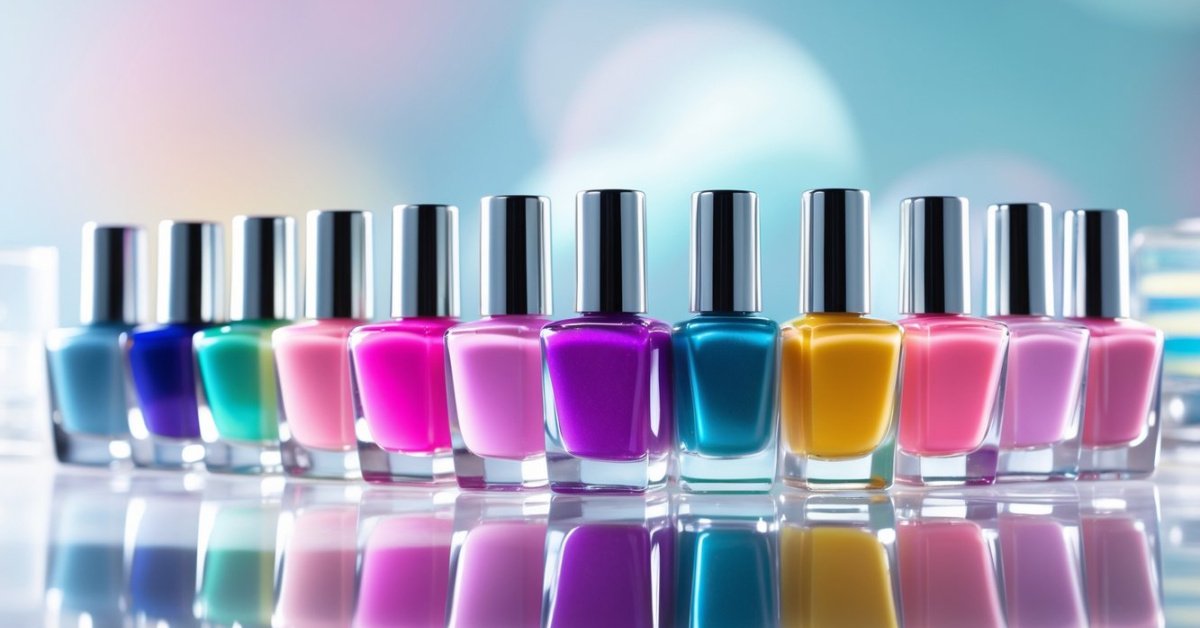
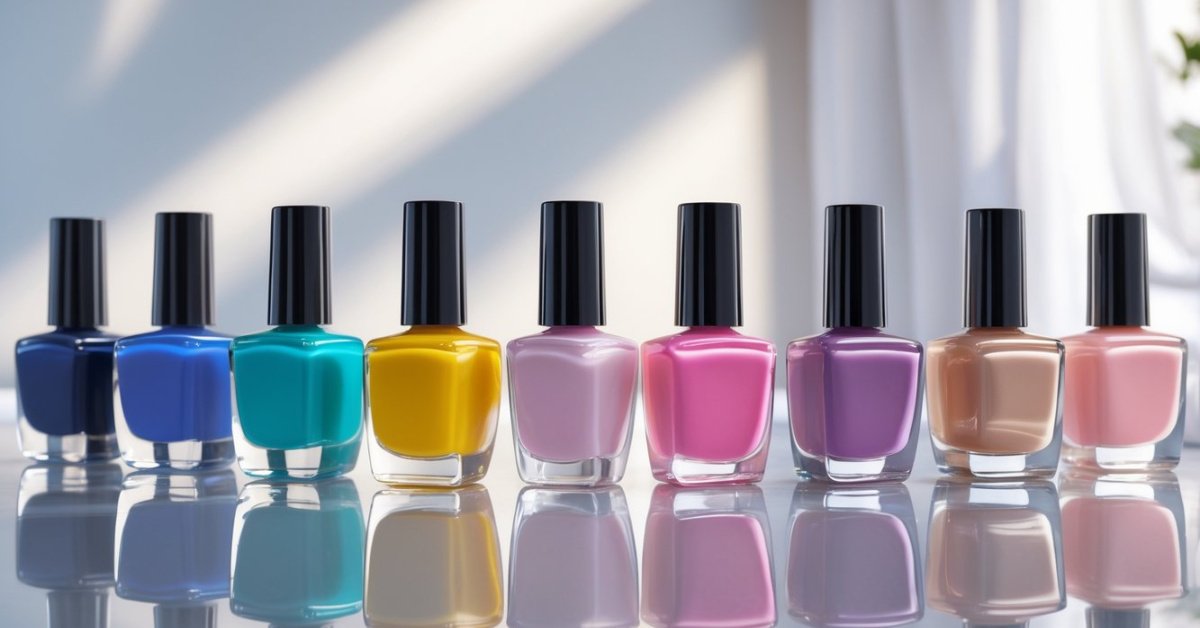
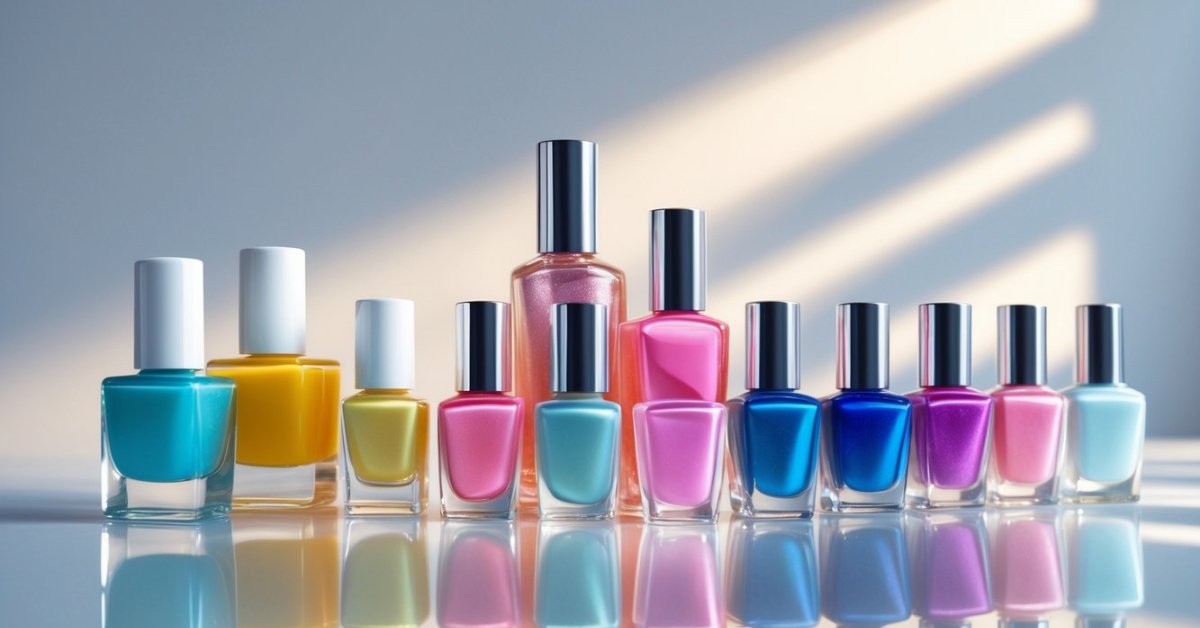
Nail dip powder consists of finely milled pigmented powders that bond to your nails with a special activator instead of relying on UV light. Unlike gel polish, dip powders dry quickly and harden as soon as the activator sets, eliminating the wait for curing. Each layer of powder adds strength and depth of color, creating a durable finish that resists chips and cracks over weeks. Various colors and finishes, like matte, shimmer, and glitter, come in hundreds of shades, letting anyone find their perfect look.
Benefits of Using Nail Dips
Durability stands out as the primary benefit of nail dips. They last up to three weeks without chipping, which is twice as long as traditional polish on average. Health is another advantage because dip powders involve less harsh chemicals and avoid extended UV exposure common in gel manicures. Application time shortens since nail dips don’t need curing under a lamp, making the process faster for busy clients. For those who enjoy customization, nail dips layer easily to produce vibrant, multidimensional effects. Lastly, removal becomes easier and less damaging to natural nails when done correctly, avoiding the peeling or buffing that compromises nail health.
Essential Tools and Materials
Mastering nail dips starts with gathering the right tools and materials. Each product plays a critical role in achieving a durable, salon-quality finish that lasts.
List of Required Products
- Base Coat: A bonding agent that allows the dip powder to adhere securely to your nails.
- Dip Powders: Finely milled pigmented powders in colors and finishes such as matte, shimmer, and glitter.
- Activator: A liquid that solidifies the dipped layers quickly without UV light.
- Top Coat: Adds shine and protects the design from chipping.
- Nail File and Buffer: Shape nails and smooth surfaces before and after application.
- Cuticle Pusher: Gently pushes back cuticles to ensure a neat application area.
- Lint-Free Wipes: Clean nails without leaving residue.
- Nail Brush: Removes excess powder from nail surfaces and under edges.
- Cuticle Oil: Hydrates and nourishes cuticles after application to maintain nail health.
Preparation Before Application
Proper preparation of nails ensures a strong bond and flawless results. First, clean your nails thoroughly and remove any existing polish with a gentle, non-acetone remover to avoid weakening the nail plate. Next, push back cuticles carefully to clear excess skin that could interfere with powder adhesion. Then, shape your nails with a file to the desired length and gently buff the nail surface to remove natural oils and shine. Finally, wipe nails with a lint-free cloth soaked in alcohol or a nail cleanser to remove any dust and oils, guaranteeing a clean canvas for the base coat and dip powder.
Step-by-Step Guide to How to Apply Nail Dips
Mastering nail dips becomes straightforward with the right steps. I’ll guide you through each phase using expertise gained from decades in the nail salon industry.
Nail Preparation and Base Coat
Start by cleaning your nails thoroughly to remove oils and residue. Use a cuticle pusher to gently push back cuticles, creating a neat nail bed. Shape nails evenly using a file, then buff the nail surface lightly to ensure the dip powder adheres well. Wipe nails with a lint-free cloth soaked in isopropyl alcohol or nail cleanser to remove dust and oils. Apply a thin layer of base coat evenly on each nail; this layer acts as the glue for the powder and prevents staining.
Applying the Dip Powder
Immediately dip each nail into the chosen powder at a 45-degree angle for about 3 to 5 seconds, ensuring full and even coverage. Tap off excess powder gently over the jar without shaking it to avoid wastage. Repeat the base coat and dipping process 2 to 3 times to build desired opacity and strength. Work systematically to prevent smudging and maintain consistency across all nails.
Activator and Top Coat Application
Once you finish dipping, apply the activator generously over all nails to harden the powder and speed up drying. Wait for two minutes to let it set; the nails will feel firm but not brittle. After drying, buff lightly to smooth any uneven texture. Finish with a layer of top coat for a glossy, durable finish that resists chips and adds shine. Allow nails to dry completely before using hands.
Following these detailed steps creates salon-quality nail dips with lasting results, combining health-conscious techniques with beauty and fashion-forward finishes.
Tips for a Long-Lasting Nail Dip Manicure
Achieving a durable nail dip manicure depends on more than just application. I’ve learned over decades that small habits before and after applying dip powder make all the difference in wear time and nail health.
Avoiding Common Mistakes
Start with clean, dry nails. Moisture or oils prevent the dip powder from bonding correctly, causing peeling or lifting. Apply thin, even layers of base coat and powder; thicker layers trap air and weaken adhesion. Dip nails straight down at a 45-degree angle to avoid excess powder buildup on edges. Skip rushing the activator drying time—it strengthens the manicure’s structure. Avoid using your nails as tools, which chips polish prematurely. Finally, resist adding multiple thick coats for quicker opacity, as it compromises flexibility and leads to cracking.
Proper Nail Care Post-Application
Moisturize cuticles daily with a quality oil to maintain skin hydration and prevent hangnails. Wear gloves for household chores involving water or chemicals to protect the polish and your natural nails. Regularly buff the surface lightly before touch-ups for smooth shine and better product adherence. Hydrate nails internally by drinking plenty of water and eating nutrient-rich foods to strengthen nail growth. If you notice lifting or edge irritation, remove and reapply promptly to avoid damage. These steps preserve your manicure’s look and support healthy nail beds for your next dip.
Removing Nail Dip Powder Safely
Removing nail dip powder requires patience and care to protect your natural nails. I always recommend soaking nails in pure acetone for 10 to 15 minutes. This softens the dip layers, making them easier to remove without excessive scraping.
First, gently file the topcoat to break the seal and allow acetone to penetrate more effectively. Then, soak a cotton ball in acetone and press it onto each nail. Wrap each finger with aluminum foil to keep the cotton in place and trap heat, which speeds up the process.
After soaking, use a wooden cuticle pusher or an orangewood stick to gently slide off the softened dip powder. Avoid forceful scraping, since that can damage the nail bed and cause peeling or thinning.
Once all product is removed, buff the nail surface lightly to smooth any residue. Finish by applying a nourishing cuticle oil and hand moisturizer. This helps replenish moisture lost during soaking and supports nail health.
If any dip powder remains stubborn after soaking, repeat the process rather than scraping aggressively. Removing dip powder safely keeps nails strong and ready for the next application or a natural break.
Conclusion
Trying nail dips has truly changed how I do my nails at home. The ease of application combined with the lasting finish makes it feel like a mini salon experience without the hassle.
With a bit of practice and care, anyone can get beautiful, durable nails that stay vibrant for weeks. Plus, knowing how to remove them safely keeps my natural nails healthy and ready for the next round.
If you’re looking for a fun and reliable way to elevate your nail game, nail dips might just be the perfect fit. Give it a shot—you might love it as much as I do!