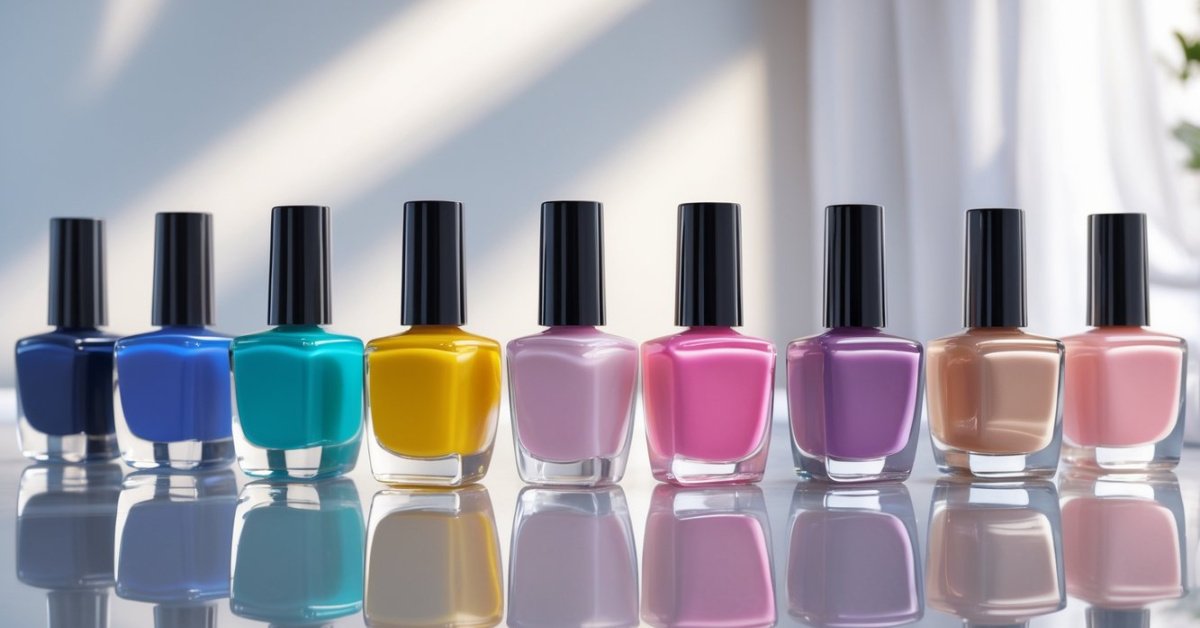
Nail glazes have become my go-to for adding that perfect shine and subtle color to my nails without the heaviness of traditional polish. They’re lightweight, easy to apply, and give your nails a fresh, natural look that lasts. If you’ve ever wondered how to get that salon-quality finish at home, I’ve got you covered.
Applying nail glazes might seem tricky at first, but once you get the hang of it, it’s a quick and relaxing part of your beauty routine. In this article, I’ll walk you through the simple steps I follow to make my nails look glossy and healthy every time. Whether you’re a beginner or just looking to up your nail game, you’ll find some handy tips here to get started.
Understanding Nail Glazes
I’ve worked with countless nail products over the decades, and nail glazes stand out for their unique qualities. Knowing what they are and their benefits helps you get the most from them.
What Are Nail Glazes?
Nail glazes are sheer, lightweight coatings that add a natural shine and subtle tint to nails. Unlike traditional nail polishes, they contain fewer pigments and more nourishing ingredients like vitamins and minerals. These glazes enhance the nail’s appearance without masking its natural color. Most formulas dry quickly and provide a smooth, glass-like finish that looks polished but not heavy.
Benefits of Using Nail Glazes
Nail glazes offer several advantages compared to standard polish:
- Natural Look: They highlight the nail instead of hiding it under bold color.
- Healthier Nails: Infused with strengthening components like keratin or biotin, they support nail health.
- Quick Application: Thin consistency makes layering easier and drying faster.
- Low Maintenance: Chips and wear are less noticeable due to sheer color.
- Versatility: Ideal on their own or as a base for more elaborate nail art.
Using nail glazes complements a healthy nail care routine while delivering a subtle, elegant finish. It’s why they remain a favorite in my salon and among my clients.
Preparing Your Nails for Glaze Application
Proper preparation sets the foundation for a flawless glaze finish. I focus on cleaning, shaping, and protecting nails before applying any product.
Cleaning and Shaping Nails
I start by removing any old polish or residue with a gentle, acetone-free remover to protect nail health. Next, I trim nails to the desired length and shape them using a fine-grit file. I favor rounded or squoval shapes for durability and elegance. Then, I gently push back cuticles with a wooden stick, avoiding cutting to prevent infection. Finally, I wash hands and nails thoroughly to remove dust and oils, ensuring a clean surface for glaze adherence.
Applying a Base Coat
I always apply a thin layer of base coat to nourish nails and create a smooth surface. A quality base coat prevents staining and enhances the glaze’s longevity. I ensure the base reaches the nail edges to seal and protect from chipping. After applying, I let it dry completely before moving on to the glaze layer. This protocol supports the health and beauty of nails while giving my clients a professional finish every time.
Step-by-Step Guide on How to Apply Nail Glazes
Applying nail glazes highlights natural beauty with a subtle, polished look. Here’s how to achieve this effect quickly and professionally.
Selecting the Right Nail Glaze
Choosing the right glaze matters for the desired finish. I recommend sheer, hydrating formulas that boost nail health while delivering shine. For natural nails, pick glazes with subtle pink or nude tones. If nails are brittle or dry, opt for glazes enriched with vitamins or strengthening ingredients. Shop for reputable brands that avoid harsh chemicals like formaldehyde and toluene to ensure safety and durability.
Applying the First Layer
Start with a clean, dry nail. Dip the brush into the glaze, wiping off excess to avoid flooding the cuticle. Apply one thin, even coat, moving from the base near the cuticle to the tip in smooth strokes. Allow this layer to dry completely, usually 2–3 minutes, before proceeding. A thin first coat ensures even coverage and prevents streaks.
Adding Additional Layers for Depth
Add one or two more glaze layers depending on how much depth and color intensity you want. Each layer should be thin and fully dry before the next. Wait 2–3 minutes between layers to avoid clumping. Multiple layers build a richer tone while keeping the natural appearance intact. This step enhances wear time and creates a polished, lacquer-like finish.
Sealing with a Top Coat
Finish with a clear top coat to lock in shine and protect the glaze. Use a fast-drying formula for convenience. Apply one thin, even layer over all nails, sealing the edges to prevent chipping. This final step boosts the manicure’s longevity and maintains the nails’ healthy glow. For extra care, choose a top coat with nourishing ingredients to enhance nail strength.
Tips for Long-Lasting Nail Glazes
Achieving a long-lasting nail glaze isn’t just about the right product but also a careful approach before and after application. I’ve learned through decades of running my salon that small practices prevent wear and keep nails looking flawless longer.
Avoiding Common Mistakes
Start by avoiding thick layers. Applying glaze too thick leads to peeling and uneven drying. Always apply thin, even coats for a smooth finish. Skip skipping the base coat—it’s essential for adhesion and protects nails from staining. Avoid applying glaze on oily or wet nails; clean, dry nails ensure proper bonding. Resist the urge to rush drying times between layers. Each coat must dry fully, or the glaze won’t set properly and chips will form faster. Lastly, don’t forget to cap the nail edges by brushing glaze along the tips. This seals the free edge against chips and enhances durability.
Maintenance and Touch-Ups
Maintain your nail glaze by moisturizing cuticles daily to prevent dryness that can cause lifting. Use gloves for chores involving water, detergents, or cleaners to shield the manicure from damage. If minor chips appear, gently buff the area, apply a thin glaze layer, and seal with top coat to refresh the look without a full redo. Schedule regular touch-ups every 5-7 days to reinforce shine and protection. Avoid harsh chemicals like acetone on the manicure as they break down the glaze quickly. Keeping these habits ensures your nail glazes keep their signature shine and smooth finish well beyond a standard polish lifespan.
Conclusion
Nail glazes have quickly become my go-to for a fresh, natural look that’s easy to maintain. They offer that perfect balance between subtle elegance and nail health, which makes them stand out from traditional polishes.
With a little care and the right technique, anyone can achieve a beautiful, salon-quality finish at home. Plus, the lightweight feel means your nails can breathe while still looking polished.
I hope you feel inspired to give nail glazes a try and enjoy the effortless shine and strength they bring to your nails!