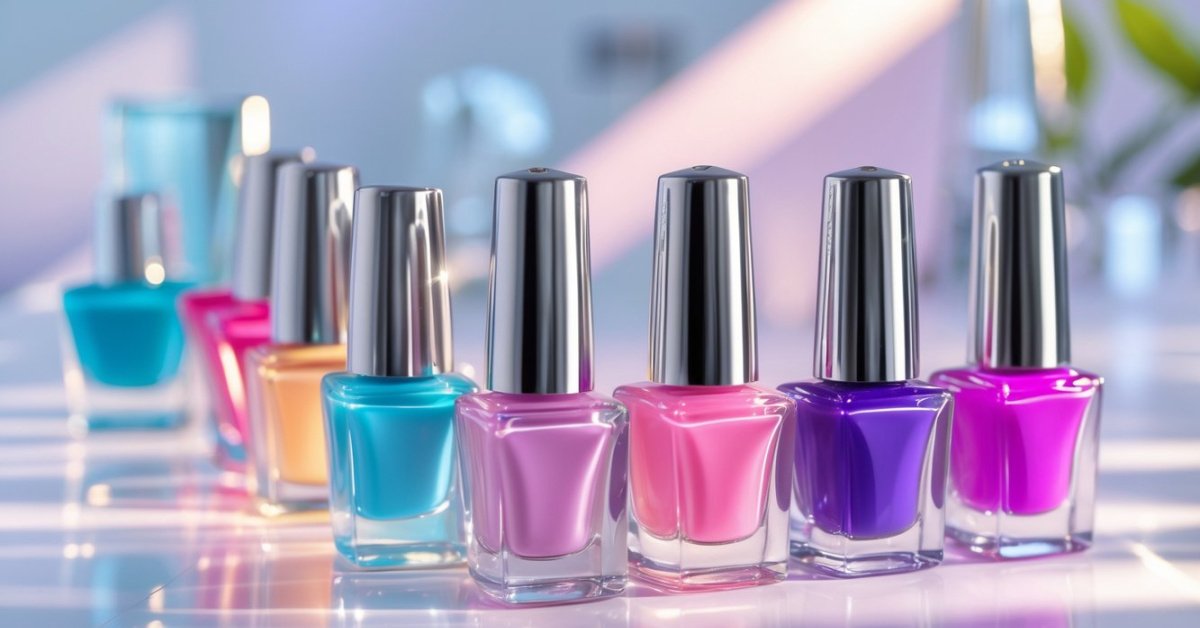
I’ve always loved experimenting with nail designs, and chevron nail art quickly became one of my favorites. It’s bold, stylish, and surprisingly easy to create once you get the hang of it. Plus, it adds a fun geometric twist to your nails that works for any occasion.
Materials Needed for Chevron Nail Art
Creating stunning chevron nail art calls for the right materials. With the proper polishes and tools, the process becomes simple, and results turn out professional every time.
Nail Polishes and Colors
Start by selecting at least two contrasting nail polish colors. I recommend using a base color that complements your skin tone and a second color that stands out boldly for the chevron stripes. For example, pairing soft pink with deep navy or crisp white with vibrant red works well. Always choose high-quality, long-lasting polishes to avoid chipping and maintain a clean design.
Tools and Accessories
Gather these tools for precise chevron patterns:
- Striping tape in thin widths or chevron-shaped nail vinyls for crisp lines
- A fine nail art brush for touch-ups and corrections
- A base coat to protect natural nails and improve polish adhesion
- A top coat to seal the design and add shine
- Nail polish remover with cotton swabs for cleaning edges
Having these materials organized improves efficiency and ensures the glyph-like structure of the chevron design remains flawless.
Preparing Your Nails
Getting your nails ready lays the foundation for a flawless chevron design. Taking time to clean and shape them ensures the polish adheres well and lasts longer.
Cleaning and Shaping Nails
I start by removing any old polish with an acetone-free remover to protect the nails’ natural oils. Next, I soak my nails briefly in warm water to soften the cuticles. Using a wooden stick, I gently push back cuticles without damaging the nail beds. Then, I trim and file nails into a uniform shape—whether square, oval, or almond—depending on personal style. Buffing the surface smooths ridges, creating an even canvas that’s perfect for chevron patterns.
Applying Base Coat
Applying a base coat always comes next. I choose one that strengthens nails and prevents staining, especially when using bold colors. Two thin layers work best for a smooth, protective barrier. Letting the base coat dry completely before moving on makes the polish application neater and helps the final design last up to a week longer.
Step-by-Step Guide to Creating Chevron Nail Art
Mastering chevron nail art requires precision and patience. I break down the process to ensure each step leads to a stunning, salon-quality finish.
Creating the Chevron Pattern Using Tape
Begin by cutting thin strips of striping tape or using chevron-shaped vinyls. Place the tape on completely dry base polish, arranging it in a “V” shape pointing toward the nail tip. Press the edges firmly to avoid polish bleeding. For uniform spacing, use a ruler or guide, especially on shorter nails. The tape forms the essential guideline for the chevron pattern, so accuracy here saves correction time later.
Painting the Chevron Design
Apply your secondary polish color over the taped nails with smooth, thin strokes. Use minimal polish on the brush to prevent pooling along the tape edges. Wait about 60 seconds to let this layer set but not fully dry, which helps with clean tape removal. For deeper color saturation, two thin coats work better than one thick one.
Removing Tape and Touching Up
Peel the tape off carefully at a 45-degree angle while polish remains slightly tacky to avoid pulling the design. Use a fine brush dipped in nail polish remover to fix any uneven lines or edges. Clean up the cuticles and surrounding skin to sharpen the look. Seal the design with two coats of a fast-drying top coat to enhance durability and shine.
Tips for a Long-Lasting Chevron Nail Art
Creating chevron nail art is just the start. Keeping it fresh and chip-free takes attention to detail and proper aftercare. I’ve owned my nail salon for decades and learned these tips from years of experience.
Sealing the Design with Top Coat
Applying a high-quality top coat seals the chevron pattern and adds shine. I use two thin layers of a fast-drying top coat, letting each dry completely before the next. This forms a strong protective barrier that guards against chips and smudges. Make sure you seal the tips and edges of the nails too, where polish tends to wear first. Reapplying a thin layer every two days can extend the life of your manicure without dulling the design.
Maintenance and Care
Keeping chevron nails looking sharp requires gentle maintenance. Avoid using your nails as tools or exposing them to harsh chemicals without gloves. Moisturize your cuticles daily with oil or cream to prevent dryness and peeling around the nail edges. If you notice small chips, fix them right away by filling in with matching polish and sealing with top coat. Prevent water from lingering on your nails, since prolonged moisture softens polish and causes lifting. With these habits, your chevron nail art stays bold and flawless for days.
Conclusion
Creating chevron nail art is such a fun way to add a pop of style to your look without too much hassle. Once you get the hang of the steps and tools, it’s easy to experiment with colors and patterns that suit your mood or occasion.
Taking care of your nails afterward really makes a difference in keeping your design fresh and vibrant. I’ve found that a little patience and practice go a long way in mastering this bold, chic look.
So grab your polishes, tape, and brushes, and give it a try—you might just surprise yourself with how great your nails can look!