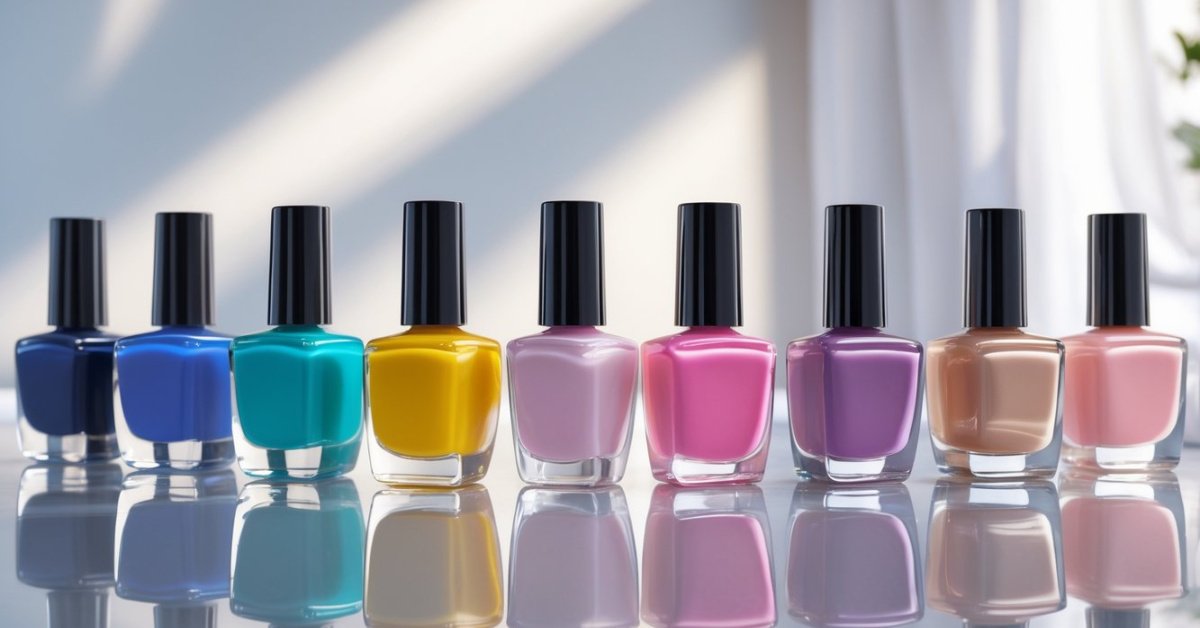
I’ve always loved how gradient nail art adds a splash of creativity to any look. It’s like having a mini sunset or a soft ombré right at your fingertips. The best part is you don’t need to be a pro to create these stunning effects.
Understanding Gradient Nail Art
Gradient nail art blends colors seamlessly, creating a smooth transition that adds depth and flair to nails. Mastering this technique enhances your nail game by combining health, beauty, and fashion in one simple step.
What Is Gradient Nail Art?
Gradient nail art involves blending two or more colors so they fade into each other across the nail surface. This ombré effect varies from subtle shifts using similar hues to bold contrasts with bright or dark shades. Professionals and beginners alike use tools like makeup sponges or airbrushes to achieve this look with precision. I’ve seen that the key to lasting wear rests in layering thin coats instead of thick ones, which protects nail health while keeping polish vibrant.
Popular Styles and Color Combinations
Gradient styles range widely but tend to follow seasonal fashion trends or personal expression. Popular choices include:
- Sunset blends: oranges, pinks, purples
- Ocean-inspired fades: blues, greens, teals
- Neutral transitions: beige, taupe, soft browns
- Bold contrasts: black-to-white or red-to-pink
Combining cool and warm tones creates striking visual appeal, while monochromatic palettes maintain understated elegance. I recommend experimenting with two to three colors for clean, defined gradients that celebrate both health-conscious nails and eye-catching style.
Tools and Materials Needed
Creating stunning gradient nail art requires the right tools and materials. I rely on a selection of high-quality products that prioritize both beauty and nail health.
Essential Nail Polish Types
I always choose long-lasting, breathable nail polishes with smooth formulas for gradients. Here are the essential types:
- Base Coat: Protects nails from staining and provides a smooth canvas.
- Gradient Colors: Select nail polishes with medium opacity. Colors blend best when they’re not too sheer or thick.
- Top Coat: Seals the design, adds shine, and extends wear time.
- Cuticle Oil: Keeps cuticles hydrated and maintains nail health after polish application.
For gradient work, I prefer polishes that dry slowly enough to allow blending but fast enough to avoid smudging.
Tools for Creating Gradient Effects
I depend on a few smart tools to achieve flawless blending:
- Makeup Sponge: The main tool for applying multiple polish colors smoothly. I use fine-textured cosmetic sponges for even blending.
- Nail Art Brushes: For clean edges and touch-ups.
- Liquid Latex or Tape: Protects skin around nails from excess polish during sponging.
- Tweezers: Handles small protective tape without smearing polish.
- Nail Polish Remover & Cotton Swabs: For cleaning mistakes and skin cleanup.
- UV or LED Lamp: Optional but useful when using gel polishes in gradients.
I stock my salon with these essentials, ensuring every gradient design matches my passion for health, beauty, and trends.
Step-by-Step Guide on How to Create Gradient Nail Art
Creating gradient nail art requires patience and attention to detail, but the results brighten your nails with a blend of colors that pop. Here’s my proven process to get smooth, lasting gradients every time.
Preparing Your Nails
Start by thoroughly cleaning your nails with a gentle remover to clear old polish and oils. Shape your nails with a file, focusing on smooth edges to avoid polish chipping. Push back cuticles gently without cutting to protect nail health. Finally, wash your hands to remove dust and debris.
Applying the Base Color
Apply a thin, even layer of base coat to seal and protect your natural nails from staining. Let it dry completely. Choose the lightest color of your intended gradient and apply one or two thin coats. Thin layers prevent bubbling and create an ideal base for blending.
Creating the Gradient Effect
Use a makeup sponge to apply the gradient colors directly on your nail. Paint strips of polish side by side on the sponge, overlapping the colors to help blending. Dab the sponge gently onto your nail with a bouncing motion. Repeat this process two to three times, letting each layer dry slightly, until you get a smooth ombré effect. Apply liquid latex or tape around nails before sponging to protect skin and make cleanup faster.
Sealing and Finishing Touches
Once the gradient dries, apply a generous top coat to seal the colors and add shine. Choose a top coat known for durability to extend wear time. Use a small brush dipped in remover to clean any excess polish around the nail edges. Finish with a drop of cuticle oil to hydrate skin and maintain nail health between manicures.
Tips for Perfecting Your Gradient Nails
Mastering gradient nails requires precision and care. I’ve spent decades perfecting this technique at my salon and watching countless clients leave with flawless designs. Here are key tips to help make your gradient nails stunning and durable.
Common Mistakes to Avoid
Avoid thick polish layers, which cause uneven blending and long drying times. Apply thin coats for smooth color transitions. Skip rushing the drying process; impatience leads to smudging and patchy gradients. Overusing a sponge with excess polish results in clumpy textures—dab lightly and reapply polish as needed. Neglecting skin protection around nails causes hard cleanup; use liquid latex or tape to shield cuticles before sponging. Finally, don’t forget the top coat, as it locks your gradient in place and adds a professional shine.
Maintenance and Longevity
Extend your gradient manicure’s life by applying a quality top coat every two days to prevent chipping. Keep nails hydrated with cuticle oil to maintain flexibility and avoid peeling polish. Wear gloves when doing household chores involving water or harsh chemicals. Trim and file nails gently to reduce snagging edges that cause polish to lift. If you notice minor chips, fix them quickly with matching polish and top coat touch-ups to keep your gradient looking fresh and flawless.
Conclusion
Creating gradient nail art is a fun way to express your creativity and add a unique touch to your look. With a bit of practice and the right tools, anyone can master this technique and enjoy beautiful, eye-catching nails.
I’ve found that patience and attention to detail make all the difference. Don’t be afraid to experiment with colors and styles until you find the perfect blend that suits you. Remember to take care of your nails along the way—they’ll thank you for it!