I’ve always loved how a splash of color can brighten up any day, and rainbow nail art is the perfect way to do just that. It’s fun, vibrant, and surprisingly easy to create once you know the basics. Whether you’re a nail art newbie or just looking to try something new, I’m excited to share some simple tips and tricks to get those colors popping on your nails.
Understanding Rainbow Nail Art
Rainbow nail art blends vibrant hues to make a bold statement on your fingertips. Mastering this style creates an eye-catching look that fits any occasion and mood.
Popular Styles and Designs
I recommend these popular rainbow designs for beginners and pros alike:
- Classic Gradient: Blends red, orange, yellow, green, blue, indigo, and violet smoothly across each nail.
- Striped Nails: Paints each nail with a different color from the rainbow spectrum, creating a striped effect.
- Polka Dots: Applies multicolored dots on a neutral base for playful patterns.
- Negative Space: Leaves parts of the natural nail visible, framing rainbow-colored sections.
- Rainbow Tips: Colors only the tips of nails in rainbow hues, similar to a French manicure.
Experimenting with these styles showcases the versatility of rainbow nail art.
Necessary Tools and Materials
Essentials for flawless rainbow designs include:
| Tool/Material | Purpose |
|---|---|
| Base Coat | Protects nails and enhances polish adherence |
| Nail Polishes | Select red, orange, yellow, green, blue, indigo, violet shades |
| Thin Nail Art Brushes | Creates precise lines and details |
| Dotting Tools | Form uniform dots in polka dot designs |
| Top Coat | Seals design and adds shine |
| Nail Polish Remover | Cleans up mistakes efficiently |
| Latex Tape or Tape Strips | Shields skin during painting for clean edges |
Keeping tools clean and high quality ensures vibrant, lasting results. I use cruelty-free, non-toxic polishes that care for nail health while delivering vivid color.
Preparing Your Nails for Rainbow Art
Getting your nails ready sets the stage for rainbow art that lasts and looks flawless. I focus on proper prep to protect nail health and boost polish vibrancy.
Nail Cleaning and Shaping
I always start by removing any old polish thoroughly with gentle, acetone-free remover. Then I soak my nails in warm, soapy water for a few minutes to soften the cuticles. I push back cuticles carefully using a wooden stick, avoiding damage to the skin and nail bed. Next, I shape the nails with a fine-grit file, working in one direction to prevent splits. I prefer a rounded or squoval shape since it complements most rainbow designs and maintains nail strength. After filing, I buff the surface lightly to ensure polish adheres evenly and smoothly.
Base Coat Application
Applying a good base coat creates a smooth canvas and protects nails from staining, especially with bold rainbow colors. I use a thin, even layer of base coat on each nail, letting it dry fully before starting the color layers. This step seals the nail surface and extends the wear of the nail art, which is essential when working with multiple polish layers in rainbow designs. Choosing a base coat containing nourishing ingredients like vitamin E or keratin also supports nail health through repeated polish applications.
Step-by-Step Guide: How to Create Rainbow Nail Art
Mastering rainbow nail art takes patience and practice, but it’s a fun way to express creativity with color. I’ll walk you through my trusted methods for flawless results that balance both beauty and nail health.
Choosing Your Colors
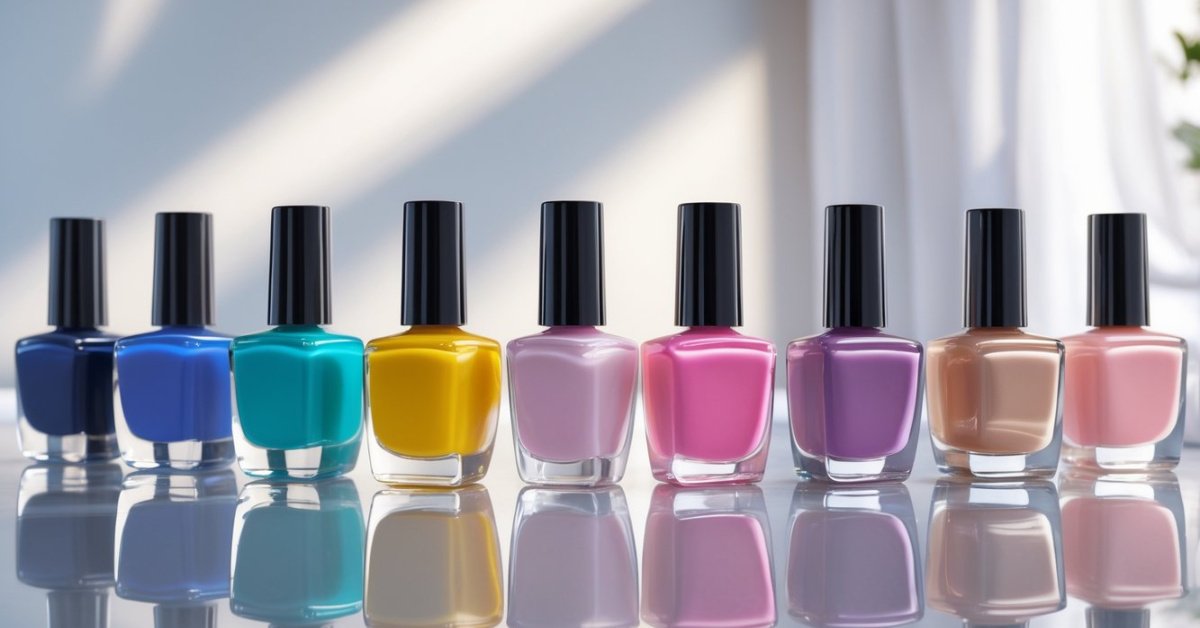
Start by selecting a cohesive rainbow palette. I recommend six to eight shades ranging from red, orange, yellow, green, blue, indigo, to violet. Pick polishes with high pigment and smooth formulas for vibrant color payoff and even application. If your skin tone tends to wash out certain colors, adjust the intensity accordingly—warmer complexions look stunning with bright, saturated hues, while cooler tones benefit from jewel-like shades. Keep cruelty-free options in your collection for ethical beauty.
Techniques for Applying Rainbow Colors
Apply thin layers for better drying time and longevity. Use a white or nude base coat to enhance color vibrancy before starting. For the classic gradient, sponge small sections of each color onto nails, moving quickly to blend edges seamlessly. When doing stripes, nail art brushes or thin striping tape create clean lines—apply colors one by one, letting each dry fully. Negative space designs need patience with latex tape to mask off areas; remove the tape gently to avoid smudges. Always seal with a durable top coat to protect the artwork.
Adding Details and Decorations
Enhance your rainbows with subtle accents like tiny white dots, glitter gradients, or minimalist decals. Dotting tools and fine brushes allow precise decoration without overwhelming the design. Use nail-safe gems sparingly for a touch of sparkle. If you experiment, remember to maintain nail health by applying cuticle oil daily and giving nails breaks between heavy manicures. Combining color and care delivers stunning results that last.
Tips for Long-Lasting Rainbow Nail Art
Creating vibrant rainbow nail art feels rewarding, but making it last takes some proven techniques. Drawing from decades of running my nail salon, I share my best tips to keep your colorful designs fresh and chip-free.
Sealing and Top Coats
Applying a quality top coat seals the colors, enhances shine, and protects against chips and scratches. I recommend using a fast-drying, high-gloss formula designed for long wear. Apply two thin layers: the first immediately after your design dries and the second after a few minutes for reinforcement. Don’t forget to seal the free edge of your nails by running the brush along the tips—this step adds extra protection. Matte top coats work well if you prefer a subtle finish but require the same careful sealing to prevent premature wear.
Maintenance and Touch-Ups
Daily care extends your manicure’s life and keeps nails healthy. I advise applying cuticle oil every evening to nourish skin and prevent peeling around nails. When minor chips occur, fix them quickly by lightly buffing the area, applying a small amount of matching polish, and resealing with top coat. Avoid harsh detergents or prolonged water exposure without gloves, as these break down polish. Scheduling regular touch-ups every 3 to 5 days keeps your rainbow nails looking vibrant and flawless between full redos.
Conclusion
Rainbow nail art is such a joyful way to brighten up your day and express your creativity. Once you get the hang of the techniques and find your favorite colors, it becomes a fun ritual rather than a chore.
Remember, the key is to enjoy the process and not worry about perfection. With a little patience and care, your nails will become a vibrant canvas that reflects your personality beautifully. So go ahead—dive into those colors and let your nails shine!