Taking care of your nails doesn’t have to mean a pricey trip to the salon. I’ve found that doing a manicure at home can be just as relaxing and rewarding. Plus, it’s a great way to treat yourself whenever you want without leaving the house.
Preparing for Your At-Home Manicure
Setting up properly ensures your manicure looks professional and lasts longer. Taking a few extra steps before you begin makes the process smoother and more enjoyable.
Gathering Necessary Tools and Supplies
Start by collecting all the essential tools to avoid interruptions. I keep these items on hand:
- Nail clippers, for shaping nails evenly
- A glass or emery board file, to smooth edges without damaging nails
- Cuticle pusher and cuticle remover, to manage cuticles safely
- A bowl with warm water and a gentle soap, to soften skin and nails
- Nail polish remover, for cleaning nails before applying polish
- Base coat, nail polish colors, and top coat, for perfect layering
- Cotton pads and Q-tips, to fix small mistakes and clean excess polish
Keeping these tools within reach helps maintain flow and efficiency while I paint.
Creating a Clean and Comfortable Workspace
Organizing your space promotes both hygiene and relaxation. I arrange my tools on a clean, flat surface covered with a towel or disposable mat to catch spills. Good lighting is crucial; natural light or a bright lamp reveals true polish colors and prevents mistakes. A comfortable chair with good back support and a table at elbow height reduces strain during the manicure. Finally, keeping a trash bin nearby lets me quickly dispose of used cotton and other waste, maintaining tidiness throughout the session.
Step-by-Step Guide to Doing a Manicure at Home
Mastering a home manicure combines technique, care, and quality products. I’ll guide you through each step to achieve salon-worthy nails.
Removing Old Nail Polish
Start by dissolving previous polish with an acetone-free remover to prevent nail drying. Soak a cotton pad until saturated, press it on each nail for 10 seconds, then wipe away polish gently. Repeat if needed, ensuring no residue remains to provide a clean canvas.
Shaping and Filing Nails
Shape nails by choosing a form that complements your fingers—round, square, or almond. Use a fine-grit file (180-240 grit) to smooth edges, filing in one direction only to maintain nail integrity. Avoid sawing back and forth to prevent splitting.
Soaking and Softening Cuticles
Fill a bowl with warm water and a few drops of moisturizing cuticle oil or gentle soap. Soak your fingertips for 5 to 7 minutes to soften cuticles, making them easier to care for without damage. This step also hydrates nails, improving their flexibility.
Pushing Back and Trimming Cuticles
Use a wooden or metal cuticle pusher to gently slide cuticles back toward the nail base after soaking. If needed, carefully trim only the excess dead cuticle with cuticle nippers, avoiding live skin. Excessive cutting risks infection and slow nail growth.
Applying Base Coat and Nail Polish
Apply a thin base coat enriched with strengthening ingredients to protect nails from staining and enhance polish adhesion. Let it dry completely. Then apply two thin coats of your chosen nail polish, allowing each layer to dry fully to prevent smudging.
Adding a Top Coat for Durability
Finish with a clear, fast-drying top coat to seal color and add shine. A top coat reduces chipping and extends wear time, keeping nails flawless longer. Reapply the top coat every two to three days to maintain protection and luster.
Tips for a Professional-Looking Manicure
Achieving a salon-quality manicure at home calls for attention to detail and the right techniques. I share my expertise from decades of running a nail salon to help you get flawless results that reflect health, beauty, and style.
Choosing the Right Nail Polish Colors
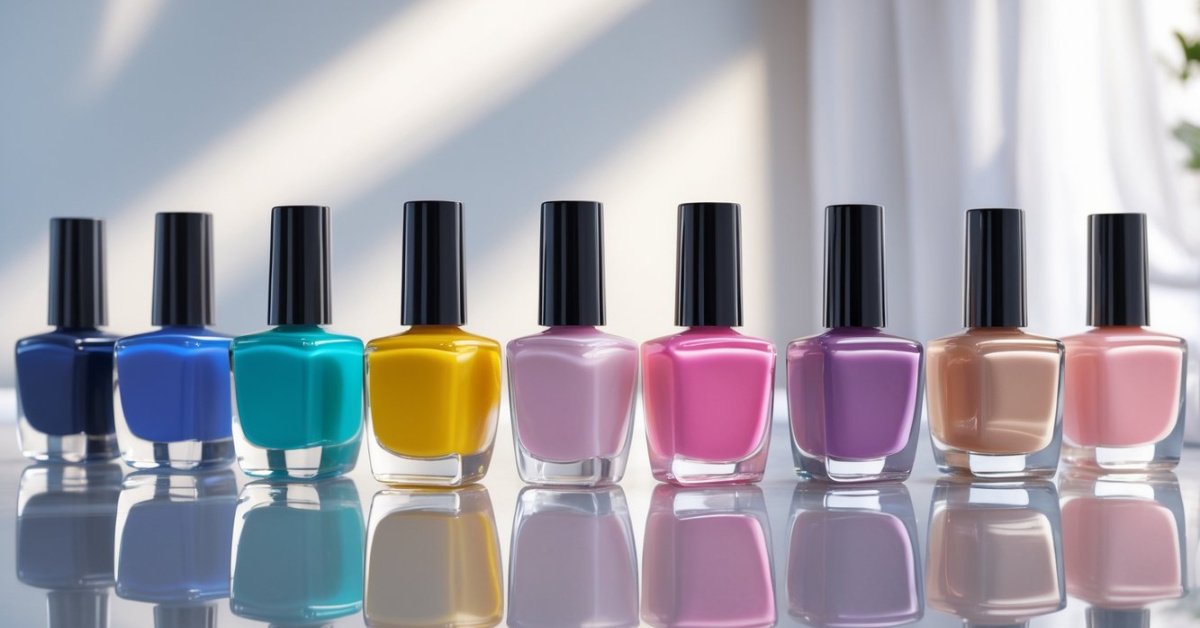
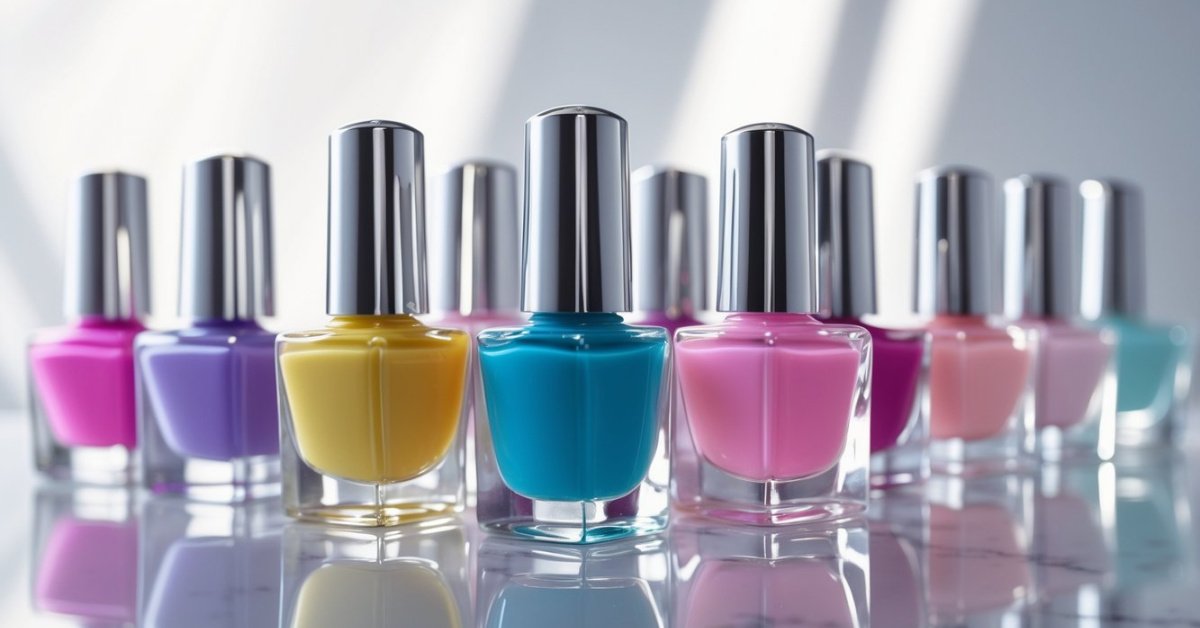
Pick nail polish shades that complement your skin tone and match the occasion. Neutral tones like soft pinks and nudes suit everyday wear while bold reds and deep plums add drama for special events. Use high-quality polish for smooth application and vibrant color. Test new colors on one nail first to check for staining or allergic reactions.
Avoiding Common Mistakes
Apply polish in thin, even layers to prevent streaking and bubbling. Avoid flooding the cuticle by leaving a small gap near the skin. Wait for each layer to dry fully before the next coat to stop smudging. Skip thick coats that peel easily. Use a steady hand, and keep cotton swabs and polish remover handy to clean up any mistakes immediately.
Maintaining Your Manicure Longer
Seal your manicure with a top coat every two to three days to protect against chips and dullness. Avoid using your nails as tools to open or pry things. Wear gloves when doing housework or using harsh chemicals. Keep cuticles moisturized to prevent cracking, which can cause polish to peel. Proper care prolongs beauty and keeps nails healthy between sessions.
Conclusion
Taking the time to do a manicure at home can be a relaxing and rewarding way to care for yourself. It’s amazing how a little effort and the right tools can transform your nails and boost your confidence.
With practice, you’ll find your own rhythm and style, making each session something to look forward to. Plus, the convenience and savings make it a win-win.
So go ahead, treat yourself—you deserve those perfectly polished nails without ever leaving your space!