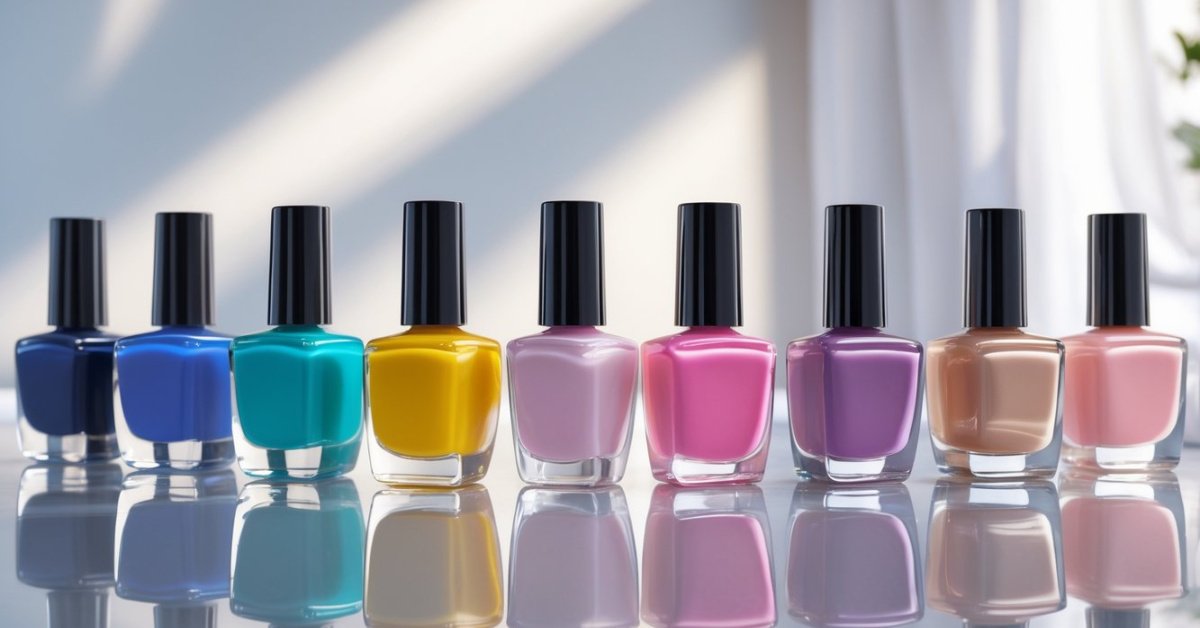
Christmas nails are a fun way to add some festive cheer to your look. I love how a few simple designs can instantly bring holiday spirit to your fingertips. Whether you’re heading to a party or just want to feel merry every day, Christmas nail art is the perfect little treat for yourself.
Gathering Materials for Christmas Nail Art
Creating Christmas nail art starts with gathering the right materials. I always emphasize having quality supplies to ensure your designs look festive and last through the holidays.
Essential Nail Tools and Supplies
I recommend these basic tools for flawless nail art:
- Base and top coat polishes to protect nails and seal designs
- Fine detail brushes ideal for creating intricate patterns like snowflakes or candy canes
- Dotting tools help add precise dots for ornaments or holly berries
- Striping tape useful for sharp lines and geometric designs
- Nail file and buffer prep nails by smoothing edges and surfaces
- Cuticle pusher and trimmer maintain healthy cuticles for a clean look
Investing in ergonomic brushes and durable dotting tools makes repeated use easier and enhances precision. Sterile, well-maintained tools support nail health, which matters as much as style.
Choosing the Right Colors and Decorations
I steer clear of too many colors; five shades cover most Christmas themes. Here are my favorites:
| Color | Use Case |
|---|---|
| Classic red | Base color or festive accents |
| Snow white | Snowflakes, stars, details |
| Evergreen green | Holly leaves, trees |
| Gold shimmer | Highlights, glam effects |
| Silver glitter | Sparkle overlays |
Quality polishes offer better coverage, minimize chipping, and prevent nail damage. Matched with embellishments—like rhinestones, metallic studs, or tiny bows—these colors transform simple polish into stunning holiday art.
I always advise testing decorations on one nail first to ensure they adhere well and don’t feel heavy. When layering glitter or metallic accents, thin coats dry faster and reduce peeling.
Gathering these essential tools, colors, and decorations sets a strong foundation for creating eye-catching Christmas nail art that complements your festive spirit.
Step-by-Step Guide to Creating Christmas Nail Art
Creating Christmas nail art starts with the right process. Each step builds on the last to ensure a festive, lasting design that looks professional and feels great.
Preparing Your Nails for Art
Start by cleaning your nails thoroughly to remove oils and old polish. I recommend soaking your hands in warm water for two to three minutes to soften cuticles. Push back cuticles gently with a wooden stick or cuticle pusher without cutting to avoid damage. File your nails into the shape you want—square, round, or almond—to create a smooth edge for polish application. Buff the nail surface lightly to remove ridges and create a smooth canvas. Finish preparing the nails by applying a thin layer of base coat, which protects the nails and provides a surface that helps polish adhere better.
Basic Techniques for Festive Designs
Apply polish in thin, even coats to prevent bubbles and streaks. Start with one color, usually the base, such as classic red or snow white. Use a steady hand and paint from the center outwards. Allow each coat to dry fully before adding another to build opacity. When layering colors, wait at least two minutes between coats. For clean lines, especially with striping tape or detail brushes, ensure the base layer is dry but not completely hardened. Dotting tools and thin brushes work best for creating Christmas shapes like stars, snowflakes, or candy canes. Practice on a nail wheel or a single nail to perfect your technique before moving onto all your nails.
Adding Details and Embellishments
Once the base designs are in place, enhance your nails with small accents. Use gold shimmer or silver glitter polish for sparkle by applying it sparingly to tips or as snow-like accents on the nail surface. Attach rhinestones or tiny festive decals using a small amount of clear top coat or nail glue to keep them secure. Place embellishments strategically—for example, near the cuticle or on one accent nail—to avoid overcrowding the design. Seal your work with two layers of top coat—this step locks in both polish and decorations while adding shine. Allow nails to dry completely, which I find takes 15 to 20 minutes under normal room conditions, for the best durability.
Popular Christmas Nail Art Designs to Try
Christmas nail art offers endless ways to celebrate the season. Drawing from decades of experience in the nail salon, I share my favorite designs that balance festive style and wearable beauty.
Classic Red and Green Themes
Red and green form the foundation of holiday nail art. I recommend using a bright, true red polish paired with a rich evergreen shade. Start with a simple alternating nail design—paint odd fingers red, even fingers green. For a polished look, add subtle gold striping tape at the base of each nail. Applying two thin coats ensures opacity and smoothness. Avoid thick layers that cause smudging. These shades create a timeless, elegant festive palette.
Snowflakes and Winter Scenes
Snowflakes bring a delicate touch to any manicure. I suggest a crisp white polish on a sheer blue or silver shimmer base to mimic frosty winter air. Use a fine detail brush or dotting tool to paint symmetrical snowflakes, focusing on straight, crisp lines. Keeping designs minimal on two or three nails prevents overcrowding. For a winter scene, add small pine trees or snow-covered hills with dark green and white polish. Top it off with a glossy top coat for a sparkling finish.
Santa Claus and Reindeer Motifs
Santa and reindeer inject playful spirit into Christmas nails. I favor simple yet recognizable designs—paint a classic Santa hat on a red nail using white for the trim and pom-pom. Reindeer faces require a light brown base, black dots for eyes, and tiny red rhinestones for noses on accent nails. Positioning these motifs on ring and pinky fingers balances whimsy and wearability. Using thin brushes and layering colors in thin coats helps keep the images sharp and clean.
These designs deliver festive charm and stylish polish application, perfect for anyone eager to express holiday cheer through nail art.
Tips for Long-Lasting Christmas Nail Art
Keeping Christmas nail art vibrant and chip-free takes more than just skillful design. It requires attention to sealing, protecting, and maintaining the artwork to extend its life through the busy holiday season.
Sealing and Protecting Your Design
Sealing the nail art with a high-quality top coat creates a barrier against wear and tear. I apply two thin layers of a fast-drying, glossy top coat after all details dry. This technique locks in color, sparkle, and decorations like rhinestones or decals. Using a gel top coat or one with added strengthening ingredients boosts durability even further. Make sure to seal the edges of each nail by brushing the top coat over the tip, preventing premature chipping. Avoid rushing: let each coat dry completely before the next, eliminating smudges and ensuring long-lasting shine.
Maintenance and Touch-Ups
Maintenance is the secret to keeping nails flawless for days. Reapply a thin layer of top coat every two days to reinforce protection and refresh the glossy finish. If minor chips occur, clean the nail surface gently and touch up the affected area with matching polish before sealing it again. Hydrating your cuticles daily with nourishing oil not only improves appearance but strengthens the nail bed, reducing peeling and breaks. Wear gloves when doing housework or using harsh chemicals to shield the nails. These small, consistent habits preserve your Christmas nail art beautifully, letting your festive style shine through well past the holidays.
Conclusion
Creating Christmas nail art is such a fun way to express your holiday cheer. I love how even simple designs can brighten up your day and add that festive sparkle to any outfit.
With a little patience and the right tools, anyone can achieve beautiful nails that last through all the holiday celebrations. So go ahead, get creative, and enjoy the process—it’s all part of the festive magic!